Key Takeaways
-
Check PoE power budget first when cameras fail at night, as infrared lighting and extra features can exceed switch capacity and drop cameras offline one by one.
-
Use a controlled substitution test with a known-good cable and different PoE port to isolate whether the problem is the cable, port, camera, or network configuration.
-
Multiple cameras failing simultaneously points to shared infrastructure issues like PoE budget, switch failure, or VLAN misconfiguration rather than individual camera problems.
-
Inspect Ethernet cabling and RJ45 connectors carefully since cables can look fine externally while failing internally, especially in outdoor installations with humidity and corrosion.
-
Follow a layered troubleshooting approach starting with power and cables, then moving to network settings (IP addresses, VLANs, firewall rules) and finally the recording system.
-
Never disable security features or expose cameras directly to the internet during troubleshooting; use network segmentation, VPN-based access, and strong passwords instead.
Picture this: your office manager calls you in a panic because half your security cameras just went dark. Your stomach drops. Was there a break-in? Did someone unplug something? Before you spiral into worst-case-scenario mode, take a breath. Most business camera problems have simple, fixable causes, and you don’t need to be a network engineer to figure out what’s going on.
At Ideal Solutions Provider, we’ve spent over 24 years helping Tampa businesses (and companies nationwide) keep their telecom and security systems running smoothly. Camera system troubleshooting is one of those things that sounds scary but usually comes down to checking a few key spots: power, cables, network settings, and your recording software. This guide walks you through exactly how to do that, step by step, in plain English.
Why Business Camera Systems Fail (And Why It’s Usually Not a Mystery)
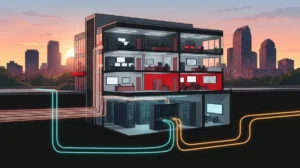
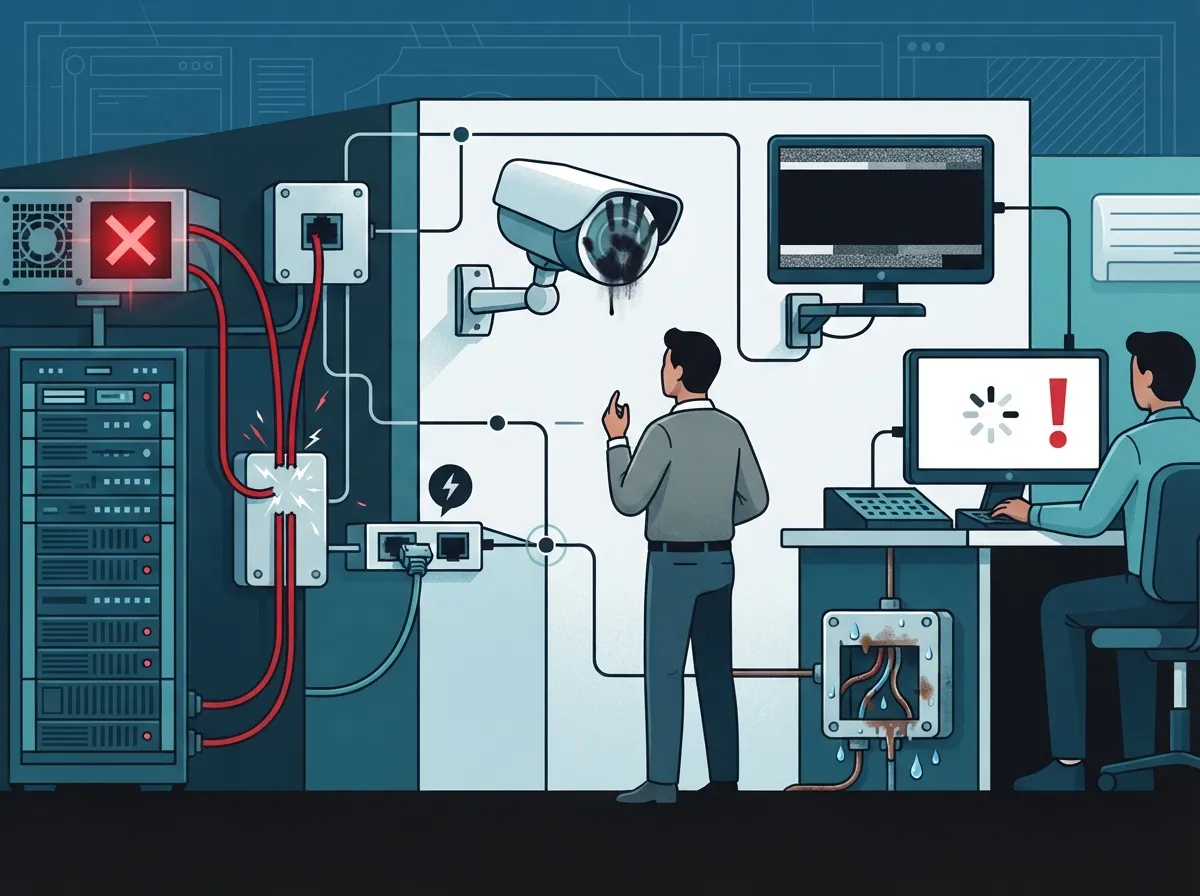
Business security cameras today aren’t standalone gadgets. They’re part of your whole network, connected through structured cabling, switches, and your internet connection. That means a camera problem could actually be a network problem wearing a disguise.
The good news? This also means troubleshooting follows a predictable path. Think of it like peeling an onion: you start with the physical stuff (power and cables) and work your way up to the digital stuff (network settings and software). Let’s walk through it layer by layer.
The Layered Approach: Where to Start Looking
Here’s the order that IT pros use to track down camera issues:
- Check power and PoE (Power over Ethernet) status
- Inspect the cabling and connections
- Confirm the link is active between camera and switch
- Verify IP address and network settings
- Test if the camera can be reached over the network
- Look at the recording system (NVR, VMS, or cloud platform)
- Check the mobile app or remote viewing software
Working through these steps in order saves you time. It also stops you from replacing a perfectly good camera when the real problem is a loose cable.
Step 1: Check Power and PoE Compatibility
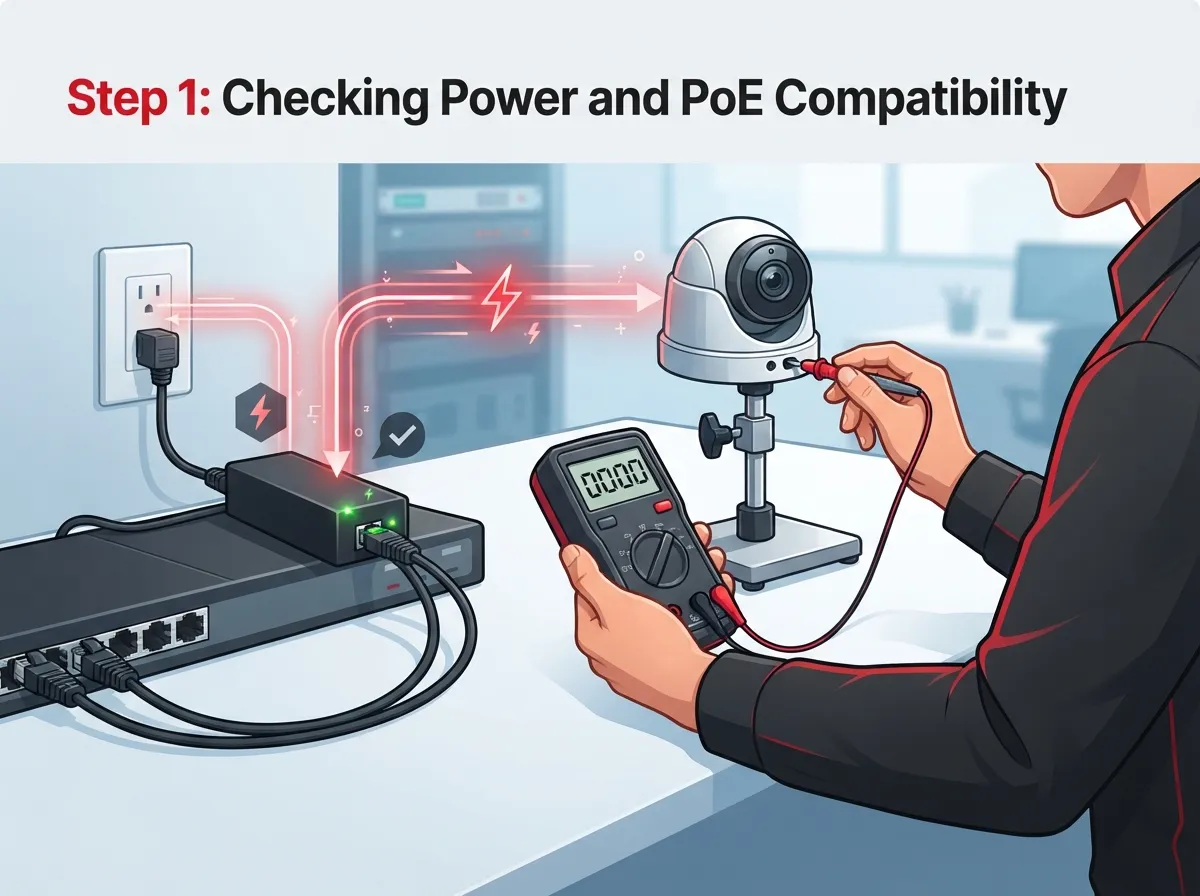
Most business cameras today run on PoE, which sends power and data through the same Ethernet cable. It’s convenient, but it also means power issues can look like camera failures.
Here’s what to check first:
- Is the camera’s power light on? If not, you likely have a power delivery issue.
- Does your PoE switch support the standard your camera needs? Standard PoE (802.3af) delivers up to 15.4 watts per port, but only about 12.95 watts actually reaches the camera after cable loss.
- Is your switch’s total PoE budget large enough for all connected cameras combined? A switch can technically support the right PoE standard and still cut power when too many devices draw from it at once.
- Are extra features draining more power than expected? Infrared night vision, heaters, built-in microphones, and pan-tilt-zoom motors all pull additional wattage, especially after dark.
This last point explains a common complaint we hear: “My cameras work fine during the day but drop out at night.” That’s often a PoE budget problem. When infrared lighting kicks on at dusk, it can push your switch past its power limit, and cameras start dropping offline one by one.
Step 2: Inspect Your Cabling
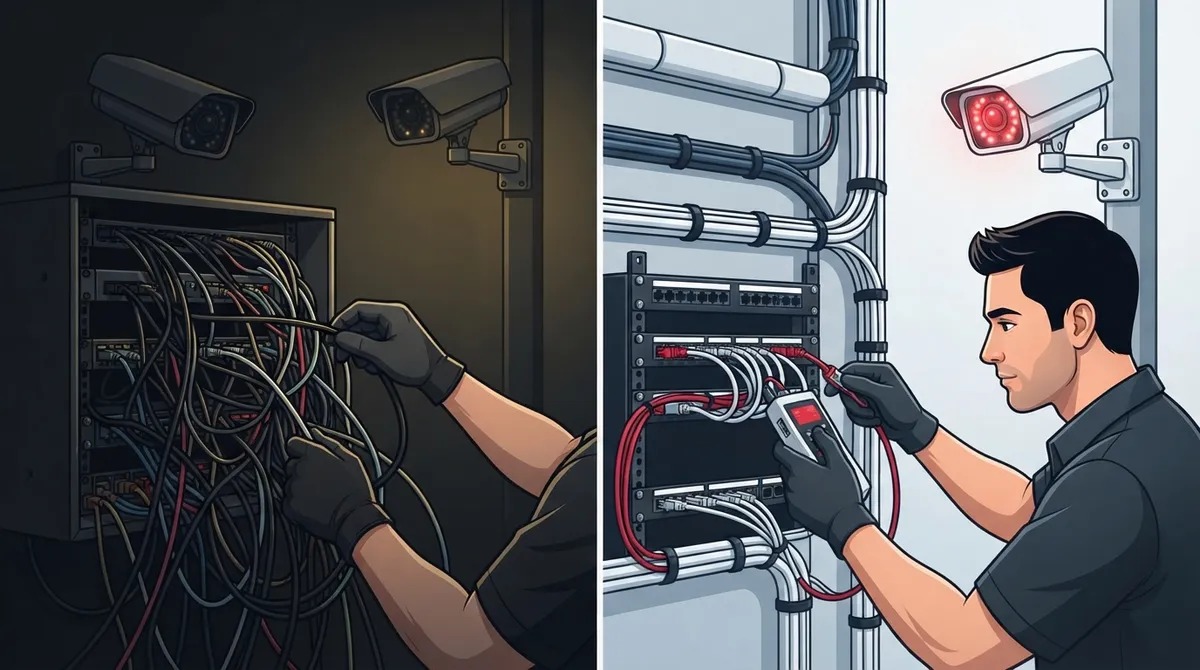
Ethernet cabling is one of the most common culprits behind flaky camera connections. It’s also one of the easiest things to overlook, since a cable can look fine on the outside while failing on the inside.
Things worth checking:
- Is the cable Cat5e or better? Older or lower-quality cable can cause data and power delivery issues.
- Are the RJ45 connectors damaged, loose, or corroded? This is especially common in outdoor camera installations.
- Is there water intrusion in any outdoor junction boxes? Florida humidity and rain can wreak havoc on poorly sealed connections.
- Is the cable run under 100 meters? Standard copper Ethernet and PoE runs max out around 100 meters (about 328 feet). Beyond that, you’ll need an extender, a powered switch along the way, or a fiber connection instead.
If you’re dealing with a business that’s growing or adding new camera locations, it might be time to look at your structured cabling setup as a whole, not just patch individual problems as they pop up.
Step 3: The Substitution Test (Your Best Troubleshooting Friend)
Here’s a trick that professional installers use constantly, and it works great for business owners too. It’s called a controlled substitution test, and it helps you isolate exactly what’s broken.
- Grab a short, known-good Ethernet cable and connect the problem camera to a different, working PoE port nearby.
- If the camera works now, the problem was likely the original cable, port, or that specific network path.
- If the camera still doesn’t work, the issue is probably the camera itself, or a deeper configuration problem.
- Once you know the camera is fine, reintroduce the original cable, switch port, and settings one at a time until the problem reappears.
This step-by-step swap-and-test method takes the guesswork out of troubleshooting. Instead of replacing everything and hoping for the best, you pinpoint the exact broken link in the chain.
Step 4: Dig Into Network Settings
Sometimes a camera has power, the cable checks out, and it still won’t show up in your recording system. That’s when it’s time to look at the network layer.
Common network-related culprits include:
| Issue | What It Looks Like | Quick Check |
|---|---|---|
| IP address conflict | Camera goes offline randomly | Confirm no two devices share the same IP |
| Wrong subnet or gateway | Camera can’t reach the recorder | Match camera settings to your network |
| VLAN misconfiguration | Camera invisible to VMS software | Verify camera and NVR share the same VLAN |
| Firewall blocking traffic | Local view works, remote access fails | Check port rules and allowed traffic |
| DHCP lease issues | Camera IP changes unexpectedly | Set a DHCP reservation for the camera |
If your business uses VLANs to separate camera traffic from regular office traffic (a smart security practice, by the way), double-check that both your cameras and your recording server are on the same VLAN, or that trunk ports are configured correctly to let that traffic pass through.
Common Symptoms and What They’re Telling You
Different failure patterns point to different root causes. Here’s a quick cheat sheet:
- One camera offline: Usually a cable, connector, port, or local power issue tied to that single device.
- Multiple cameras offline at once: Points to a shared cause like a PoE budget problem, switch failure, uplink issue, VLAN misconfiguration, or a power outage affecting the whole network closet.
- Cameras fail mainly at night: Almost always related to insufficient PoE capacity or infrared/lighting power draw.
- Cameras work locally but not remotely: Often a firewall, port forwarding, or internet connectivity issue rather than a camera problem.
Recognizing these patterns helps you (or your IT provider) skip straight to the likely cause instead of starting from zero every time.
Step 5: Check the Recording System and Bandwidth
If cameras have power and network connectivity but footage isn’t recording properly, look at your NVR, VMS, or cloud platform next. Storage drives can fill up, software can need updates, and bandwidth limits can cause dropped frames or delayed uploads to the cloud.
For businesses using cloud-based video storage, your internet connection quality matters more than ever. If you’re constantly fighting slow uploads or buffering footage, it might be worth reviewing your business internet service to make sure it can handle the bandwidth your camera system needs, especially if you’re running several high-resolution cameras at once.
Keeping Your Camera System Secure While You Troubleshoot
It’s tempting to open up remote access or disable security features just to “get things working again.” Please resist that urge. Here’s a safer approach:
- Never expose cameras or recorders directly to the public internet without protection.
- Use network segmentation to keep camera traffic separate from your main business network.
- Set strong, unique passwords for every camera and recording device.
- Keep firmware updated on cameras, switches, and recorders.
- Use VPN-based remote access instead of opening ports directly to the internet.
- Document every change you make during troubleshooting, so you (or your provider) can track what fixed what.
This isn’t just good practice, it protects your business from bigger headaches down the road. A properly secured Internet Service Provider connection paired with smart network segmentation goes a long way toward keeping your surveillance system both reliable and safe.
When to Call in the Professionals
We’re big believers in empowering business owners to handle simple fixes themselves. But some situations really do call for a trained telecom or security specialist:
- Multiple cameras across different locations fail simultaneously
- You suspect a VLAN or firewall misconfiguration but aren’t sure how to fix it safely
- Firmware updates are needed across many devices
- Your network infrastructure needs an upgrade to support more cameras
- You’re planning a new camera installation and want it done right the first time
This is exactly where having one dependable partner makes life easier. Instead of juggling calls with your internet provider, your cabling installer, and your camera vendor separately, a single point of contact can handle it all. Our team at Ideal Solutions Provider works with businesses across industries, from healthcare to retail to manufacturing, to design and support business security camera systems that actually hold up under real-world conditions.
A Quick Reference Checklist
Keep this list handy the next time a camera acts up:
- Check the camera’s power light and PoE switch status
- Inspect the Ethernet cable and connectors for damage
- Confirm the cable run is under 100 meters
- Run a substitution test with a known-good cable and port
- Verify IP address, subnet, and VLAN settings
- Check firewall rules if remote access is failing
- Look at your NVR/VMS or cloud platform for storage or bandwidth issues
- Document what you changed and the result
- Call a specialist if the problem involves multiple devices or complex network settings
Following this checklist in order will solve the vast majority of business camera issues without needing to replace hardware or call anyone at all.
Bringing It All Together
Camera system troubleshooting doesn’t have to feel overwhelming. Once you understand the layers, power, cabling, network, and software, most problems become pretty easy to spot. And when something is too complex to handle solo, that’s completely normal. Business networks are complicated, and even seasoned IT managers lean on trusted partners for the trickier stuff.
If your business is dealing with recurring camera issues, spotty coverage, or you’re simply ready for a system upgrade, we’d love to help. Our team has spent over two decades helping Tampa businesses and companies nationwide build reliable, secure video security setups that just work. You can follow our latest tips and behind-the-scenes updates on Facebook, Instagram, and YouTube for more practical telecom and security advice.
Ready to stop guessing and start fixing your camera system for good? Reach out to our team today for a free consultation, or give us a call to talk through what’s going on with your setup. We’re here to help, no jargon, no pressure, just real solutions.
FAQs
Q: Why is my business security camera offline or not connecting to the NVR?
A: This usually comes down to power, cabling, or network settings. Start by checking the PoE status light, then inspect the Ethernet cable for damage, and finally confirm the camera’s IP address matches your network. Nine times out of ten, it’s one of these three things!
Q: How do I troubleshoot a PoE security camera with no power or video?
A: First, check that your PoE switch actually supports the standard your camera needs, and confirm the switch isn’t overloaded by too many connected devices. Try a controlled substitution test with a short, known-good cable and a different port to see if the camera comes back to life.
Q: What should I check when multiple IP cameras go offline at the same time?
A: When several cameras drop at once, look at shared infrastructure like your PoE switch’s power budget, the network uplink, or VLAN settings rather than individual cameras. A single failed switch or overloaded power budget can easily take down a whole group of cameras together.
Q: Why does my security camera work during the day but fail at night?
A: This is a classic sign of a PoE power budget problem. When infrared night vision or white-light illumination kicks in after dark, it draws extra power that can push your switch past its limit, causing cameras to drop offline.
Q: When should a business contact its telecom or IT provider for camera troubleshooting?
A: If you’re seeing multiple cameras fail together, suspect a VLAN or firewall issue, or just don’t feel confident poking around network settings, it’s time to call in a specialist. A trusted telecom partner can diagnose the issue quickly and make sure your fix actually sticks.