Key Takeaways
-
CAT6 cabling installation in Tampa costs $150-$250 per drop for standard offices, with complex layouts reaching $300 per drop; always request Fluke DSX certification testing to verify performance standards.
-
Choose CAT6A over CAT6 for larger buildings and high-density Wi-Fi deployments since it maintains 10 Gbps speeds across the full 100-meter distance, while CAT6 only supports full speed to 55 meters.
-
Florida commercial cabling must comply with TIA/ANSI 568 standards and local fire codes, requiring riser-rated and plenum-safe materials to pass inspections and avoid insurance claim issues.
-
Schedule routine testing every 2-3 years to detect continuity and signal loss issues early, protecting your investment in phones, cameras, and cloud systems before problems cause costly network outages.
If your Tampa business has ever dealt with dropped calls, slow Wi-Fi, or a tangle of cables under every desk, you know how frustrating bad network wiring can be. CAT6 cabling installation Tampa Bay businesses rely on is the backbone that keeps everything running smoothly, from your phones to your security cameras to your daily internet traffic. Getting it right the first time saves you money, headaches, and a whole lot of downtime.
Whether you’re a small business owner juggling a dozen tasks, an IT manager overseeing a growing office, or a franchise operator planning multiple locations, this guide breaks down everything you need to know. We’ll walk through costs, standards, and smart choices so you can make confident decisions. Let’s dig into the ten things every Tampa Bay business should know before scheduling a cabling project.
1. Understand What CAT6 Cabling Actually Does for Your Business
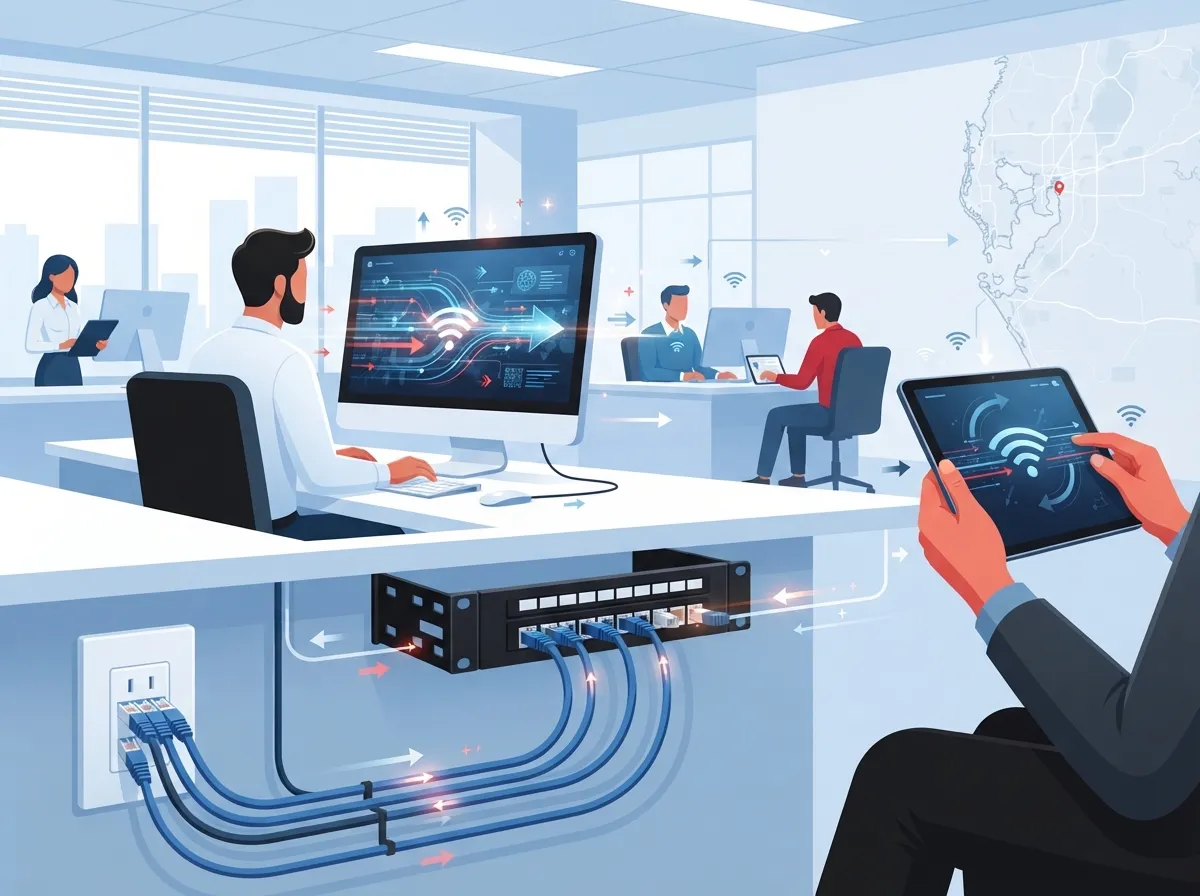
CAT6 cabling is the physical wiring that connects your computers, phones, printers, and cameras to your network switch. It handles standard office workloads, gigabit switching, and PoE+ devices throughout the Tampa Bay region. Think of it as the highway system for all your digital traffic.
Without solid cabling, even the fastest internet plan or the best VoIP phone system will struggle to perform. That’s why so many businesses pair a cabling refresh with upgrades like affordable VoIP phone services or new high-speed internet services. Good cabling makes every other piece of technology work better.

2. Know the Real Cost of CAT6 Installation in Tampa
Pricing is usually the first question every business owner asks, and that’s fair. Commercial CAT6 installation in Tampa typically costs between $150 and $250 per drop for standard office projects. That price can climb to $300 per drop depending on building layout and access challenges.
A “drop” simply means one cable run from a wall jack or ceiling point back to your network closet. Here’s a quick breakdown of what affects your final price:
- Ceiling type (drop ceiling versus hard, solid ceiling)
- Cable length and number of floors involved
- Need for conduit or core drilling through concrete
- Accessibility of your building’s existing pathways
- Whether you need after-hours work to avoid disrupting staff
| Project Type | Typical Cost Per Drop |
|---|---|
| Standard office (open ceiling access) | $150 – $200 |
| Standard office (drop ceiling) | $180 – $250 |
| Complex layout (conduit/core drilling) | $250 – $300 |
3. Know What’s Included in a Certified Data Drop
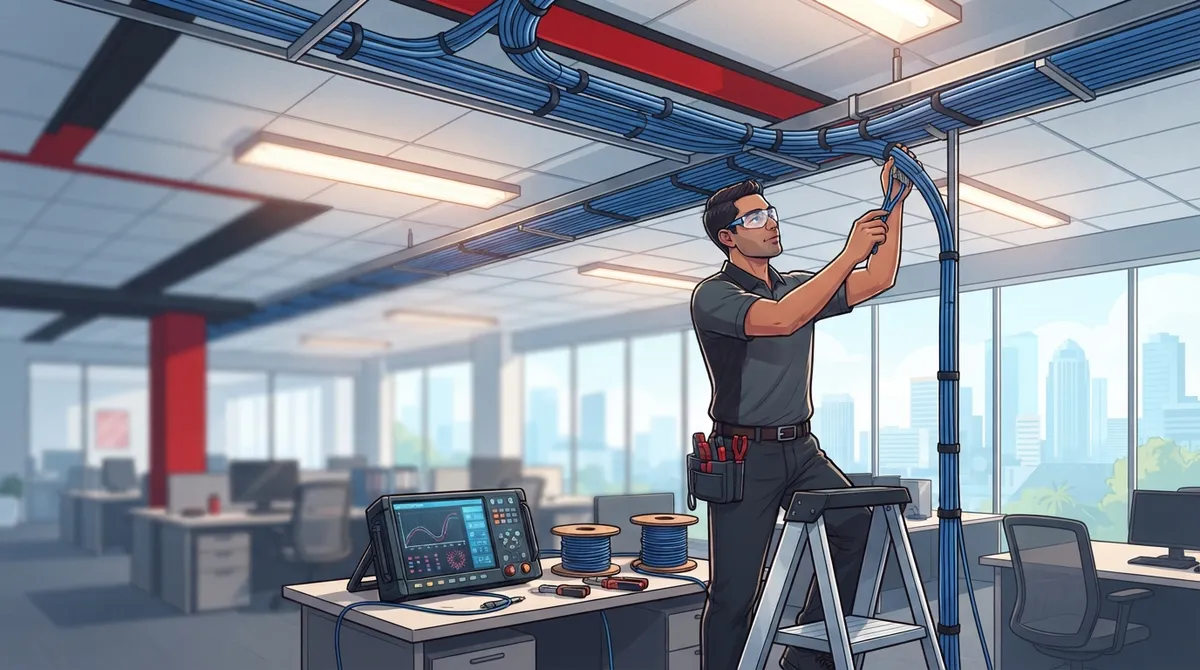
Not all cabling quotes are created equal, so it helps to know exactly what you’re paying for. A complete data drop includes the CAT6 cable itself, termination at both ends (jack and patch panel), a faceplate, clear labeling, and Fluke DSX certification testing.
That certification testing part matters more than people realize. It proves your cabling actually meets performance standards instead of just looking finished. Skipping this step is one of the most common structured cabling mistakes that hurt your business down the road.
4. CAT6 vs. CAT6A: Which One Fits Your Office?
This is probably the most common question we hear from IT managers and office managers alike. CAT6 supports 10 Gbps capacity up to 55 meters, while CAT6A supports the same speed at the full 100-meter channel limit. That distance difference matters a lot in larger buildings.
Here’s a simple table to help you compare:
| Feature | CAT6 | CAT6A |
|---|---|---|
| Max Speed | 10 Gbps | 10 Gbps |
| Max Distance for Full Speed | 55 meters | 100 meters |
| Best For | Standard offices, PoE+ devices | High-density Wi-Fi, large floor plans, heavy PoE |
| Cable Thickness | Thinner, easier to run | Thicker, needs more pathway space |
CAT6A is the recommended choice for high-density wireless deployments, 802.3bt Type 4 PoE devices, and large-floor-plate commercial buildings. If you’re a franchise operator planning multiple large locations, this is worth discussing early. Learn more about the differences between CAT5e and CAT6 cabling before making your final call.
5. Follow Florida’s Required Cabling Standards
Florida commercial buildings must adhere to TIA/ANSI 568 cabling standards and local fire-safety codes. This means your cabling needs riser-rated and plenum-safe materials, especially if it runs through air-handling spaces or between floors.
Skipping these codes isn’t just risky, it can also cause problems during inspections or insurance claims. A reputable contractor will always know these requirements inside and out, which is one reason working with an experienced partner like Ideal Solutions Provider gives business owners peace of mind. You can read more about industry standards through the structured cabling overview on Wikipedia for background context.
6. Plan Your Cabling Project in the Right Order
A smooth cabling installation follows a logical sequence. Skipping steps or rushing the process almost always leads to costly rework later. Here’s the order most successful Tampa Bay projects follow:
- Site walkthrough and needs assessment
- Cable count and pathway planning (ceiling, walls, conduit)
- Selecting CAT6 or CAT6A based on building size and PoE needs
- Scheduling installation around business hours
- Running and terminating cable at patch panels and jacks
- Labeling every cable and port clearly
- Testing and certifying with Fluke DSX equipment
- Providing documentation and as-built diagrams
- Final walkthrough and client sign-off
- Scheduling future testing and maintenance checkups
If you want a deeper breakdown of this process, check out our guide on how to plan network cabling installation in Tampa Bay.
7. Don’t Forget Routine Testing and Certification
Cabling isn’t a one-and-done project. Professional installations should include routine testing every 2 to 3 years to measure continuity, loss, and crosstalk for optimal performance. This is especially important for mid-sized enterprises and franchise operators managing multiple locations.
Regular testing catches small problems, like a loose termination or aging cable, before they turn into network outages. It’s a small investment that protects your larger technology investments, including your cloud-based phone system and security cameras.
8. Match Your Cabling to Your Full Telecom Setup
CAT6 cabling doesn’t work in isolation. It supports your entire communications ecosystem, including phones, cameras, and access control systems. Here are a few examples of how strong cabling supports other systems:
- Powering VoIP desk phones through PoE+ ports
- Supporting cloud security cameras with reliable bandwidth
- Enabling fast, stable access control card readers
- Handling multiple Wi-Fi access points across large offices
- Reducing lag for video conferencing and cloud apps
If you’re planning a bigger overhaul, our article on how structured cabling supports VoIP and cameras explains this connection in more detail.
9. Know Which Tampa Bay Counties Are Covered
Local cabling contractors typically serve a wide service area across the region. This matters for franchise operators or businesses with multiple offices spread across different counties. Common service areas include:
- Hillsborough County (Tampa, Brandon, Riverview)
- Pinellas County (St. Petersburg, Clearwater)
- Manatee County (Bradenton area)
- Pasco County (Wesley Chapel, New Port Richey)
Working with a single provider who covers this entire footprint saves you from juggling multiple vendors. It also means consistent quality no matter which location you’re upgrading.
10. Choose the Right Partner for Installation
The biggest factor in a successful project isn’t the cable itself, it’s who installs it. A good contractor should offer clear pricing, proper certification testing, and documentation you can actually understand. Here’s a quick checklist to help you vet potential partners:
- Do they provide Fluke DSX certification testing?
- Are they familiar with TIA/ANSI 568 standards?
- Can they explain CAT6 versus CAT6A in plain language?
- Do they offer support after installation, not just a one-time job?
- Can they handle multiple locations if you’re a franchise operator?
This is where having a single point of contact really pays off. Instead of managing separate vendors for cabling, internet, and phones, many Tampa businesses prefer working with one trusted partner. You can learn more about this approach in our article on why one telecom partner makes sense for busy business owners.
Bringing It All Together for Your Tampa Business
Good cabling might not be the most exciting part of running a business, but it’s one of the most important. It quietly supports everything from your phone calls to your security footage to your daily internet browsing. Getting it done right the first time, with proper testing and certification, saves you money and stress for years to come.
Whether you’re outfitting a brand-new office or upgrading an aging network, Tampa Bay has plenty of options to explore, including pairing cabling with dedicated fiber internet for even better performance. You can also check out helpful resources from the Internet Service Provider overview on Wikipedia to understand how your cabling connects to the wider internet ecosystem.
Ready to get your cabling project started the right way? Contact us today for a free consultation, or give us a call to talk through your options with a friendly, knowledgeable team. You can also follow along with tips and updates on our Facebook page, check out project photos on Instagram, or watch helpful videos on our YouTube channel. We’re here to make your telecom upgrades simple, affordable, and stress-free.
FAQs
Q: What is the average cost per drop for CAT6 installation in Tampa Bay commercial buildings?
A: Most standard office projects fall between $150 and $250 per drop, though tricky layouts with conduit or core drilling can push that to $300. It really depends on your ceiling type and how easy it is to run cable through your space, so getting a walkthrough quote is always the best first step.
Q: When should a business choose CAT6A over CAT6 for network cabling in Tampa?
A: If you’re running a larger building, need high-density Wi-Fi coverage, or plan to use heavier PoE devices, CAT6A is worth the extra investment. It keeps full 10 Gbps speeds all the way to 100 meters, while standard CAT6 tops out around 55 meters for that same speed.
Q: What standards must CAT6 cabling meet for Florida commercial buildings?
A: Florida businesses need to follow TIA/ANSI 568 cabling standards along with local fire-safety codes. This usually means using riser-rated and plenum-safe cable, especially anywhere it runs through air-handling spaces or between floors.
Q: What is included in a certified CAT6 data drop installation?
A: A proper data drop includes the CAT6 cable, termination at the jack and patch panel, a faceplate, clear labeling, and Fluke DSX certification testing. That last part is key because it proves your cabling actually performs the way it should, not just that it looks finished.
Q: How often should business network cabling be tested and certified in Tampa Bay?
A: We generally recommend testing every 2 to 3 years to check continuity, signal loss, and crosstalk. It’s a quick, affordable way to catch small issues before they turn into bigger network headaches.