
Key Takeaways
-
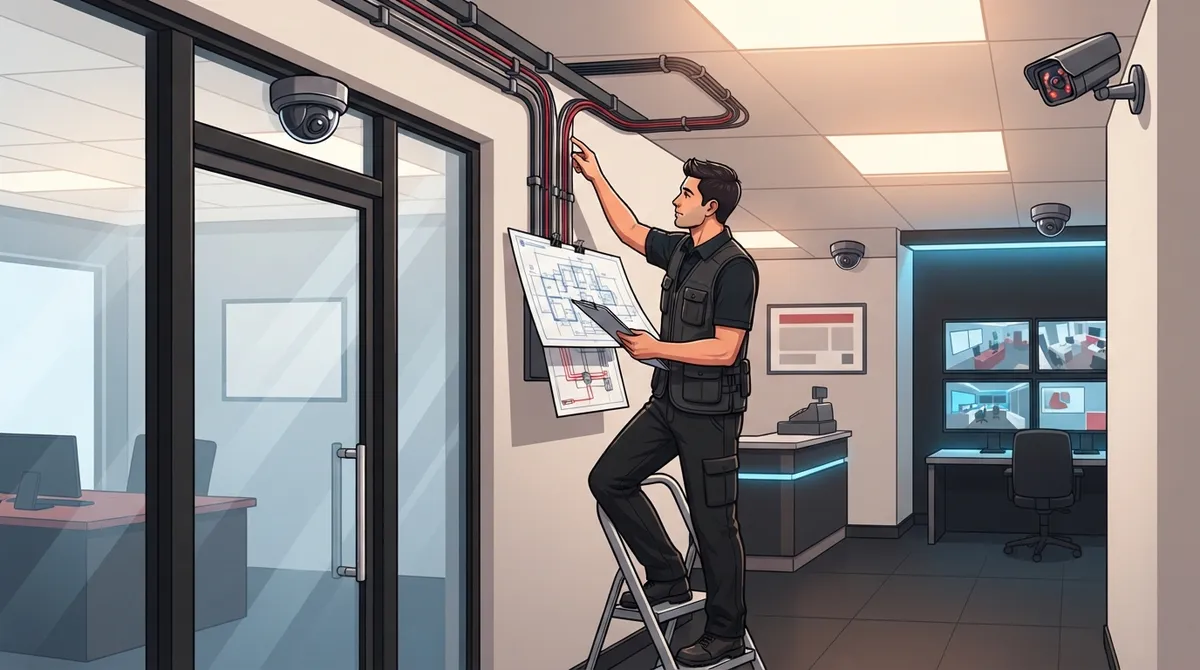
Conduct a professional site assessment before installation to identify optimal camera placement at entrances, exits, cash registers, inventory rooms, and parking areas while checking lighting conditions and cable pathways to avoid costly reinstallation.
-
Budget $4,500-$12,000 upfront for small systems (6-12 cameras), $12,000-$40,000 for midsize (16-32 cameras), or $30,000-$120,000+ for large deployments, plus annual licensing fees of $600-$20,000 depending on scale.
-
Isolate camera traffic on a dedicated VLAN separate from core business systems and implement strong passwords, encrypted connections, and regular firmware updates to prevent network breaches and unauthorized access to sensitive data.
-
Match camera types to specific purposes: wide-angle for lobbies, varifocal for facial recognition at registers, infrared for low-light areas, and weather-rated housings for outdoor installations.
-
Plan network infrastructure to handle continuous video streaming alongside regular business traffic by sizing bandwidth, switch capacity, and storage before installation, or risk lag and dropped footage.
-
Require complete commissioning testing of all cameras in daylight and low-light, verification of recording and playback, remote access confirmation, and full staff training before considering the project complete.
Thinking about business surveillance system installation? You’re not just buying a few cameras and calling it done. A great setup blends cameras, cabling, networking, and cybersecurity into one smart system. It’s a lot like planning a phone system or internet upgrade — the pieces have to work together. Grab a coffee, and let’s walk through what actually matters so your investment pays off for years to come.
Whether you run a cozy Tampa boutique, manage a growing franchise, or oversee IT for a mid-sized company, this guide breaks down the process into friendly, bite-sized steps. We’ll cover cost ranges, camera types, network setup, cybersecurity, and what a smooth handover looks like. By the end, you’ll know exactly what to ask any installer — including us here at Ideal Solutions Provider.

1. Start With a Real Site Assessment, Not Guesswork
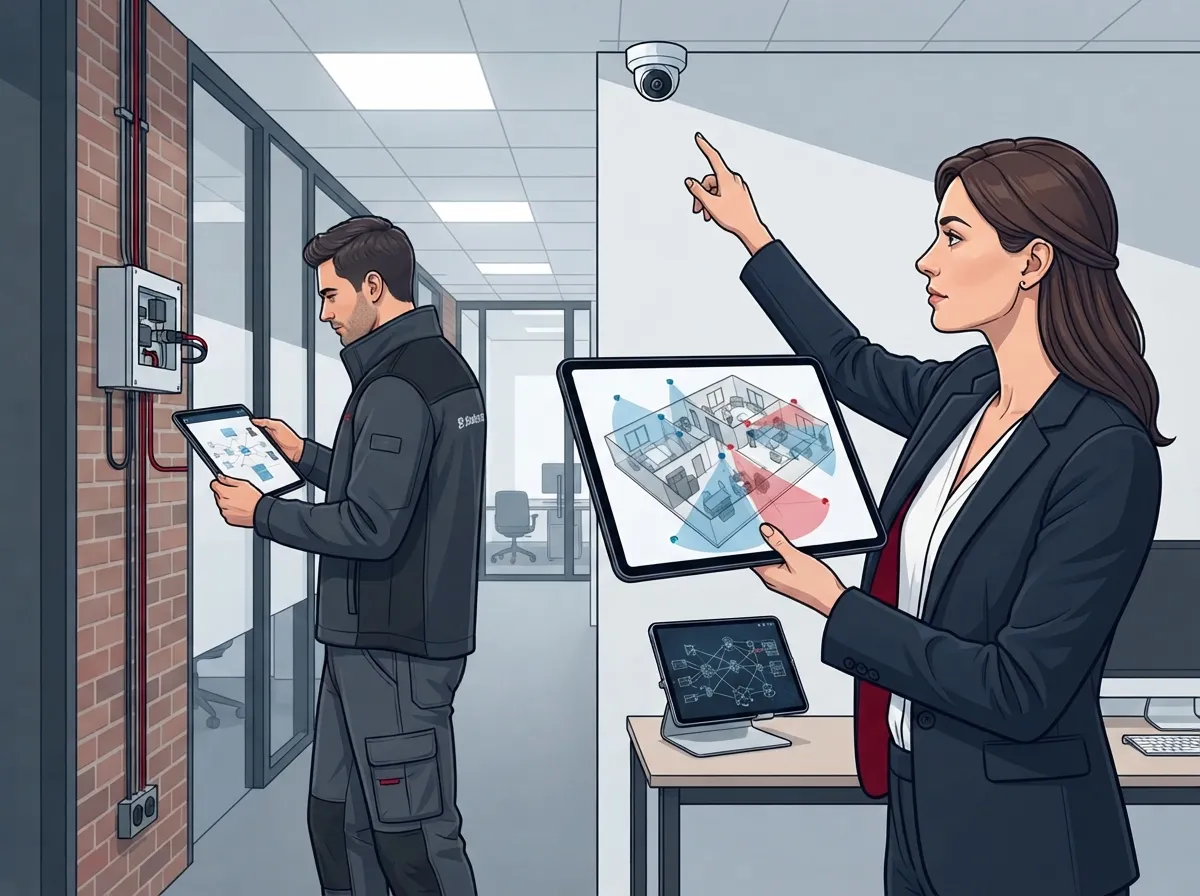
Every solid business surveillance system installation begins with someone walking your property and taking notes. A good site survey looks at entrances, exits, and emergency escape routes. It also checks cash registers, inventory rooms, server closets, loading docks, parking lots, and any employee-only areas.
Lighting matters too. A camera that looks great at noon might show nothing but darkness at 9 p.m. Installers should also check mounting surfaces and figure out the best cable pathways before anyone drills a single hole. This step protects you from costly redos later.
- Entrances, exits, and emergency egress routes
- Cash-handling counters and point-of-sale stations
- Inventory rooms, server closets, and storage areas
- Loading docks, parking areas, and property perimeters
- Employee-only zones and privacy-sensitive spaces
2. Understand How Much Business Surveillance System Installation Costs
Pricing swings a lot depending on how many cameras you need and how complex your building is. According to 2026 estimates from Monarch Connected, small setups with 6 to 12 cameras typically run $4,500 to $12,000 upfront, plus $600 to $2,400 a year for cloud or licensing fees. Midsize deployments with 16 to 32 cameras land between $12,000 and $40,000, with annual costs of $1,600 to $6,400.
Large or multi-site systems with 40 to 100+ cameras can range from $30,000 to $120,000 or more, with yearly fees between $4,000 and $20,000. Per-camera installation costs, according to Surveillant AI’s 2026 figures, run about $250 to $600 for standard indoor work and $450 to $900 when outdoor conduit, lifts, or long cable runs are involved.
| Deployment Size | Camera Count | Upfront Cost | Annual Licensing/Cloud |
|---|---|---|---|
| Small Business | 6–12 cameras | $4,500–$12,000 | $600–$2,400 |
| Midsize Enterprise | 16–32 cameras | $12,000–$40,000 | $1,600–$6,400 |
| Large/Multi-Site | 40–100+ cameras | $30,000–$120,000+ | $4,000–$20,000 |
Don’t forget cabling. A commonly cited planning range is $250 to $600 per cable drop, separate from camera hardware. If your building already has structured cabling in place, you may save quite a bit here. Curious how cabling connects to your broader network? Check out our guide on how structured cabling supports VoIP and cameras.
3. Pick the Right Number and Type of Cameras
More cameras isn’t always better. What matters is matching each camera to its job. Small businesses often start with 4 to 16 PoE IP cameras connected to a network video recorder, based on building layout and risk level.
Here’s a quick rundown of camera types and when to use them:
- Wide-angle cameras — great for general situational awareness in lobbies or open floor plans
- Varifocal or high-resolution cameras — needed for capturing faces and transaction details at registers
- Infrared or low-light cameras — essential for dark hallways, stairwells, or nighttime parking lots
- Weather-rated outdoor housings — protect equipment from rain, heat, and Florida humidity
- Specialized license-plate cameras — useful for gated lots or long-distance identification needs
Want help figuring out your exact count? Our team put together a helpful breakdown of factors that decide how many security cameras you need.
4. Build the Network Right, From Cabling to Bandwidth
Most modern commercial systems run IP cameras over Ethernet cabling and PoE switches into a network video recorder, a cloud platform, or a hybrid mix of both. Before anything gets mounted, your installer should size out bandwidth, switch capacity, storage space, and backup power.
This is where telecom expertise really pays off. If your internet speed can’t handle continuous video streaming plus daily business traffic, you’ll see lag, dropped footage, or slow remote access. Pairing your camera project with a review of your business internet setup often makes sense, especially if you’re already noticing slow speeds.
Cabling Considerations Worth Planning For
Good cable pathways aren’t just about looks. They protect your equipment and make future repairs much easier. If you’re building out a new office or renovating, this is the perfect time to plan cabling for cameras alongside phones and computers. Our article on planning network cabling installation walks through the basics.
5. Keep Your Camera Network Separate and Secure
Here’s something a lot of business owners miss: camera traffic should live on its own dedicated VLAN, separate from your core business systems. This keeps a compromised camera from becoming a doorway into your financial records or customer data.
A trustworthy installer will also set up:
- Strong, unique passwords for every device (no shared default logins)
- Encrypted connections for remote viewing
- Role-based access so only the right people see the right footage
- Regular firmware updates to patch security holes
- Disabled unused services that could create backdoors
- Controlled, monitored remote access
Cybersecurity for cameras isn’t optional anymore. The Cybersecurity and Infrastructure Security Agency (CISA), a division of the U.S. Department of Homeland Security, has repeatedly warned about unsecured IoT devices, including cameras, being used in larger network attacks. Treat your camera system with the same seriousness as your phones and computers.
6. Choose Between NVR, DVR, Cloud, or Hybrid Storage
This decision affects cost, flexibility, and how easily you can pull up footage later. An NVR (network video recorder) stores video from IP cameras over your network. A DVR (digital video recorder) is older technology, usually tied to analog cameras. Cloud storage keeps footage offsite and accessible from anywhere. Hybrid systems blend edge storage with cloud backup for extra peace of mind.
Many growing businesses lean toward cloud or hybrid setups because they support remote viewing from a phone or laptop, which is perfect for multi-location franchise operators. If you’re comparing these options, our piece on differences between cloud video security and DVR systems lays it out simply.
7. Test Everything Before You Call It Done
Installation isn’t finished when the last camera gets mounted. A proper commissioning process checks every angle, tests both day and night image quality, and confirms recording and playback actually work.
Here’s a simple checklist your installer should walk through:
- Verify each camera’s field of view matches the original plan
- Test image quality in daylight and low-light conditions
- Confirm recording, playback, and retention settings
- Check time synchronization across all devices
- Test motion alerts and analytics triggers
- Confirm mobile and desktop remote access works smoothly
- Test footage export for sharing with police or insurance
- Check backup power continuity during outages
- Verify integration with access control or alarm systems
Skipping this step is like installing a phone system and never testing a single call. Don’t let that happen to your security investment.
8. Get a Complete Handover, Training, and Maintenance Plan
Once everything’s tested, you should receive a full handover packet. This includes camera maps, labeled cables and devices, IP address records, and clear admin instructions. You should also get retention policies, warranty details, and a maintenance schedule.
Staff training matters too. Whoever manages your footage day-to-day needs to know how to pull up recordings, export clips, and manage user access. Ongoing care is just as important — lens cleaning, storage checks, firmware updates, and periodic recording tests all help your system last.
Before recording begins, address privacy requirements. This usually means visible signage, a documented purpose for each camera, restricted access to footage, and clear rules for retention and deletion. Requirements vary by state, so check local employment law resources or consult your installer about compliance in your area.
Why Bundle Surveillance With Your Broader Telecom Setup
Here’s the thing: cameras, internet, cabling, and networking are all connected. When one provider handles all of it, you get fewer headaches and better performance. At Ideal Solutions Provider, we’ve spent over 24 years helping Tampa businesses and companies nationwide combine cloud video security with networking, structured cabling, and high-speed internet into one smooth package.
We work with 35+ vetted suppliers, so you’re not stuck with a one-size-fits-all pitch. We compare options, review your current setup, and recommend what actually fits your business — not what earns us the biggest commission. You can see more of our approach on Facebook or check out real installs on YouTube.
A Note for Franchise and Multi-Location Operators
If you’re managing cameras across several sites, consistency is everything. You want the same camera standards, the same cloud platform, and the same support team across every location. This saves time and keeps your team from relearning a new system every time they visit a different site. Our guide on reliable network solutions for multi-location businesses covers this in more detail.
Bringing It All Together
Business surveillance system installation is really a telecom project wearing a security hat. It touches your network, your internet connection, your cabling, and your cybersecurity posture all at once. When you plan it with that mindset, you end up with a system that’s reliable, secure, and easy to manage for years.
Ready to talk through your camera project with people who actually understand telecom infrastructure? Contact us for a free consultation, or call us today to get started. We’re here to make this whole process feel simple, friendly, and totally manageable.
FAQs
Q: How much does business surveillance system installation cost?
A: It really depends on how many cameras you need and how complex your building is. Small setups with 6 to 12 cameras usually run $4,500 to $12,000 upfront, while larger multi-site systems can climb well past $30,000. Your best bet is getting a site assessment so you get numbers that actually fit your space, not just a generic estimate.
Q: How many security cameras does a business need?
A: There’s no magic number here, friend — it depends on your entrances, exits, cash areas, and blind spots. Many small businesses start comfortably with 4 to 16 cameras, but your building’s layout and risk factors will shape the final count. A proper site survey is the best way to nail down exactly what you need.
Q: What is the difference between an NVR, DVR, cloud, and hybrid surveillance system?
A: An NVR stores footage from IP cameras over your network, while a DVR is older tech usually tied to analog cameras. Cloud storage keeps your footage offsite and lets you check in from anywhere, and hybrid systems blend both for extra reliability. Most modern businesses lean toward cloud or hybrid setups for that added flexibility.
Q: Should business security cameras use a dedicated VLAN?
A: Yes, and this one’s important! Putting camera traffic on its own VLAN keeps it separate from your core business systems, so a camera issue never becomes a bigger network problem. It’s a simple step that adds a nice layer of protection for your whole operation.
Q: How long should a business retain surveillance footage?
A: Retention periods vary by industry and local law, but many businesses keep footage anywhere from 30 to 90 days. Some industries with stricter compliance needs may require longer retention. It’s worth chatting with your installer about what makes sense for your specific business and location.