
Key Takeaways
-
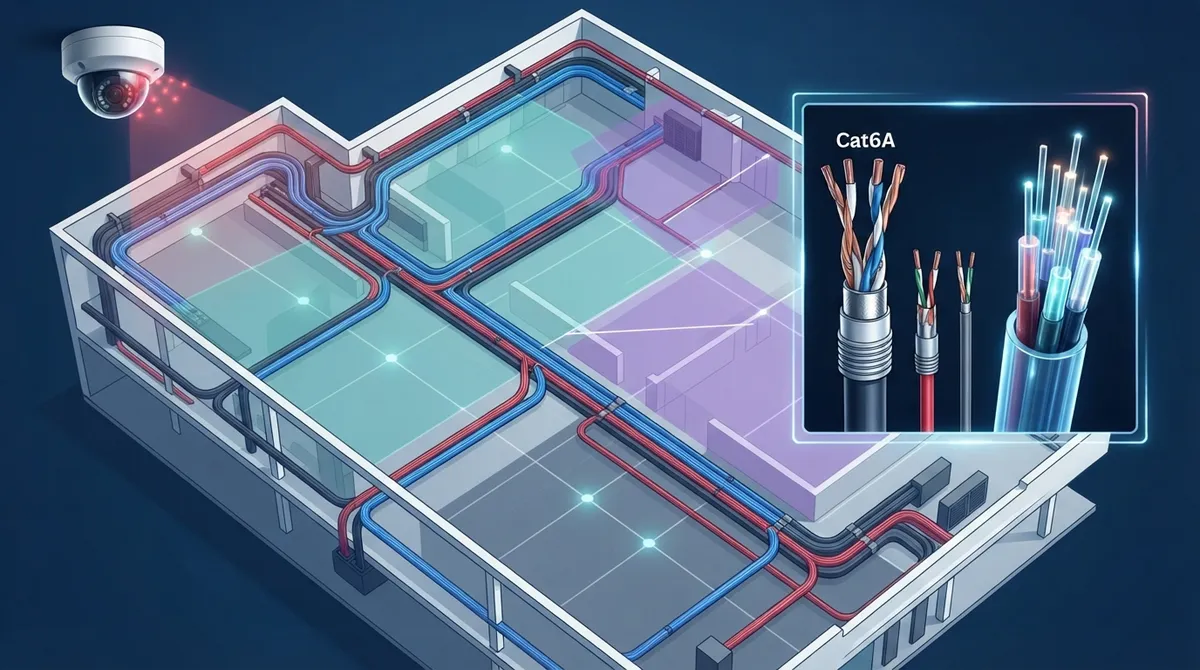
Choose Cat6 or Cat6A solid copper cable instead of Cat5e or CCA for commercial camera installations to ensure better bandwidth, future-readiness, and compliance with fire codes.
-
Plan cable routes within the 100-meter Ethernet distance limit and use PoE extenders, intermediate switches, or fiber optic backbones for cameras located beyond this range.
-
Size PoE power budgets based on camera peak wattage during infrared mode and PTZ movement, not average power draw, to prevent system reboots and malfunctions.
-
Isolate cameras on a dedicated VLAN separate from business networks, change default credentials, and apply firmware updates regularly to prevent hackers from using compromised cameras as network entry points.
-
Calculate video storage needs using the formula: bandwidth × recording time × camera count, and document all camera IDs, IP addresses, cable routes, and retention settings for easier troubleshooting and scaling.
-
Conduct a comprehensive site survey before installation to plan camera coverage, determine PoE requirements, design cable paths, and ensure your internet connectivity supports continuous recording demands.
Picture this: you finally invest in security cameras for your business, only to find grainy footage, dead zones, or a system that crashes every time your internet hiccups. Frustrating, right? Here’s the good news: most of these headaches trace back to a handful of avoidable mistakes made during security camera wiring and installation. As a Tampa-based telecom partner with over 24 years of experience, we’ve walked into more than a few businesses trying to untangle problems that started with rushed or poorly planned cabling. The good news is that once you know what to watch for, you can sidestep these pitfalls entirely.
Whether you’re a small business owner adding your first cameras, an IT manager overseeing a multi-site rollout, or a franchise operator scaling cloud security across locations, this guide breaks down the five biggest wiring and installation mistakes we see. We’ll also show you how to fix them, so your cameras actually protect your business instead of becoming a daily annoyance.
Mistake 1: Using the Wrong Cable for the Job
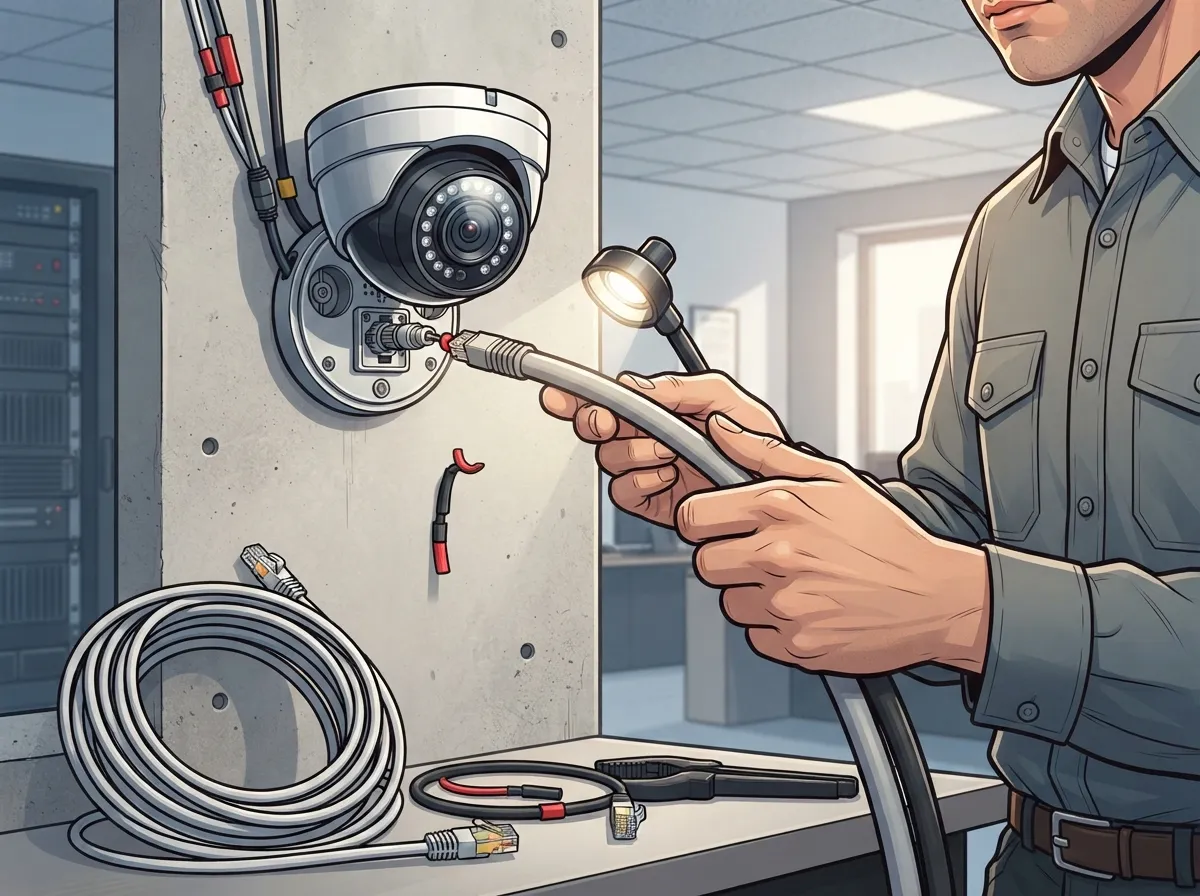
Not all Ethernet cable is created equal, and this is where a lot of DIY installs go sideways. Modern IP cameras run on structured Ethernet cabling instead of old-school coaxial CCTV wiring. That means your cable choice really matters.
Cat5e can handle Gigabit Ethernet and basic Power over Ethernet (PoE) needs, but many new commercial installs now lean toward Cat6 or Cat6A. Why? These cables offer more bandwidth headroom, better future-readiness, and stronger performance for high-density or high-power camera setups. If you’re installing pan-tilt-zoom (PTZ) cameras, heaters, or extra infrared lighting, that bandwidth cushion makes a real difference.
Another sneaky mistake: using copper-clad aluminum (CCA) cable instead of solid copper. CCA might look identical and cost less, but it performs worse and can even create fire code issues in commercial buildings. Always choose properly rated, solid-copper low-voltage cable, especially for outdoor or exposed runs where moisture, UV exposure, and temperature swings come into play.
- Cat5e: fine for basic cameras and standard PoE
- Cat6: better bandwidth margin, ideal for most new commercial installs
- Cat6A: best choice for high-density camera networks or long-term scalability
- Avoid CCA cable entirely for safety and performance reasons
If you’re unsure which cable fits your building, our team can walk you through the key differences between Cat5e and Cat6 cabling before you commit to a plan.
Mistake 2: Ignoring the 100-Meter Distance Limit
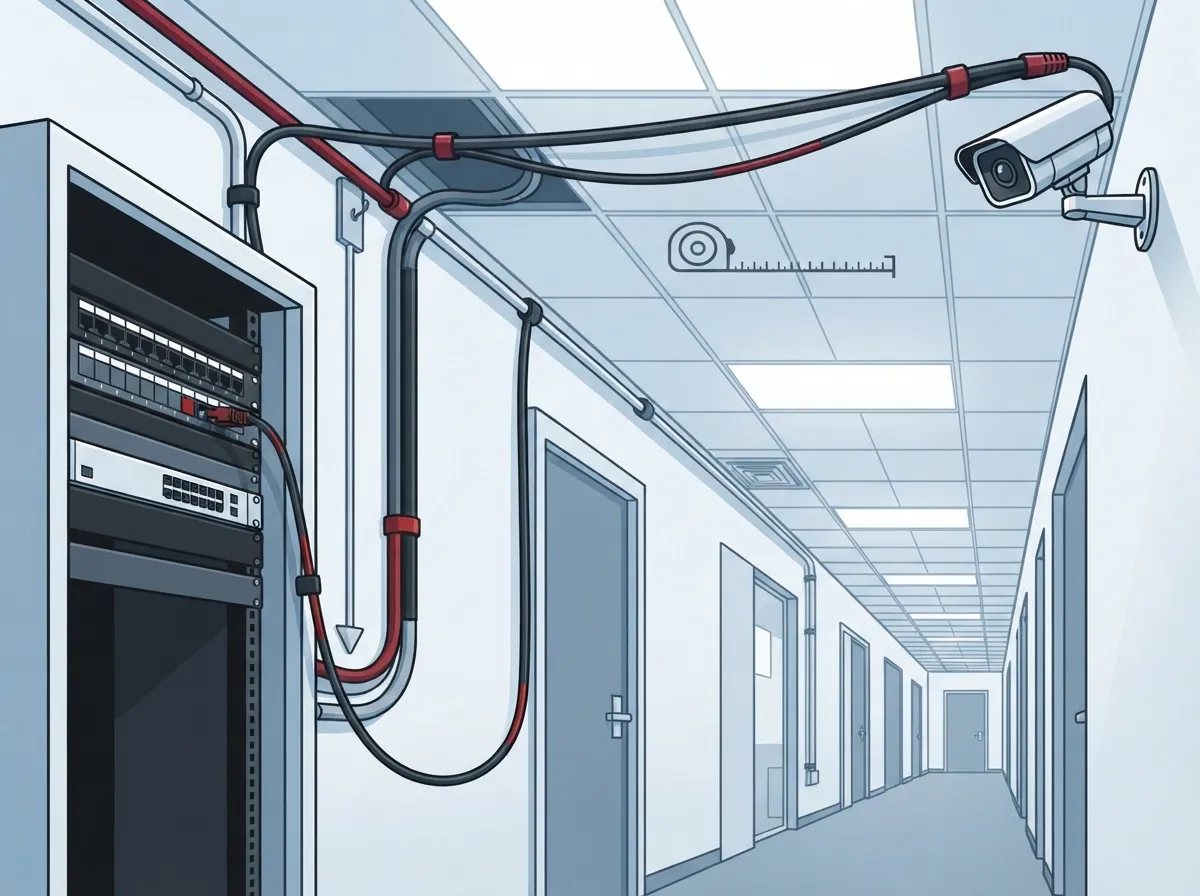
Here’s a fact that trips up a lot of installers: Ethernet cable has a maximum channel length of about 100 meters, or roughly 328 feet. That includes both the permanent cable run (up to 90 meters) and patch cords (up to 10 meters) on each end.
Businesses with large warehouses, sprawling parking lots, or multi-building campuses often discover this limit the hard way. A camera placed too far from the network switch simply won’t get a reliable signal or enough power.
The fix isn’t complicated once you know about it. You have a few solid options:
- Add an intermediate switch closer to the camera location
- Use a PoE extender to stretch the usable distance
- Run fiber optic cabling as a backbone for long stretches, then convert back to Ethernet near the camera
- Plan your telecommunications room placement around your camera coverage map from the start
Planning cable paths before installation day saves you from expensive rework later. This is exactly why a proper site survey matters so much, something we always recommend before running a single cable. For more on getting cable routes right the first time, check out our guide on how to plan network cabling installation in Tampa Bay.
Mistake 3: Underestimating Power Needs (PoE Confusion)
Power over Ethernet is one of the best things to happen to camera installation. One cable carries both data and electricity, cutting down on clutter and installation time. But not all PoE is equal, and choosing the wrong tier causes cameras to underperform or fail outright.
Here’s a quick breakdown of the three main PoE standards:
| PoE Standard | Max Power at Switch | Typical Use Case |
|---|---|---|
| 802.3af (PoE) | Up to 15.4 watts | Basic fixed cameras |
| 802.3at (PoE+) | Up to 30 watts | PTZ cameras, stronger infrared, heaters |
| 802.3bt (PoE++) | Up to 60-90 watts | High-power PTZ, heated outdoor housings, multisensor cameras |
A common mistake is sizing PoE based on a camera’s average power draw instead of its maximum draw. If a camera spikes in power usage during nighttime infrared mode or PTZ movement, an undersized PoE budget can cause it to reboot or malfunction at the worst possible time. Always check the camera’s peak wattage specs, not just the average, when planning your switch and power budget.
Getting this right requires some upfront math, which is part of why working with an experienced telecom partner pays off. If you’d like a second opinion on your current setup or a new build, feel free to reach out to our team for a straightforward consultation.
Mistake 4: Skipping Network Segmentation and Cybersecurity Basics
Here’s something a lot of business owners don’t think about until it’s too late: your security cameras are computers on your network. If they’re not properly secured, they can become an entry point for hackers.
Cybersecurity isn’t an optional extra you add after installation. It should be baked into the plan from day one. Some non-negotiable steps include:
- Changing all default usernames and passwords immediately
- Creating unique administrator accounts instead of shared logins
- Applying firmware updates regularly
- Placing cameras on a dedicated VLAN, separate from your main business network
- Restricting unnecessary internet exposure for camera devices
- Using encrypted connections for remote management wherever supported
A dedicated VLAN is especially important. It keeps camera traffic isolated from sensitive business data, so even if a camera is compromised, it can’t easily reach your point-of-sale system or employee files. This kind of segmentation is standard practice in any well-designed structured cabling project, and it’s something IT managers should insist on during any new install or upgrade.
If your current network wasn’t built with this kind of segmentation in mind, it might be time for an upgrade. Our article on signs your business network needs an upgrade covers warning signs worth watching for.
Mistake 5: Poor Planning for Storage, Placement, and Documentation
You’ve got the right cable, the right PoE budget, and a secure network. But if you skip the planning steps around storage and camera placement, you’ll still end up disappointed.
Let’s talk storage first. The basic formula is simple: storage equals bandwidth multiplied by recording time and camera count. As an example, a camera streaming at 4 Mbps produces roughly 43.2 GB of video per day when recording continuously. Multiply that across a dozen cameras retained for 30 days, and you can see how storage needs add up fast. Getting this number wrong means either paying for storage you don’t need or running out of space right when you need footage most.
Camera placement is just as important. A good design should cover:
- Entrances and exits
- Loading docks and delivery areas
- Cash-handling points
- Parking areas and perimeter zones
- Hallways and other higher-risk interior spaces
At the same time, placement should avoid capturing private areas unnecessarily, balancing security needs with privacy obligations. Lighting, mounting height, and glare all affect image quality, so this isn’t a “just point it and go” decision.
Finally, documentation gets overlooked constantly, and it’s a huge mistake. Every installation should record camera IDs, switch ports, IP addresses, cable routes, patch-panel positions, and retention settings. Accurate records make troubleshooting, expansion, and audits so much easier down the road. Without them, every small issue turns into a scavenger hunt.
Choosing between an on-premises NVR, a cloud platform, or a hybrid approach also affects your storage math and access options. If you’re weighing your options, our comparison of cloud video security versus DVR systems breaks down the pros and cons in plain language.
Bringing It All Together: A Smarter Approach to Camera Installation
None of these mistakes are hard to avoid once you know they exist. The real challenge is having the experience to spot them before they become expensive problems. A proper installation should always include a site survey, a coverage plan, cable-path design, PoE budget calculations, network segmentation, and thorough documentation.
Here’s a quick recap of what a solid installation checklist looks like:
- Conduct a site survey and build a camera coverage plan
- Choose the right cable type (Cat6 or Cat6A for most commercial projects)
- Plan cable routes within the 100-meter Ethernet limit
- Calculate PoE requirements based on maximum, not average, camera power draw
- Segment cameras onto a dedicated VLAN for security
- Size storage based on resolution, retention, and camera count
- Document everything for future troubleshooting and expansion
Mid-sized enterprises and franchise operators managing multiple locations especially benefit from this kind of standardized approach. It keeps every site consistent, secure, and easy to support, no matter how many locations you add over time. For businesses juggling phones, internet, and cameras across several sites, our piece on scalable systems for multi-location businesses offers some helpful context.
We’ve also shared some behind-the-scenes looks at how our team approaches projects on YouTube, and you can follow ongoing tips and updates on Facebook and Instagram.
Why Working With One Trusted Partner Makes a Difference
Juggling separate vendors for internet, networking, and cameras is exhausting. It also increases the odds that something falls through the cracks, like a camera system that wasn’t designed around your actual internet bandwidth or network capacity.
At Ideal Solutions Provider, we act as a single point of contact for the whole picture. We partner with 35+ vetted suppliers, so we can match you with the right equipment and connectivity instead of pushing a one-size-fits-all package. Whether you need structured cabling, a dedicated network segment for your cameras, or reliable Internet Service Provider connectivity to support cloud storage, we handle it under one roof.
This matters more than people realize. A camera system is only as good as the network it runs on. If your internet connection can’t handle the upload demands of continuous recording, you’ll see lag, dropped footage, or failed cloud backups. That’s why we always look at the full picture, from cabling to connectivity to storage, before recommending a solution.
Ready to Get Your Camera Wiring Done Right?
Security camera wiring and installation isn’t something to rush or leave to guesswork. The five mistakes we covered here, wrong cable choices, ignoring distance limits, misjudging PoE needs, skipping cybersecurity, and poor planning around storage and documentation, are all preventable with the right approach from day one.
If you’re ready for a system that actually works the way it should, our team is here to help. We’ll review your space, your network, and your goals, then design a camera installation that fits your business now and grows with you later. Contact us today to schedule your free consultation, or call us to talk through your project with a real person who knows telecom inside and out.
FAQs
Q: How much does commercial security camera wiring and installation cost?
A: Costs vary quite a bit based on camera count, cable runs, and whether you need new network equipment. The best way to get an accurate number is a site survey, so we always recommend starting with a free consultation to review your specific space and goals.
Q: Should a business use Cat5e, Cat6, or Cat6A for security cameras?
A: Cat5e works fine for basic camera setups, but Cat6 or Cat6A gives you more bandwidth headroom and better support for future upgrades. If you’re installing new cabling anyway, it’s usually worth the small extra cost to go with Cat6 or Cat6A for long-term peace of mind.
Q: What is the maximum distance for a PoE security camera cable?
A: The standard Ethernet limit is 100 meters, or about 328 feet, including patch cords on each end. If your camera needs to be farther away, you’ll need a PoE extender, an intermediate switch, or a fiber backbone to bridge the gap.
Q: Do business security cameras need a separate network or VLAN?
A: Yes, and this step gets skipped way too often. Putting cameras on their own VLAN keeps them isolated from your main business network, so a compromised camera can’t become a doorway into sensitive company data.
Q: How should security camera video storage and retention be calculated?
A: Storage needs come down to bandwidth per camera, multiplied by recording time and how many cameras you have. A camera at 4 Mbps recording continuously creates roughly 43.2 GB per day, so it’s important to plan retention policies around your actual camera count and resolution.