

Key Takeaways
-
Treat network cameras as small computers on your network requiring proper cybersecurity protections, not just security devices, including network segmentation via dedicated VLANs to isolate camera traffic from office devices.
-
Calculate total PoE power requirements upfront by adding wattage for every camera, then select a switch with sufficient power budget plus room for growth to avoid running out of capacity mid-installation.
-
Plan structured cabling with Ethernet runs staying within 100 meters for standard connections; longer distances require fiber or extenders, and proper cabling now saves headaches for future camera additions.
-
Verify exact ONVIF profile compatibility between cameras and recording platforms before purchase, as ONVIF Profile S and T offer different feature sets and not all ONVIF-compliant devices work together seamlessly.
-
Calculate storage needs using the formula: bitrate × recording seconds ÷ 8, such as one 4 Mb/s camera requiring ~43.2 GB daily, then scale accordingly to ensure sufficient capacity and network bandwidth.
-
Lock down cybersecurity immediately by changing default credentials, applying firmware updates, enabling encrypted management (HTTPS), and limiting administrator privileges before going live.
Thinking about adding security cameras to your business network? You’re not alone, and honestly, it’s one of the smartest moves a growing company can make. But here’s the thing: a network camera isn’t just a camera anymore. It’s a small computer that lives on your network, and it needs to be treated that way. This network camera installation guide walks you through everything, from planning your camera layout to locking down cybersecurity, so you can get it right the first time.
Whether you’re a small business owner in Tampa juggling a dozen priorities, an IT manager overseeing multiple sites, or a franchise operator trying to keep every location consistent, this guide is for you. We’ll keep things simple, practical, and free of confusing tech jargon. By the end, you’ll know exactly what questions to ask and what steps to expect.
Why Network Cameras Are More Than Just Security Gear
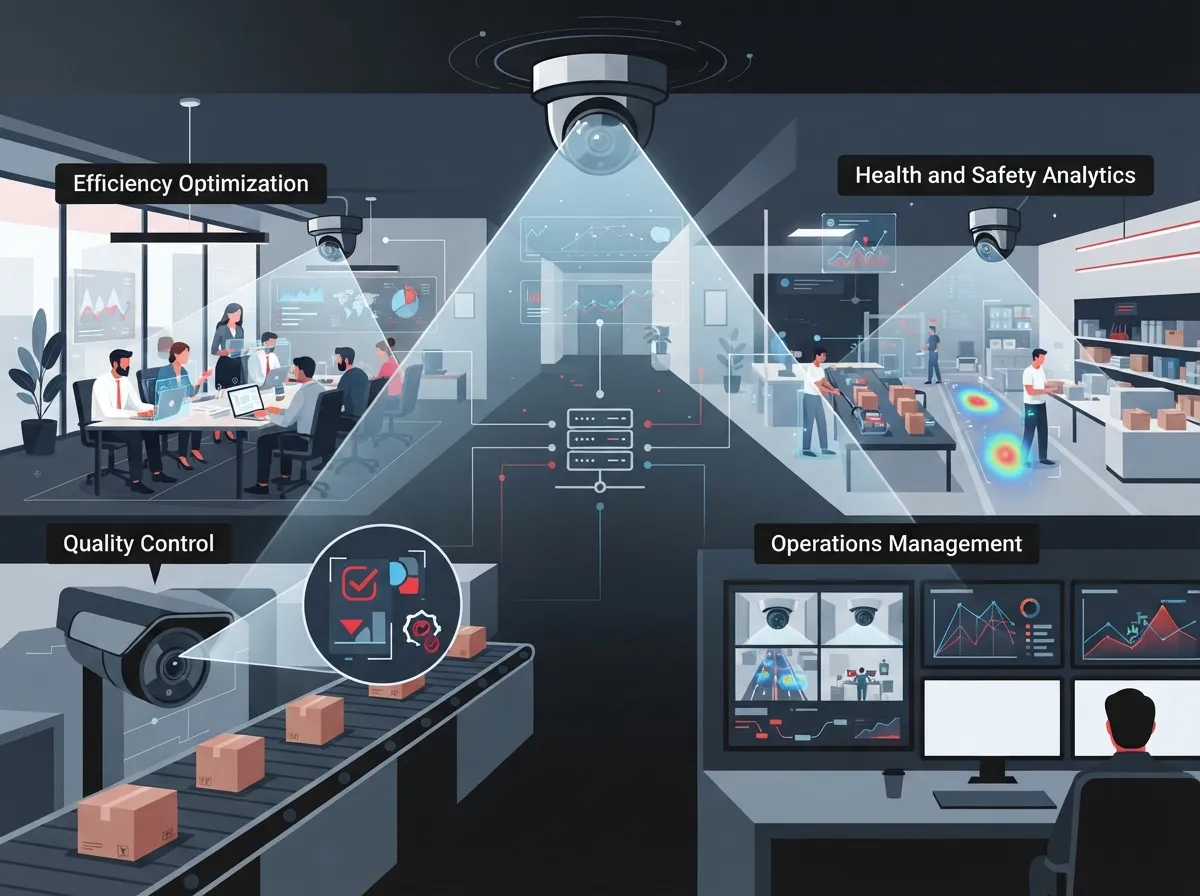
A modern business network camera is an IP-based device. It sends video over Ethernet or Wi-Fi to a video management system, a network video recorder, a cloud platform, or a storage server. That means your camera installation touches your entire network, not just your parking lot or front door.
A complete installation includes camera placement, cabling, switching, power, network setup, cybersecurity, recording, and user access. Skip a step, and you might end up with blurry footage, dropped connections, or worse, a security gap hackers can exploit. That’s why so many businesses now treat camera installation the same way they treat structured cabling services or network upgrades: with a real plan.

13 Steps for a Successful Network Camera Installation
1. Start With a Site Survey and Clear Goals
Before anyone touches a camera, walk the property. Document lighting conditions, mounting surfaces, viewing heights, and privacy boundaries. Ask yourself: do you need to identify faces and license plates, or just get general situational awareness of an area?
A camera meant for identification needs a different lens, angle, and resolution than one meant for general monitoring. Write down your retention period goals too, since that affects storage planning later.
2. Choose the Right Cameras and Lenses
Not every camera fits every spot. Outdoor entrances often need weatherproof housings and infrared night vision. Warehouses might need wide-angle lenses to cover large open spaces. Retail counters may need higher resolution for identifying faces near the register.
Take time here. The wrong camera choice means blurry footage exactly when you need it most.
3. Plan Your Structured Cabling Layout
Most business-grade cameras run on Ethernet cable, and cable runs should generally stay within about 100 meters for a standard copper connection. Longer distances usually call for fiber, an approved extender, or a smartly placed network closet.
If your building doesn’t already have solid cabling in place, this is the moment to fix that. Good network cabling installation planning now saves you headaches later, especially if you plan to add more cameras or devices down the road.
4. Calculate Your Power Over Ethernet (PoE) Needs
PoE is a game-changer because it delivers both data and electrical power through a single cable. But not all PoE is equal. Standard IEEE 802.3af works fine for basic cameras, while 802.3at or higher-power PoE is often required for infrared cameras, heaters, pan-tilt-zoom units, or cameras running onboard analytics.
As a real-world example, one popular installation guide for the Axis Q1614-E camera lists a maximum power draw of 12.95 W under 802.3af and 25.5 W under High PoE. That difference matters when you’re calculating your switch’s total power budget across a dozen or more cameras.
5. Select a PoE Switch With Enough Power Budget
Here’s a mistake we see often: businesses buy a PoE switch, plug in cameras, and run out of power halfway through. Add up the wattage requirements for every camera you plan to connect, then choose a switch with enough total power budget, plus some room to grow.
If you’re unsure how to calculate this, a managed network services partner can run the numbers for you and recommend the right hardware.
6. Design a Segmented Network for Your Cameras
This step is critical, yet it’s often overlooked. Cameras should never sit on the same network as your everyday laptops and printers. Instead, use a dedicated camera VLAN or similar segmentation to keep camera traffic isolated.
The National Institute of Standards and Technology (NIST) recommends this kind of separation in its Special Publication 800-213, noting that logically isolating IoT devices like cameras can meaningfully reduce cybersecurity risk. Restrict camera-to-server traffic with firewall rules, disable unnecessary services, and never expose cameras directly to the public internet.
7. Mount, Aim, and Weatherproof Each Camera
Once cabling and power are ready, it’s time to mount the cameras themselves. Double-check angles against your original site survey notes. A camera aimed slightly wrong can miss the exact area you need covered most.
For outdoor units, make sure housings are properly sealed against rain, humidity, and Florida’s notorious summer storms.
8. Connect to the PoE Switch and Confirm Power
With cameras mounted, connect each one to its designated switch port. Confirm that every camera is receiving power and appearing on the network. This is also a good time to label every cable run clearly, which will save enormous time during future troubleshooting.
9. Assign Network Addressing and Time Sync
Give each camera a proper IP address, whether through DHCP reservations or static addressing, depending on your network design. Also set up accurate time synchronization across all devices. Mismatched timestamps make it painfully difficult to review footage after an incident.
10. Lock Down Cybersecurity Settings
This step can’t be skipped. Change every default username and password immediately. Apply the latest firmware updates. Enable HTTPS or other encrypted management wherever the camera supports it.
Here’s a simple checklist to follow during setup:
- Change all default credentials before going live
- Apply firmware updates from the manufacturer
- Use strong, unique passwords for every device
- Enable encrypted management access where available
- Limit administrator account privileges
- Disable unused accounts and unnecessary protocols
- Monitor logs and device availability regularly
These steps align with best practices recommended in the NIST IoT device cybersecurity guidance, and they genuinely make a difference in keeping your cameras safe from unauthorized access.
11. Verify ONVIF Compatibility With Your Recording Platform
ONVIF is an industry standard that helps cameras, recorders, and video management software from different brands talk to each other. ONVIF Profile S supports basic IP video streaming and configuration. ONVIF Profile T adds more advanced features like metadata streaming, imaging controls, and event-based alarms.
Don’t just assume full compatibility because a box says “ONVIF compliant.” Always verify the exact profile and feature set supported by both your camera and your recording platform before you commit to a purchase.
12. Plan Your Bandwidth and Storage Needs
Bandwidth and storage go hand in hand, and they’re affected by resolution, frame rate, compression, and how many people are viewing streams at once. Higher resolution and lower compression mean bigger files and more strain on your network.
Here’s a basic formula: storage in bytes equals average bitrate multiplied by recording seconds, divided by 8. For example, one camera recording continuously at 4 Mb/s produces roughly 43.2 GB per day. Scale that to 20 cameras, and you’re looking at about 864 GB per day before accounting for overhead or redundancy.
| Camera Count | Bitrate per Camera | Estimated Daily Storage |
|---|---|---|
| 1 camera | 4 Mb/s | ~43.2 GB |
| 5 cameras | 4 Mb/s | ~216 GB |
| 20 cameras | 4 Mb/s | ~864 GB |
Make sure your business internet connection can handle the added load, especially if you’re streaming footage to the cloud. A sluggish connection can bottleneck your entire camera system, no matter how good the hardware is.
13. Test, Document, and Set Up Ongoing Support
Before calling the job done, test everything. Check day and night views, motion-triggered events, playback quality, and failover behavior if your internet goes down. Confirm alerts are reaching the right people.
Finally, document your entire configuration, including IP addresses, VLAN settings, camera models, and mounting locations. This documentation becomes priceless when it’s time for maintenance, upgrades, or troubleshooting months down the road.
NVR, VMS, or Cloud Platform: Which One Fits Your Business?
One question we hear constantly is what actually separates an NVR, a VMS, and a cloud camera system. Here’s a quick breakdown to help you decide:
| System Type | Best For | Key Consideration |
|---|---|---|
| NVR (Network Video Recorder) | Single-site businesses wanting local storage | Requires on-site hardware and maintenance |
| VMS (Video Management Software) | Larger operations needing multi-camera, multi-site control | More flexible but often needs IT support |
| Cloud Camera Platform | Multi-location businesses wanting remote access | Depends on reliable internet bandwidth |
Franchise operators managing multiple Tampa Bay locations often lean toward cloud platforms because they allow centralized viewing from anywhere. If that sounds like your situation, our team can walk you through what security cameras really do for your business and which platform fits your goals best.
Common Mistakes That Trip Up Installations
We’ve seen a lot of camera installations go sideways over the years. Here are the most common mistakes to avoid:
- Placing cameras on the same network as office computers, creating unnecessary security risk
- Underestimating PoE power needs and running out of switch capacity
- Skipping firmware updates, leaving devices vulnerable to known exploits
- Choosing cheap cabling that can’t handle long-term wear or weather exposure
- Failing to plan storage capacity, leading to lost footage when drives fill up
Avoiding these pitfalls usually comes down to proper planning upfront, which is exactly why so many businesses bring in a telecom and IT partner rather than going it alone.
Why Partner With a Telecom and IT Expert Instead of DIY
We get it. Some of these steps sound manageable on paper. But between calculating PoE budgets, designing VLANs, and choosing ONVIF-compatible hardware, things can get complicated fast. That’s exactly where a partner like Ideal Solutions Provider comes in. With over 24 years of experience and relationships with 35+ vetted suppliers, our team handles everything from the initial site survey to ongoing support, so you don’t have to juggle multiple vendors or guess at technical specs.
We also make sure your camera system plays nicely with your existing network infrastructure, including your business network setup and internet service. This kind of coordinated approach saves time, reduces headaches, and honestly, gives you peace of mind that everything was done right the first time.
You can also follow our team’s ongoing tips and behind-the-scenes projects on Facebook, Instagram, and YouTube for real examples of installations across Tampa Bay and beyond.
Final Thoughts on Getting Your Camera Installation Right
A network camera installation guide isn’t just a checklist. It’s really about protecting your business, your people, and your peace of mind. When cameras are planned properly, cabled correctly, and secured against cyber threats, they become a genuine asset instead of a headache waiting to happen.
Whether you’re outfitting a single Tampa office or rolling out cameras across multiple franchise locations nationwide, taking the time to plan pays off. Good structured cabling, smart network segmentation, and proper PoE planning make all the difference between a system that just works and one that truly performs.
Ready to get your camera installation done right the first time? Contact us for a free consultation, or call us today to talk through your specific needs with our friendly team.
FAQs
Q: How do I install an IP camera on a business network?
A: Start with a site survey, then run structured cabling to a PoE switch with enough power budget for your cameras. From there, segment cameras onto their own VLAN, assign addressing, lock down security settings, and connect everything to your recording platform. It sounds like a lot, but a good telecom partner can walk you through each step smoothly.
Q: What PoE switch do I need for network cameras?
A: You’ll want a switch that supports the PoE standard your cameras require, whether that’s 802.3af or the higher-power 802.3at. More importantly, add up the total wattage needed across all your cameras and choose a switch with enough total power budget, plus some extra room for future growth.
Q: Should security cameras be placed on a separate VLAN?
A: Yes, absolutely! Keeping cameras on their own VLAN helps isolate them from everyday business devices like laptops and printers. This kind of segmentation is even recommended by NIST as a smart way to reduce cybersecurity risk for IoT devices like cameras.
Q: How much bandwidth and storage do business security cameras require?
A: It really depends on resolution, frame rate, and how many cameras you’re running. As a rough example, one camera recording continuously at 4 Mb/s uses about 43.2 GB per day, so 20 cameras at that rate would need close to 864 GB daily before overhead. Planning ahead for storage saves a lot of frustration later.
Q: Are ONVIF cameras compatible with every NVR or video management system?
A: Not automatically, even if a device is labeled ONVIF compliant. ONVIF Profile S covers basic video streaming, while Profile T adds more advanced features, so it’s important to check the exact profile supported by both your camera and your recording platform before buying.