
Key Takeaways
-
A professional site assessment is essential before purchasing cameras—it identifies blind spots, power sources, and network connectivity issues that guesswork will miss, especially for 24/7 facilities.
-
An 8-camera 1080p system needs 8-16 Mbps upload speed for cloud storage; weak internet undermines even premium camera hardware, so audit your connection before deployment.
-
Use overlapping camera views at high-risk zones (gates, entrances, loading areas) to provide backup coverage and better identification when single angles are blocked or fail.
-
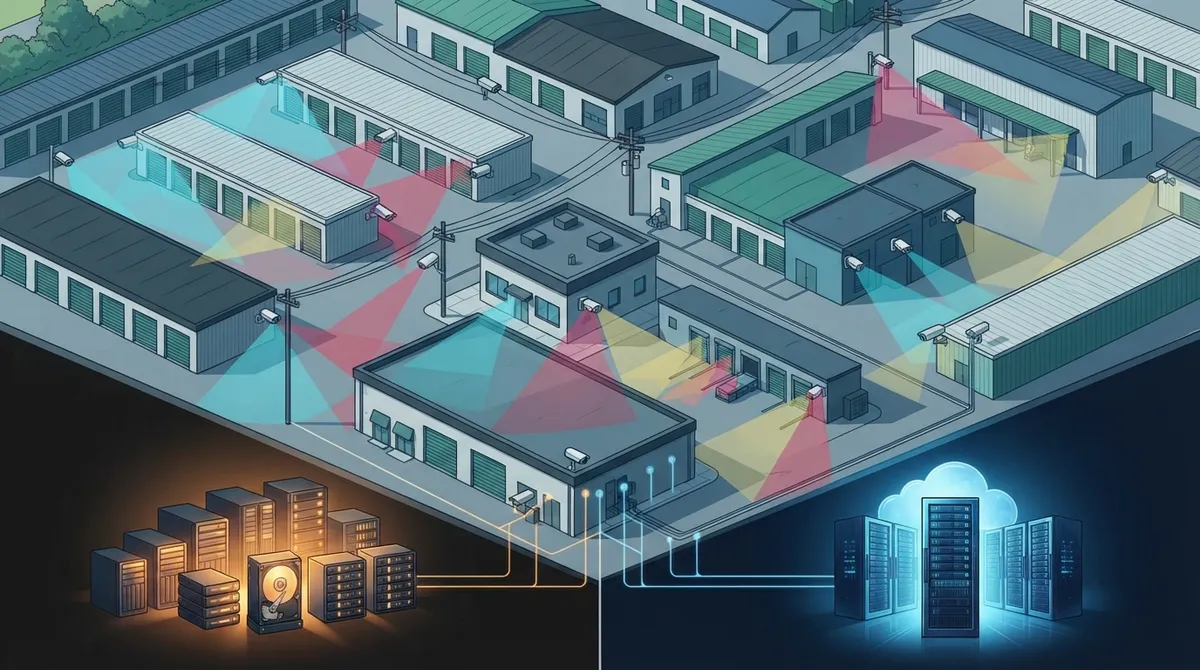
Implement a hybrid storage approach combining 7-30 days of local recording with 30-90 days of cloud archival to balance fast playback access with off-site redundancy.
Running a self-storage facility means you can’t watch every gate, hallway, and unit door yourself. That’s where storage facility cameras come in. But here’s the thing many owners don’t realize: a great camera system is only as strong as the network behind it. Weak internet, bad cabling, or no remote monitoring plan can turn even the best cameras into an expensive paperweight.
We’ve helped businesses across Tampa Bay and beyond fix these exact problems. Whether you manage one property or a growing portfolio, this guide walks you through 14 practical tips to build a storage facility camera system that actually protects your tenants, your gates, and your bottom line. Let’s dig in.
1. Start With a Real Site Assessment, Not Guesswork
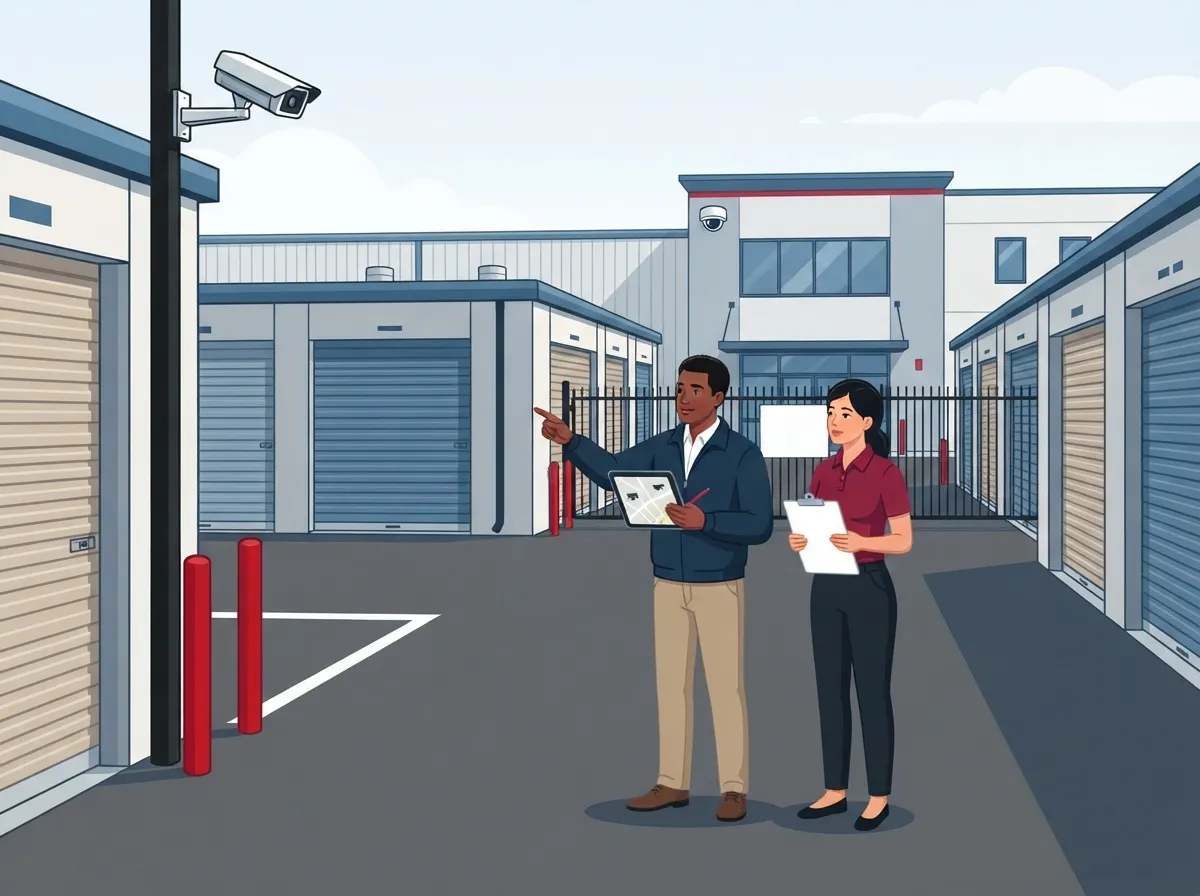
Before you buy a single camera, walk the property with someone who knows what to look for. A professional site assessment maps out your gates, lighting, power sources, and network connectivity. It also finds blind spots you might miss on your own.
This step matters because storage facilities often operate 24/7, even without staff on-site. You need cameras that cover the property around the clock, not just during business hours. A solid assessment sets the foundation for everything else on this list.
2. Prioritize High-Risk Zones First
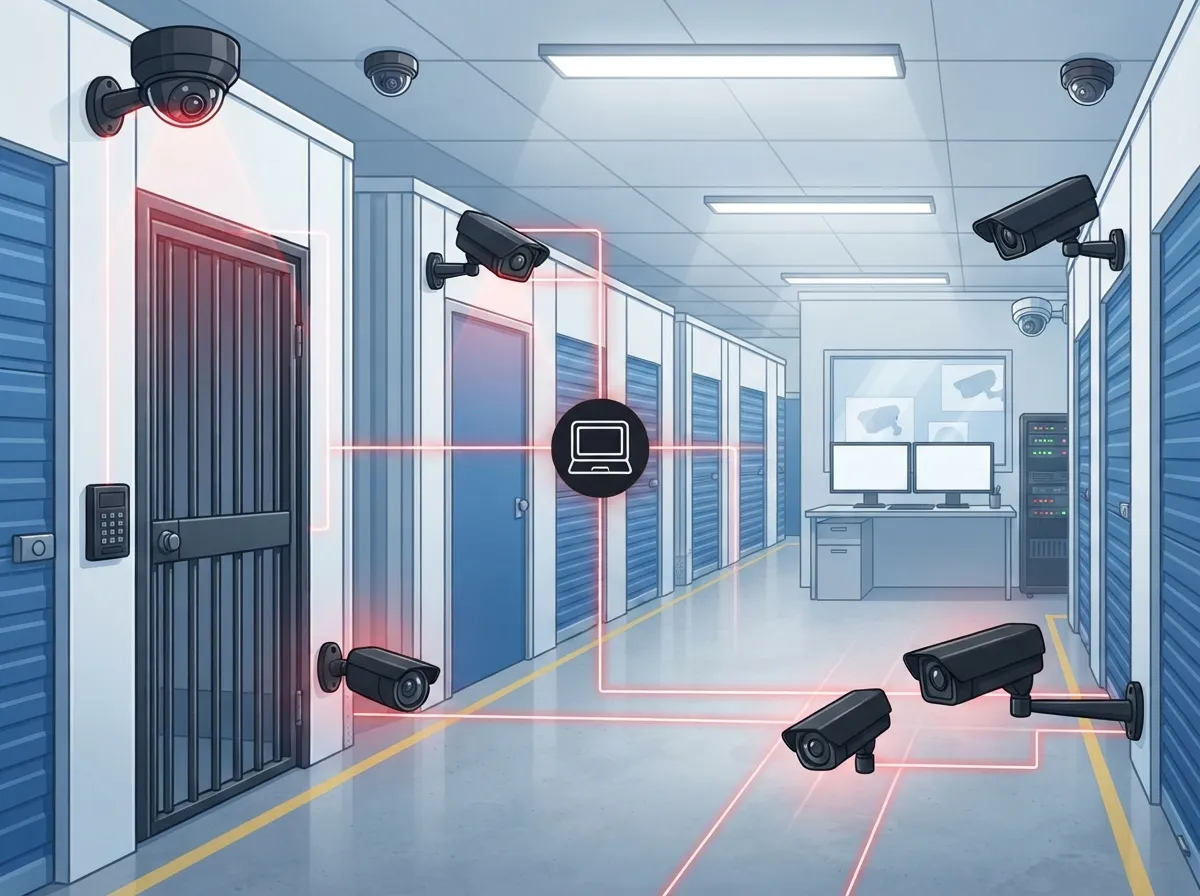
You can’t put a camera on every square foot, and honestly, you don’t need to. Focus your budget on the areas where trouble is most likely to happen.
- Vehicle entrances and exits
- Gate keypads and access points
- The leasing office and parking lot
- Drive aisles and building entrances
- Hallways, elevators, and stairwells
- Loading areas, dumpsters, and utility zones
- Perimeter fencing
Notice that tenant unit interiors aren’t on this list. Good surveillance design monitors common areas, not the inside of a rented unit. That’s both a privacy best practice and often a legal requirement.
3. Overlap Your Camera Views
One camera per zone sounds efficient, but it’s risky. If that single camera gets blocked, vandalized, or simply fails, you lose your only record of that area.
Overlapping views from two or more angles gives you backup coverage. It also helps with identification, since a face or license plate caught from one angle might be blurry, but a second camera can fill in the gaps.
4. Choose Weather-Resistant, Low-Light Ready Cameras
Storage facilities are outdoor environments by nature. Your cameras need to handle rain, heat, humidity, and bright Florida sun without missing a beat.
Look for cameras rated for outdoor use with infrared or low-light recording capability. Wide dynamic range is also worth the investment, especially near office windows or areas where headlights create harsh contrast against darker corners.
5. Understand Your Bandwidth Needs Before You Buy
This is where a lot of storage operators get tripped up. Cameras need bandwidth, and cloud-based systems need even more of it.
According to a 2025 bandwidth reference from iFovea, a single 1080p H.264 camera typically needs about 2 to 4 Mbps and can generate 21 to 43 GB of footage per day. Scale that up, and an 8-camera 1080p H.265 system may need roughly 8 to 16 Mbps of upload capacity just for cloud transmission. If your current connection can’t handle that load, your footage will lag, drop frames, or fail to upload entirely.
This is exactly why pairing your camera project with a review of your high-speed internet for business setup matters so much. Bad internet undermines even the best camera hardware.
6. Pick the Right Compression Format
Not all video compression is created equal. H.265, also called HEVC, commonly reduces storage requirements by up to 50% compared to H.264 at similar quality, according to a 2025 report from iS3 Tech Services.
That means lower storage costs and less strain on your network. If your current system still relies on older H.264 cameras, it might be time for an upgrade.
7. Decide Between Local, Cloud, or Hybrid Storage
This is one of the biggest decisions you’ll make. Each option has real trade-offs.
| Storage Type | Best For | Key Consideration |
|---|---|---|
| Local (NVR/DVR) | Fast playback, works during internet outages | Vulnerable if equipment is stolen or damaged on-site |
| Cloud Storage | Remote access, off-site backup, multi-location management | Depends heavily on stable, fast internet |
| Hybrid | Balances speed with off-site redundancy | Slightly more complex to set up and maintain |
A hybrid approach, combining local retention of roughly 7 to 30 days with cloud archival extending 30 to 90 days or longer, is a common setup according to a 2025 reference from Zimyelectronics. This gives you fast access to recent footage while keeping older recordings safely backed up off-site.
8. Set a Retention Policy That Matches Your Risk
How long should you keep footage? A commonly cited baseline for storage-facility video retention is around 30 days, according to a 2025/2026 guide from Backstreet Surveillance. Higher-risk sites may need longer.
The right number for your facility should come from your business needs, insurance requirements, and any applicable legal rules, not a one-size-fits-all guess. Talk to your insurance provider and legal counsel to nail down the right timeframe.
9. Use Motion Detection Wisely
Continuous recording is smart for high-risk zones like gates and entrances. But in low-traffic areas, motion-based recording can cut storage consumption by more than 80%, according to iS3 Tech Services.
The key is balance. Don’t rely solely on motion detection for the areas that matter most, but do use it to save space and cost where it makes sense.
10. Build in PoE Infrastructure From the Start
Power over Ethernet (PoE) lets your cameras get power and data through a single cable. This simplifies installation and reduces the number of separate power runs you need.
A properly designed network with structured cabling and PoE switches makes future camera additions much easier. If you’re planning new construction or a major renovation, this is the time to get your cabling right. Our team has written extensively about professional structured cabling services if you want to dig deeper into this topic.
11. Lock Down Your Cybersecurity
A camera system connected to the internet is a target for bad actors if it’s not secured properly. Don’t skip this step.
- Use strong, unique passwords for every camera and user account
- Set up role-based access so only certain staff can view or export footage
- Enable multifactor authentication wherever it’s available
- Keep firmware updated on all devices
- Segment your camera network away from other business systems
- Restrict who can export or download footage
These steps protect both your tenants’ privacy and your business from liability. A trusted security camera partner can help you set these controls up correctly from day one.
12. Integrate With Gate Access and License Plate Recognition
Modern storage facility cameras don’t have to work alone. Many systems now integrate with gate access control and license plate recognition tools.
This means you can automatically match a vehicle entering your gate with a tenant’s account, creating a stronger audit trail. If a gate code is misused or shared, you’ll have footage and data to back up your investigation. Pairing your cameras with a cloud-based access control system makes this kind of integration much smoother.
13. Post Clear Signage and Set Written Policies
Surveillance signage isn’t just a formality. It’s often a legal requirement and it also serves as a deterrent.
Beyond signage, write down your footage-retention policy, your evidence-export process, and who on your staff has access to recordings. Consult your state and local rules on privacy, recording consent, and data protection, since these vary by jurisdiction. Having clear documentation protects your business if footage is ever requested for an investigation or legal matter.
14. Partner With a Telecom Provider for Ongoing Monitoring
Cameras aren’t a “set it and forget it” purchase. They need ongoing maintenance, firmware updates, and network monitoring to keep working reliably.
This is where a dedicated telecom partner adds real value. At Ideal Solutions Provider, we help storage facility owners design the network behind their cameras, from PoE switches and managed Wi-Fi to SD-WAN and remote monitoring. With over 24 years of experience and partnerships with 35+ vetted suppliers, we act as a single point of contact so you’re not juggling separate vendors for internet, cabling, and cameras.
If your current setup relies on shaky internet or outdated cabling, check out our guide on how to improve business network performance for practical next steps.
Bringing It All Together
Storage facility cameras work best as part of a bigger picture. Your Internet Service Provider connection, your cabling, your storage architecture, and your monitoring plan all need to work together. Skip one piece, and the whole system gets weaker.
We’ve seen it time and again: facilities with strong internet, smart camera placement, and a clear retention policy catch problems faster and resolve disputes with less stress. Facilities without that foundation often struggle when it matters most.
You can also follow our latest tips and behind-the-scenes updates on Facebook, Instagram, and YouTube for more real-world advice on business telecom and security setups.
Ready to Strengthen Your Storage Facility’s Security?
Building the right storage facility camera system takes more than picking hardware off a shelf. It takes the right network, the right storage plan, and a partner who understands both telecom and security. If you’re ready to get a clear picture of what your facility needs, reach out to our team for a free consultation, or give us a call to talk through your project today.
FAQs
Q: What are the best camera locations for a self-storage facility?
A: Focus on vehicle entrances, gate keypads, the leasing office, parking lots, drive aisles, hallways, stairwells, loading areas, and perimeter fencing. These high-traffic and high-risk zones give you the best coverage for the money you spend.
Q: How many security cameras does a storage facility need?
A: There’s no magic number since it depends on your property size and layout. A good rule of thumb is to overlap coverage at every entrance and high-risk zone so you’re never relying on just one camera angle.
Q: Should storage facility cameras record continuously or only when motion is detected?
A: High-risk zones like gates and entrances usually deserve continuous recording. Motion-based recording works great for low-traffic spots and can cut storage use by more than 80%, so a mix of both often makes the most sense.
Q: What internet upload speed is required for cloud storage facility cameras?
A: An 8-camera 1080p system using H.265 compression may need roughly 8 to 16 Mbps of upload speed, though actual needs vary based on bitrate and motion. It’s smart to test your current connection before committing to a full cloud setup.
Q: How long should storage facility security camera footage be retained?
A: A common baseline is around 30 days, though higher-risk facilities may want longer retention. The right answer really depends on your insurance requirements, local laws, and how your business handles disputes or investigations.