
Key Takeaways
-
Place your telecom room centrally within 90 meters of all outlets using actual cable routes, not straight lines, and add secondary closets on large floors to avoid exceeding distance limits that degrade connection speed.
-
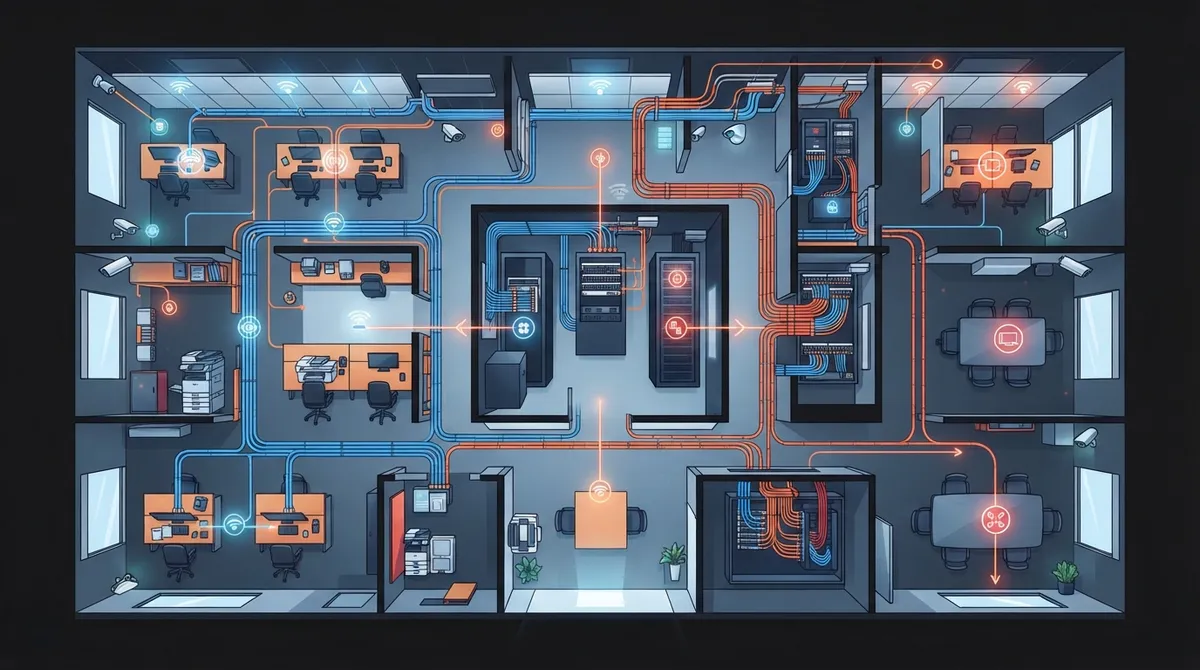
Map cable outlets to every device needing wired connection—not just desks—including Wi-Fi access points, security cameras, printers, conference room AV, and access control readers to prevent costly relocations later.
-
Specify Category 6A copper cabling for new office builds to provide growth headroom for future technology demands, and use fiber optic for backbone links between closets to handle longer distances and higher capacity.
-
Keep data cables physically separated from power lines, size cable trays for only 25% initial fill ratio to allow expansion, and coordinate PoE power budgets with cable bundles to prevent heat and power supply problems.
-
Require written certification test results for every installed cable link, create comprehensive labeling and as-built documentation before installation, and reserve extra pathway and rack space to support business changes without system overhauls.
-
Hire a professional cabling contractor familiar with current ANSI/TIA standards and local codes rather than attempting DIY installation, as they coordinate multiple systems and prevent costly mistakes that require rework.
Picture this: your team just moved into a shiny new office. The desks look great, the coffee machine hums along, and then someone plugs in a laptop and nothing happens. The nearest data jack is across the room, behind a filing cabinet. Sound familiar? It happens more often than you’d think, and it usually comes down to one thing: nobody mapped out the cabling before the walls went up.
Good cabling layout planning for office spaces is the quiet hero of every smooth telecom setup. It decides how well your VoIP phones, Wi-Fi, cameras, and computers perform for the next ten years or more. The good news? You don’t need to be a network engineer to get it right. You just need a clear plan and a friendly guide.
In this article, we’ll walk through five simple steps that small business owners, office managers, IT managers, and franchise operators can follow. Ready to untangle things? Let’s dive in.
Why Cabling Layout Planning for Office Spaces Matters
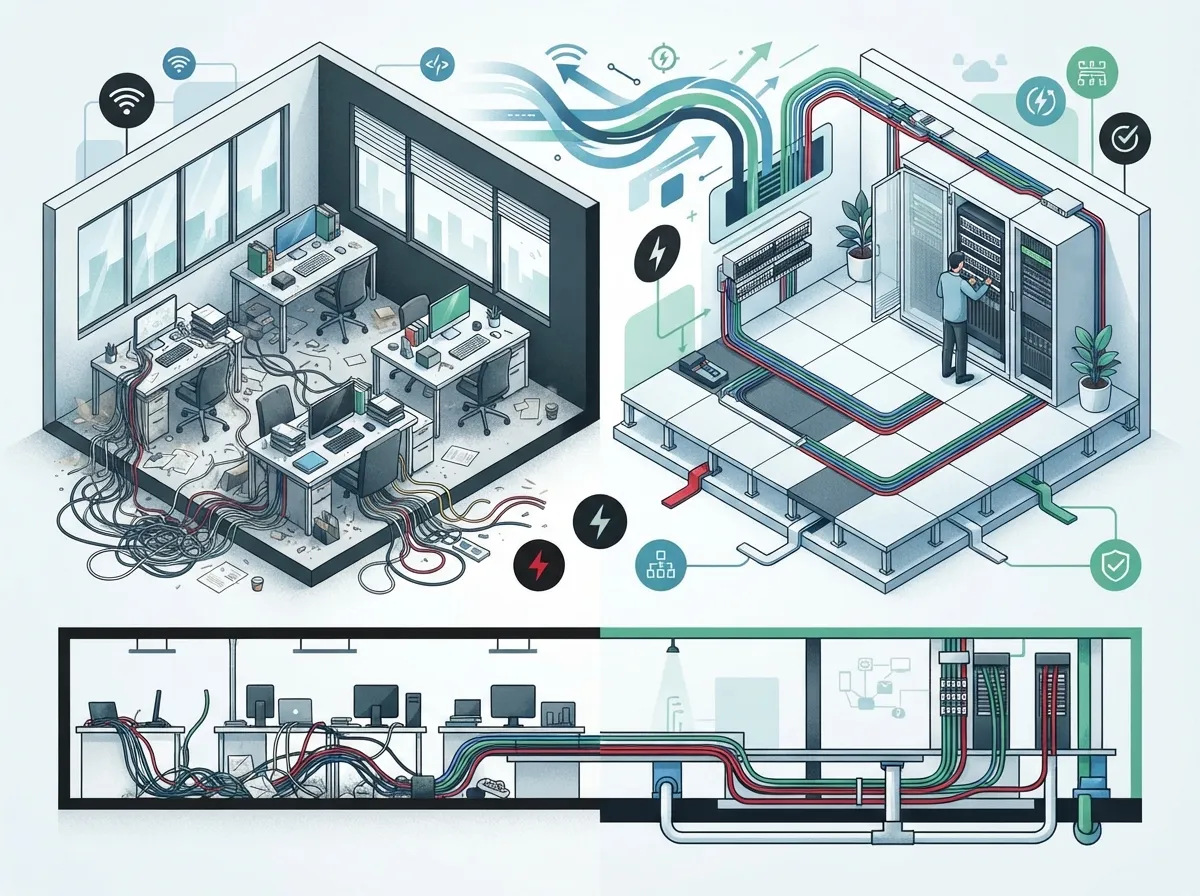
Think of your cabling system as the plumbing of your business. You never notice it when it works. You notice it immediately when it doesn’t. A smart layout is the difference between a network that grows with you and one that needs ripping out every few years.
A well-planned structured cabling system supports data, VoIP phones, Wi-Fi access points, audiovisual gear, security cameras, and building systems, all from one organized design. When you skip the planning, you often end up with messy add-on wiring, slow speeds, and costly fixes. If you want to see how the two approaches stack up, read our take on structured cabling vs. ad-hoc wiring.
Here’s what a solid plan gives you:
- Fewer outages: Clean, tested cable runs mean fewer mystery slowdowns.
- Easier changes: Moving a desk or adding a phone becomes a quick task, not a project.
- Lower long-term cost: You pay once for a system built to last, not again and again for patches.
- Better support for new tech: Cloud phones, cameras, and access control all rely on a strong wired backbone.

Step 1: Know the Standards Before You Draw a Single Line
Before anyone sketches a floor plan, it helps to know the rulebook. Don’t worry, it’s friendlier than it sounds. Commercial cabling follows a set of industry standards that keep every project consistent and safe.
Here are the key ones to know:
- ANSI/TIA-568 family: Covers cabling performance and layout (topology).
- TIA-569: Covers pathways and spaces, like where cables run and where equipment lives.
- TIA-606: Covers labeling and record keeping.
- TIA-607: Covers bonding and grounding.
Standards get updated over time, and local electrical and fire codes can add extra rules. So always confirm the current editions and your local requirements with your project team or the local authority. A pro cabling partner will handle this part for you. If you’re curious how a contractor fits in, check out why to hire a commercial network cabling contractor.
Step 2: Place Your Telecom Rooms and Closets Wisely
Your telecom room (or network closet) is the heart of the system. Every cable from every outlet travels back to this spot. So where you put it matters a lot.
The biggest rule is distance. For standard twisted-pair copper cabling, the commonly applied limit is 90 meters (about 295 feet) for a permanent link and 100 meters for the full channel, which includes patch cords. Go beyond that and you risk slow or unreliable connections. Always verify the exact limits against the standard edition used for your project.
Tips for Choosing the Right Spot
- Check the real floor plan. Measure the actual cable route, not just a straight line. Cables bend around walls, up through ceilings, and down corners.
- Stay central. A central location keeps every run short and balanced.
- Think about cooling and power. Network gear makes heat and needs reliable power.
- Add more closets on big floors. If one room can’t reach every outlet within the distance limit, plan a second closet.
- Keep it secure and accessible. Locked, but easy for your IT team to reach.
For multi-floor buildings, you’ll also plan backbone links between closets. Fiber is the usual pick here because it handles longer distances and higher speeds. Our guide on how to choose fiber cabling for your business network breaks this down nicely.
Step 3: Map Outlets to Devices, Not Just Desks
Here’s where a lot of offices trip up. They plan one jack per desk and call it a day. But your office has far more than desks that need a connection.
Walk through your space and list everything that needs a wired link:
- Computers and docking stations
- Desk phones and VoIP handsets
- Printers and copiers
- Wireless access points (Wi-Fi)
- Conference-room screens and video gear
- Security cameras
- Door access control readers
- Point-of-sale terminals or other special equipment
Then match each device to a spot on the floor plan. Coordinate with your furniture layout, ceiling plan, and power outlets so jacks land where people actually need them, not behind a bookshelf.
A Quick Planning Table
| Device | Typical Location | Planning Tip |
|---|---|---|
| Workstation | Wall or floor box near desk | Plan extra jacks for phone and growth |
| Wi-Fi access point | Ceiling, central to coverage zone | Plan for PoE and high-grade copper |
| Security camera | Entrances, hallways, parking areas | Check distance and PoE power needs |
| Conference room | Wall, table box, display location | Plan for AV and video calls |
| Printer or copier | Shared print areas | Place near power and the closet |
| Access control reader | Door frames | Coordinate with door hardware |
Wi-Fi deserves a special note. Many access points rely on a wired connection back to the closet, and recent industry guidance reportedly calls for at least two Category 6A-or-higher runs to each wireless access point. Check the current standard text and your project needs before you finalize this. To learn how wired and wireless work together, see structured cabling vs. wireless.
Step 4: Choose the Right Cable Types and Pathways
Now for the fun part: picking your materials. The right choice depends on speed needs, distance, budget, and how long you want the system to last.
Copper or Fiber?
- Category 6A copper: Commonly specified for new, high-performance horizontal cabling to desks, access points, and cameras.
- Category 6 copper: A solid option for many standard office needs. Our post on choosing between Cat6 and Cat6A helps you compare.
- Fiber optic: Used for backbone links between closets and for longer, higher-capacity connections.
Many offices pick Cat6A for new builds because it gives more headroom for growth. Still, the best answer depends on your applications and budget, so talk it through with your cabling partner.
Plan Smart Pathways
Pathways are the routes your cables travel, such as cable trays, conduit, and ceiling spaces. A few rules of thumb keep them healthy:
- Keep data cables away from power lines. Electrical wiring and other sources can cause interference.
- Leave room to grow. BICSI planning material suggests sizing cable trays for an initial maximum fill ratio of about 25 percent. Confirm the guidance that fits your project.
- Keep routes accessible. If you can’t reach the cable, you can’t fix it.
- Use proper cable management. Tidy bundles and supports protect cable performance. See our tips on how to set up cable management.
Don’t Forget Power Over Ethernet (PoE)
PoE sends power and data over one cable. It’s great for phones, access points, and cameras. But it creates heat inside cable bundles, especially when many powered devices share the same pathway. Plan your cable choice, bundle size, and switch power budget together so nothing runs too hot or runs short on power.
Step 5: Plan for Labels, Testing, and Future Growth
You’ve designed the layout. Now set yourself up for easy life after install day. This final step often gets skipped, and it’s the one you’ll thank yourself for later.
Labeling and Records
Decide on a clear labeling system before installation starts. A strong closeout package usually includes:
- Outlet and port schedules
- Rack and patch-panel identifiers
- As-built drawings showing the real cable routes
- Test results for every installed link
These records turn future moves, adds, and changes into simple tasks instead of guesswork.
Testing and Acceptance
Looking at a cable tells you nothing about its performance. Ask for certification testing that checks each link against the cable category and standard in your specification. Then get the results in writing. This proves your system meets the performance you paid for.
Room to Grow
Your business will change, so plan for that. Reserve extra pathway space and rack room. Consider spare cable runs or ports where they make sense. Franchise operators and growing mid-sized teams especially benefit from a layout that repeats cleanly across locations. Wondering how long all this takes? Here’s a look at how long structured cabling installation takes.
Common Cabling Layout Mistakes to Dodge
Even smart teams slip up. Keep an eye out for these frequent missteps:
- Planning jacks only for desks and forgetting access points, cameras, and AV
- Putting the closet too far from outlets and breaking the distance limit
- Running data cable right next to power lines
- Skipping labels and documentation
- Accepting the install without certification test results
- Using every pathway slot on day one, leaving no room for growth
For a deeper look, our post on 12 structured cabling mistakes that hurt your business is a helpful read.
Who Should Handle Your Cabling Layout?
You might be tempted to tackle this yourself, and for a tiny setup that can work. But for most offices, a professional plan pays off. Pros know the standards, local codes, and testing steps, and they can coordinate cabling with your phones, internet, and security systems all at once.
That’s where Ideal Solutions Provider comes in. With over 24 years of experience and 35+ vetted supplier partners, the Tampa-based team acts as your single point of contact. They handle consultation, installation, and ongoing support for VoIP phones, high-speed internet, structured cabling, networking, cloud security cameras, and access control, so you’re not juggling a pile of vendors. If you’re weighing options, see DIY vs. professional cabling for a friendly comparison.
Wrapping Up
Great cabling layout planning for office projects come down to five simple moves: know the standards, place your telecom rooms smartly, map outlets to every device, pick the right cables and pathways, and plan for labels, testing, and growth. Do these well, and your network will quietly support your team for years.
Ready to build a cabling plan that fits your space and your goals? Contact us for a free consultation, or call us to talk with a real person who’s happy to help. You can also follow along on YouTube for more helpful telecom tips.
FAQs
Q: How do I plan an office network cabling layout?
A: Start with your floor plan and list every device that needs a wired connection, from computers and phones to Wi-Fi access points and cameras. Then pick telecom room locations, choose cable types and pathways, and plan for labeling, testing, and future growth. A professional cabling partner can help you check everything against current standards.
Q: What is the maximum Ethernet cable run length in an office?
A: For standard twisted-pair copper cabling, the commonly applied limit is 90 meters for the permanent link and 100 meters for the full channel, including patch cords. Always confirm the exact limits against the standard edition used in your project. If a run is too long, add another telecom closet or use fiber.
Q: Should a new office use Cat6 or Cat6A cabling?
A: Category 6A is commonly specified for new high-performance copper cabling because it gives you more room to grow. Cat6 can still work well for many standard needs. The best pick depends on your applications, distances, and budget, so it’s worth talking it through with a cabling pro.
Q: How should cabling be planned for Wi-Fi access points and PoE devices?
A: Plan wired runs to every access point, camera, and powered phone, and coordinate cable choice, bundle size, and switch power budgets so heat and power stay under control. Many guidelines suggest high-grade copper, such as Category 6A, for access points. Confirm the current standard and your project needs before finalizing.
Q: What testing and documentation should a cabling contractor provide?
A: You should receive outlet and port schedules, rack and patch-panel labels, as-built drawings, and certification test results for each installed link. Visual checks alone can’t prove cable performance, so ask for written test results. These records make future changes much simpler.