
Key Takeaways
-
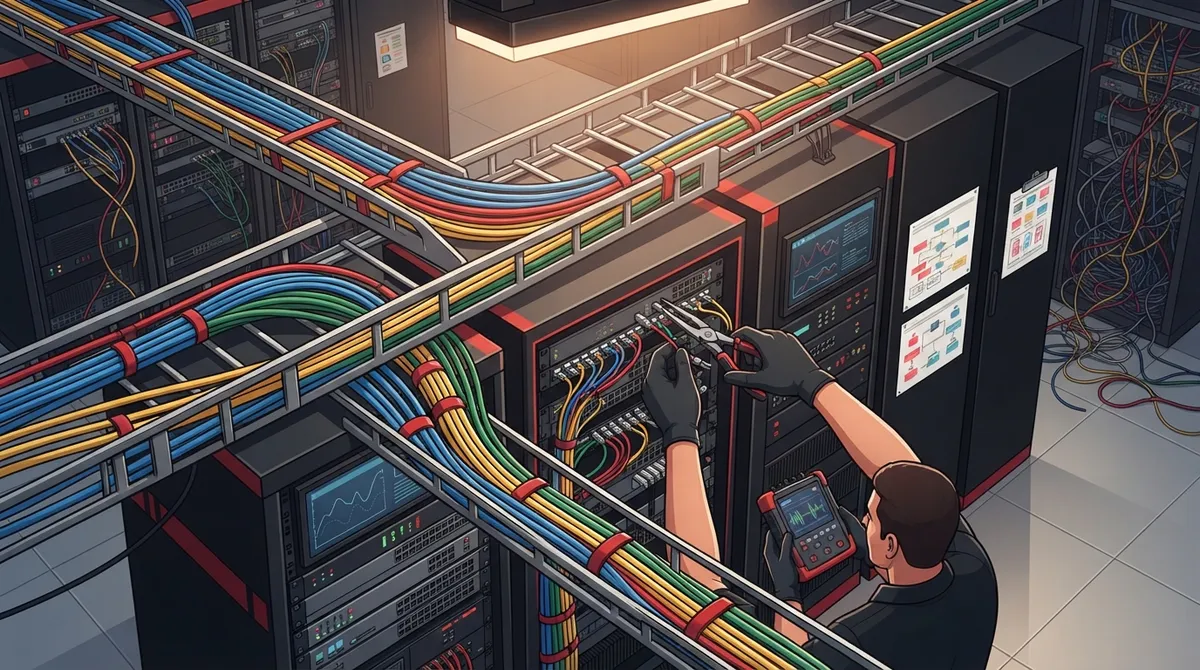
Label both ends of every cable with unique IDs and maintain updated documentation in a spreadsheet or diagram, as outdated maps can mislead troubleshooting efforts more than having no map at all.
-
Establish a risk-based inspection schedule for racks, patch panels, and pathways based on your site's criticality and change frequency, checking for damaged jackets, loose connectors, and crushed cables.
-
Follow manufacturer bend radius and pulling tension limits, use reusable hook-and-loop ties instead of tight zip ties, and leave service slack to prevent cable stress and performance degradation.
-
Use calibrated field testers with applicable TIA/ISO standards for new or altered links rather than basic continuity checks, and save certification results as performance baselines for future troubleshooting.
-
Plan all moves, adds, and changes by verifying correct ports at both ends, scheduling low-impact times, using two-person checks for critical circuits, and updating records immediately afterward.
-
Inspect fiber connector end faces with appropriate tools before mating, clean them using proper procedures, cap unused ports, and never look directly into active fibers due to laser safety hazards.
Picture this: it’s Monday morning, the phones are flaky, the Wi-Fi keeps dropping, and nobody can figure out why. After an hour of finger-pointing, someone crawls under a desk and finds a patch cord bent into a pretzel, hanging from a port that’s been loose for months. Sound familiar? You’re in good company. Most network trouble in a small office doesn’t come from fancy hardware failing. It comes from the humble cables nobody has looked at in years.
The good news is that cabling maintenance best practices are simple, friendly, and well within reach for any business. You don’t need to be a network engineer. You just need to know which mistakes to avoid and which habits to build.
In this guide, we’ll walk through six common cabling maintenance mistakes we see in business telecom environments. We’ll also share easy fixes, a handy checklist, and answers to the questions owners and office managers ask most. Whether you run a small shop, manage a growing team, or oversee multiple franchise locations, these tips will help keep your phones, internet, and cameras humming along. Let’s get started!
Why Cabling Maintenance Matters More Than You Think
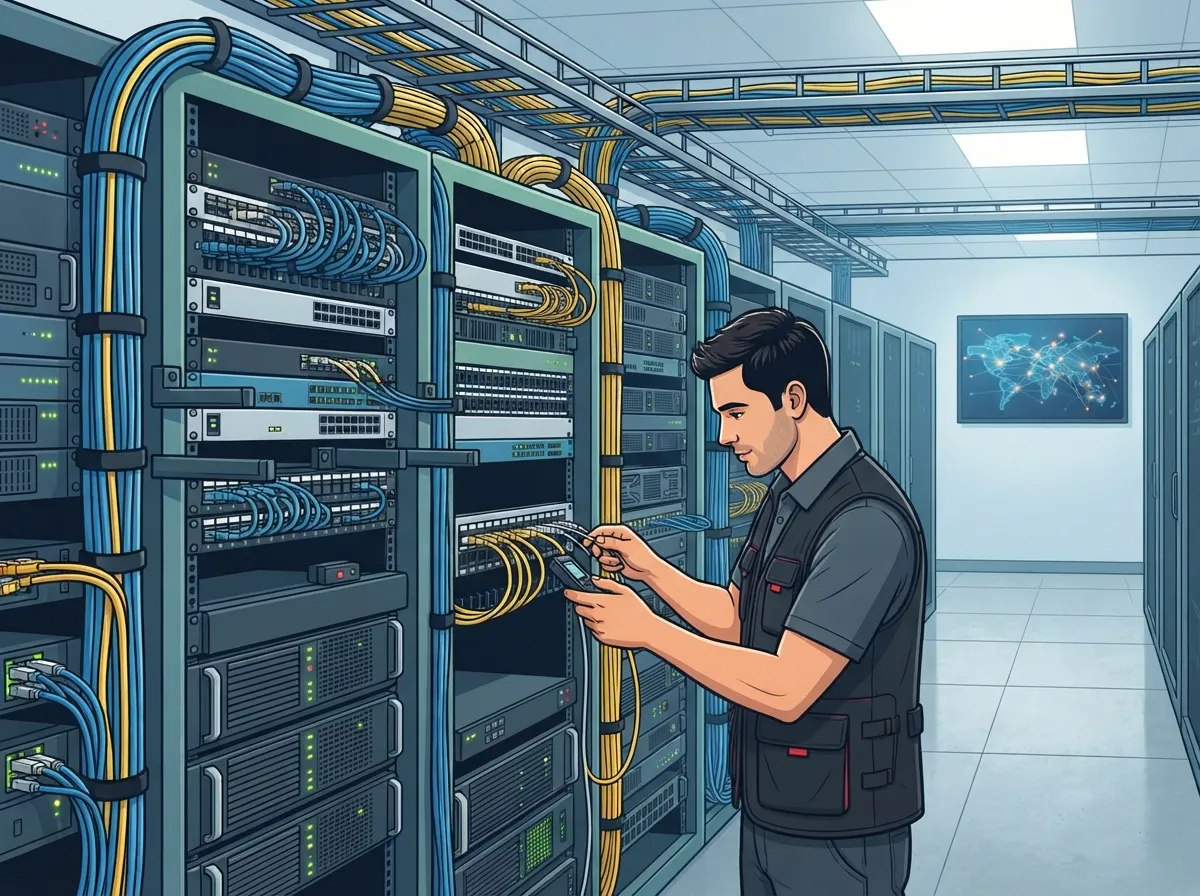
Cabling is the quiet backbone of your business. Your VoIP phones, security cameras, access control readers, and Wi-Fi access points all depend on it. When cabling is healthy, nobody notices. When it isn’t, everything feels broken at once.
Think of your cabling as managed infrastructure, not a one-time install. A well-run structured cabling system is designed to last for years. But it still needs regular care, just like your company vehicles or HVAC system.
Good cabling maintenance best practices help you:
- Prevent surprise outages and dropped calls
- Find small problems before they become big, expensive ones
- Speed up troubleshooting when something does go wrong
- Protect your investment in phones, internet, and security gear
- Make future moves, adds, and changes much easier
If you’re new to the topic, our guide on what structured cabling is for your business network is a great starting point.
Mistake 1: Skipping Labels and Documentation
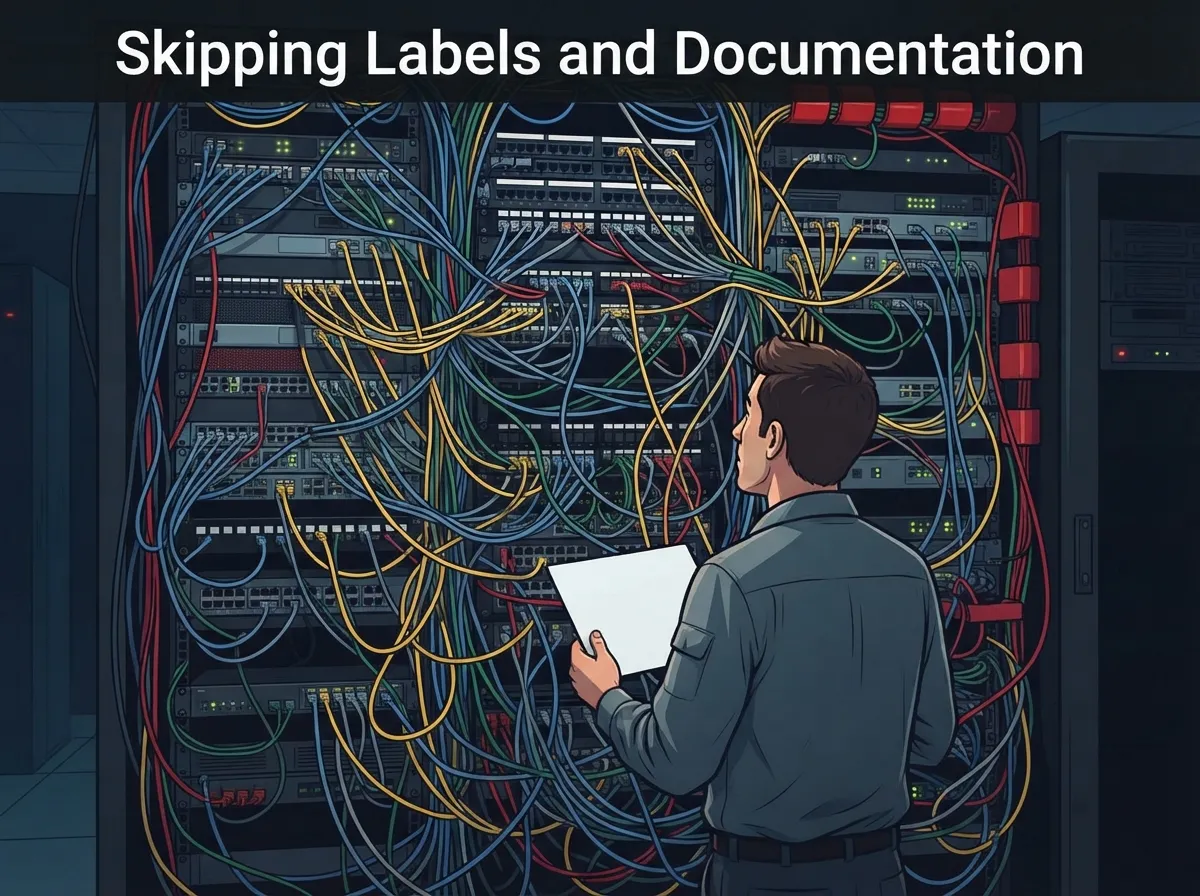
This one tops the list for a reason. Unlabeled cables are a headache waiting to happen. When something fails, your team ends up tracing cables by hand, unplugging things at random, and hoping for the best. That’s how a small fix turns into a bigger outage.
What Good Records Look Like
Treat your cabling like an inventory. Keep an accurate record of cable IDs, routes, rack and patch panel ports, and the services they connect to. The ANSI/TIA-606 standard offers guidance on administration and labeling, and it’s a solid reference for any business.
Here’s a simple way to build better records:
- Label both ends of every cable with a unique ID.
- Label patch panel ports and wall plates so they match the cable IDs.
- Keep a spreadsheet or diagram showing where each cable goes and what it supports.
- Update the records after every move, add, or change. This is the step most people forget.
- Store a backup copy somewhere your team can find it fast.
That last point about updating records matters most. A map that’s two years out of date is almost worse than no map at all, because it sends you down the wrong path.
If you’re planning a build-out, our post on how to build structured cabling documentation that works walks through the process step by step.
Mistake 2: Never Inspecting Pathways, Racks, and Panels
Out of sight, out of mind is the enemy of good maintenance. Many offices haven’t opened the network closet in years. Meanwhile, dust piles up, cables get shoved around, and small damage goes unnoticed.
What to Look For During an Inspection
A quick, regular walk-through can catch problems early. Check your racks, patch panels, pathways, and terminations for:
- Damaged or cracked cable jackets
- Loose connectors or stressed terminations
- Cables that are crushed, pinched, or bundled too tightly
- Blocked airflow or cluttered access to equipment
- Unreadable, faded, or missing labels
- Overfilled trays and congested pathways
Here’s an honest truth: there’s no magic, one-size-fits-all inspection schedule. How often you inspect should depend on your risk level. A busy call center or a medical office that can’t afford downtime needs more frequent checks than a quiet back office. Consider your site’s criticality, how often changes happen, the environment, and any manufacturer or contract requirements.
| Factor | Lower Risk Site | Higher Risk Site |
|---|---|---|
| Business impact of downtime | Minor inconvenience | Lost revenue or safety concerns |
| Change activity | Rare moves and adds | Frequent moves, adds, and changes |
| Environment | Clean, climate-controlled | Dusty, hot, or high-traffic areas |
| Suggested approach | Periodic visual checks | More frequent inspections plus testing |
Use this table as a thinking tool, not a rulebook. Set a schedule that fits your real-world risk, then stick to it.
Mistake 3: Bending, Crushing, and Over-Tightening Cables
Cables are tougher than they look, but they do have limits. Physical stress is one of the most common causes of mysterious, hard-to-find network problems. A cable can look fine on the outside and still be performing poorly on the inside.
Protect Your Cables Mechanically
Every cable manufacturer publishes limits for bend radius and pulling tension. Follow them. Going past these limits can damage the cable and hurt performance, even if the link still seems to work.
A few friendly rules of thumb:
- Respect bend radius. Avoid sharp kinks and tight corners.
- Don’t over-pull. Excess pulling tension can stretch and damage the cable.
- Leave some service slack. A little extra length makes future changes easier and prevents strain.
- Use strain relief. This keeps connectors from taking the weight of the cable.
- Don’t overfill trays. Crowded pathways crush the cables at the bottom.
And here’s a tip that saves a lot of grief: skip the tight plastic zip ties. Overtightened ties can squeeze cables and degrade performance over time. Reusable hook-and-loop ties are generally a better choice, especially for bundles you’ll need to change later. They’re gentle, adjustable, and easy to remove.
Also keep in mind the length limits for copper runs. A common standards-based limit for a balanced twisted-pair channel is up to 100 meters total, typically up to 90 meters of permanent link plus patch cords. Always confirm the applicable cabling category and standard edition for your project. If you want to dig into this, check out how far a network cable can run.
Mistake 4: Ignoring Fiber Cleanliness and Safety
Fiber is amazing for speed and distance, but it’s picky about cleanliness. A speck of dust or a fingerprint on a connector end face can cause signal loss or link trouble. Many people are surprised by how small a contaminant can cause a big headache.
Keep Fiber Connectors Clean
Before you connect any fiber, inspect the end face. If it’s dirty, clean it using the right tools and procedures. Then inspect it again before mating the connectors.
A simple routine looks like this:
- Inspect the connector end face with an appropriate inspection scope.
- Clean it using proper fiber cleaning tools if any dust or oil shows up.
- Re-inspect to confirm it’s clean.
- Connect only when the end face passes inspection.
- Cap unused ports and connectors so they stay clean.
Safety first: never look directly into an active fiber or connector. The light can harm your eyes and you often can’t see it. Always follow laser-safety procedures.
Thinking about adding or upgrading fiber? Our fiber optic cabling facts for every office and how to choose fiber cabling for your business network articles can help you plan.
Mistake 5: Assuming a Basic Continuity Check Is Enough
Here’s a common trap. Someone plugs in a cheap tester, sees all the lights turn green, and declares the cable “good.” But a basic continuity check only tells you that the wires are connected. It doesn’t prove the cable meets performance standards.
Use the Right Test for the Job
Different situations call for different tests. Here’s a quick guide:
| Situation | Helpful Test | What It Tells You |
|---|---|---|
| New or altered permanent link | Certification with a calibrated field tester | Whether the link meets the applicable TIA/ISO limits |
| Copper troubleshooting | Wire-map and certification tests | Wiring faults, shorts, splits, and performance issues |
| Fiber loss concerns | Optical-loss testing | How much signal is lost across the link |
| Locating a fiber fault | OTDR | Where along the fiber a break or bend is |
For new or changed permanent links, use calibrated field testers and the applicable standards, and keep the results. Those saved reports are gold when something goes wrong later, because you can compare today’s performance to the original baseline.
A note on expectations: some projects require 100% testing and certification of installed cables before acceptance. That’s a project requirement, though, not a universal rule for ongoing maintenance. Your own testing needs depend on your site and contracts.
Not sure which tests apply to your setup? A trusted partner can help. Our team explains the common structured cabling standards mistakes to avoid so you can ask the right questions.
Mistake 6: Making Changes Without a Plan
Moves, adds, and changes (often called MACs) are where most accidental outages happen. Someone unplugs the “wrong” cable, bumps a neighbor, or patches into the wrong port, and suddenly a phone line or camera goes dark.
Plan Changes to Reduce Outage Risk
A little planning goes a long way. Before you touch anything, follow a simple process:
- Get approval and schedule the work at a low-impact time.
- Identify affected services and any redundant paths.
- Verify the correct port and cable at both ends before making the change.
- Avoid disturbing adjacent links. Work gently around neighboring cables.
- Validate after the change. Confirm the link and the service both work.
- Update your records. Tie it back to Mistake 1!
For critical circuits, a second-person check is a smart move whenever practical. A fresh set of eyes catches mix-ups before they cause trouble. It’s the telecom version of “measure twice, cut once.”
Planning ahead also helps when you grow. Our guide on how to plan network cabling installation in Tampa Bay shares ideas that make later changes smoother.
Pathway Discipline, Separation, and Safety
Beyond the six mistakes, a few quiet habits keep your cabling safe and compliant. Pathway discipline simply means keeping things tidy, separated, and safe.
- Maintain separation between telecom cabling and sources of electromagnetic interference where required by codes, standards, and your site design.
- Preserve firestopping at any wall or floor penetrations. If a cable is added or removed, restore the firestop properly.
- Don’t block cooling, access, or egress. Cables and equipment should never get in the way of airflow, service access, or exit paths.
- Follow local codes. Requirements vary by jurisdiction and project, so confirm what applies to you.
It also helps to know which standards matter. These are common references, though editions and applicability vary by project:
| Standard | What It Covers |
|---|---|
| ANSI/TIA-568 | Cabling performance |
| ANSI/TIA-606 | Administration and labeling |
| ANSI/TIA-607 | Bonding and grounding |
| TIA-942 | Data-center infrastructure |
Always lean on current standards and manufacturer documentation rather than generic rules of thumb. That way you’re working from facts, not folklore.
A Simple Cabling Maintenance Checklist
Want something you can print and tape inside the network closet? Here’s an easy checklist to adapt for your site:
- Records: Are cable IDs, routes, and port maps current?
- Labels: Are both ends of every cable readable and accurate?
- Physical condition: Any damaged jackets, loose connectors, or crushed cables?
- Cable management: Are bundles loose, supported, and free of overtightened ties?
- Pathways: Are trays and conduits uncrowded and unobstructed?
- Airflow and access: Are racks cool, clear, and easy to reach?
- Fiber: Are end faces inspected and clean, with unused ports capped?
- Testing: Are results saved for new or changed links?
- Safety: Is firestopping intact and separation maintained?
Run through this list on a schedule that fits your risk level, and you’ll catch most problems before your team ever feels them.
When to Bring in a Pro
Some jobs are perfect for your in-house team. Others are best left to experienced hands, especially certification testing, fiber work, and large cleanups. If you manage multiple locations, such as a franchise operation, having one trusted partner keeps standards consistent from site to site.
Ideal Solutions Provider is a Tampa-based telecom and IT partner with over 24 years of experience. We handle structured cabling, VoIP phones, high-speed internet, networking, cloud security cameras, and access control as a single point of contact for businesses nationwide. If your cabling has gotten messy, our structured cabling services can help you get back on track.
Not sure whether to handle it yourself? Take a look at DIY vs. professional cabling for Tampa offices to weigh your options. And if you’re already seeing trouble, 9 signs your Tampa business needs structured cabling now can help you spot the red flags.
Your Next Step Toward a Healthier Network
Strong cabling maintenance isn’t about perfection. It’s about building a few good habits: label and document everything, inspect on a risk-based schedule, protect cables from stress, keep fiber clean, test the right way, and plan every change. Avoid the six mistakes above and you’ll dodge most of the surprise outages that frustrate small business owners, office managers, and IT teams alike.
You’ve got this, and you don’t have to do it alone. Ready for a friendly second opinion on your cabling? Contact us for a free consultation, or call us to talk it through. You can also catch tips and updates on our YouTube channel, Facebook page, and Instagram.
FAQs
Q: How often should business network cabling be inspected?
A: There’s no single schedule that fits every business. The right interval depends on how critical your site is, how often changes happen, your environment, and any manufacturer or contract requirements. A busy, high-stakes site should check more often than a quiet back office, so set a risk-based schedule and stick with it.
Q: What should a structured cabling maintenance checklist include?
A: A good checklist covers current records and labels, cable and connector condition, tidy cable management, clear pathways, airflow and access, clean fiber end faces, saved test results, and intact firestopping. Run through it regularly, and you’ll catch most small problems before they turn into outages.
Q: What tests should be performed after a cabling repair or change?
A: For new or altered permanent links, use a calibrated field tester and the applicable TIA/ISO limits, then keep the results. A basic continuity check isn’t enough to prove standards-compliant performance. For fiber, optical-loss testing or an OTDR can help confirm the repair worked.
Q: How do you clean fiber-optic connectors safely?
A: Inspect the end face first, clean it with proper fiber cleaning tools, then inspect it again before connecting. Cap any unused ports to keep them clean. Most importantly, never look into an active fiber, and always follow laser-safety procedures.
Q: When should damaged or aging network cabling be replaced?
A: Consider replacement when cables show physical damage, repeatedly fail testing, can’t support the speeds your business now needs, or can’t be repaired to meet applicable standards. A trusted cabling partner can test your links and help you decide whether repair or replacement makes more sense.