
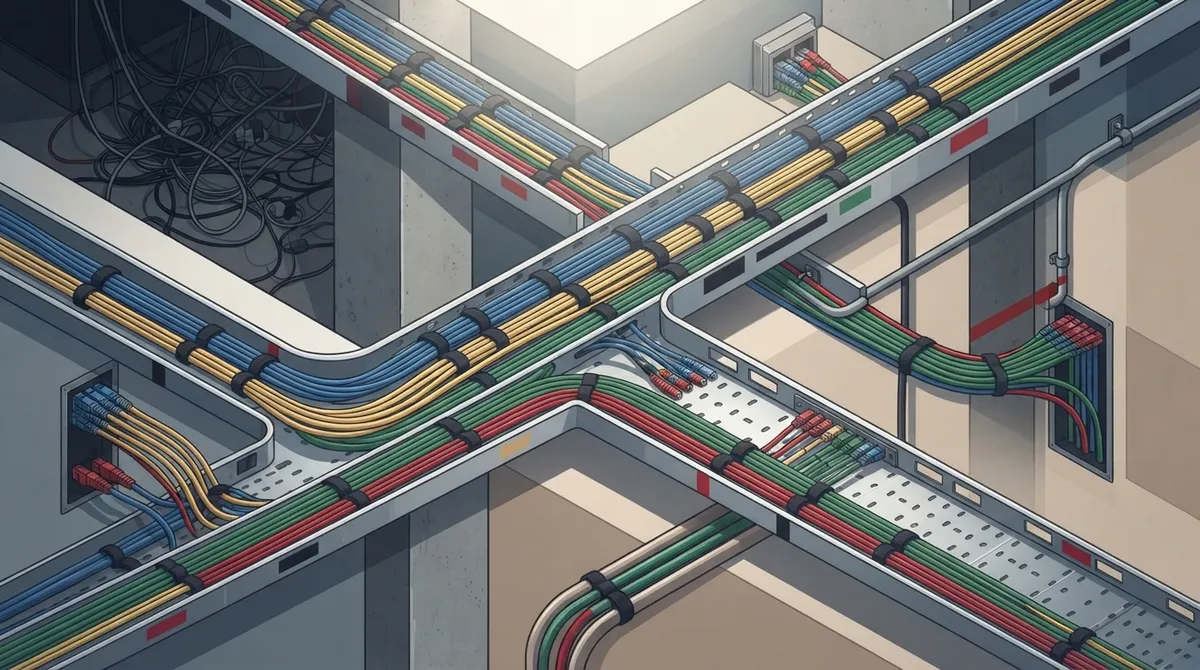
Key Takeaways
-
Label every cable at both ends with a simple naming scheme to transform a confusing mess into a clear system, making troubleshooting take minutes instead of hours.
-
Plan your cabling layout before installation and size pathways and outlets for future growth, as adding spare capacity now is much cheaper than ripping open ceilings later.
-
Use proper pathways like cable trays and J-hooks with loose hook-and-loop straps instead of tight zip ties to protect cables from damage and allow easy reconfiguration.
-
Choose Cat6 or Cat6A for modern offices and fiber optic for backbone links between floors, ensuring your cables support both current needs and future bandwidth demands.
-
Test every cable link with proper tools, certify performance levels, and create detailed as-built documentation including cable schedules to enable fast troubleshooting and future changes.
-
Keep power and data cables separated according to local electrical codes and cross at right angles when necessary, while ensuring proper firestopping, grounding, and pathway support.
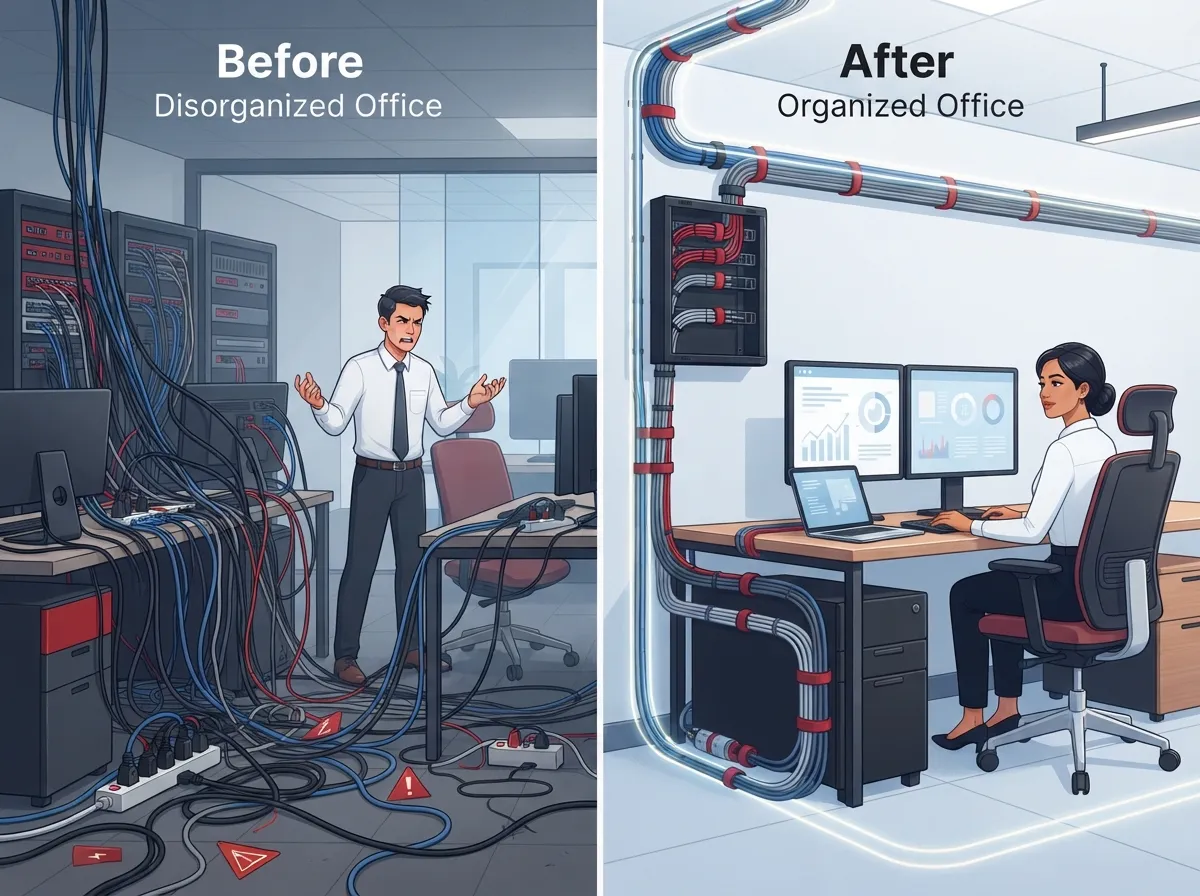
We have all seen it. You peek behind a desk or open a network closet, and there it is: a tangled nest of cables that looks like spaghetti. Nobody knows what plugs into what. Everyone is a little afraid to touch it. Sound familiar?
Good news. Learning how to organize office cabling is not as hard as it looks, and the payoff is big. A tidy cabling system means fewer outages, faster fixes, and a lot less stress for you and your team.
In this friendly guide, we will walk through the whole process. You will learn how to plan, route, label, protect, test, and document your cables. We will keep it simple and practical, whether you run a small shop, manage an office, or oversee IT for a growing company.
Let’s untangle this together.
Why Does Organized Office Cabling Matter?
Cables are the quiet heroes of your business. Your VoIP phones, Wi-Fi access points, security cameras, printers, and computers all depend on them. When cabling is messy, small problems turn into big ones.
Here is what a clean, organized system gives you:
- Faster troubleshooting. When every cable is labeled, finding a fault takes minutes, not hours.
- Fewer outages. Cables that are supported and protected are less likely to get pinched, yanked, or damaged.
- Easier changes. Moving a desk or adding a phone becomes simple instead of scary.
- Better performance. Proper routing and gentle bends protect signal quality.
- A safer workspace. Fewer trip hazards and a lower risk of heat buildup or damage.
The industry agrees that this matters. One market forecast estimates the global structured cabling market at USD 14.6 billion in 2025, which shows how many businesses are investing in doing this right.

Start With Structured Cabling Basics
The best way to organize office cabling is to follow a structured approach. Structured cabling is a planned system with a clear layout instead of random point-to-point wires.
In simple terms, it has a few main parts:
- Work-area outlets. These are the wall jacks where devices plug in.
- Horizontal cabling. These runs connect each outlet back to a telecommunications room.
- Patch panels and racks. These organize the cable ends in one central spot.
- Backbone links. These connect telecom rooms or floors to each other.
Think of it like a well-planned road system. Every route has a purpose, and everyone knows where it goes. If you want to dig deeper, our guide on what structured cabling is for your business network covers the basics in plain language.
If your office has grown over the years with cables added here and there, you may be dealing with ad-hoc wiring. Here is a quick comparison:
| Feature | Ad-Hoc Wiring | Structured Cabling |
|---|---|---|
| Layout | Grows randomly | Planned and documented |
| Troubleshooting | Slow and frustrating | Quick and organized |
| Moves and changes | Risky and messy | Simple and clean |
| Growth | Hard to expand | Built with spare capacity |
| Appearance | Tangled | Neat and professional |
Curious which approach fits your situation? Take a look at structured cabling vs. ad-hoc wiring for a closer comparison.
Step 1: Plan Before You Pull a Single Cable
Here is a secret every cabling pro knows: the best organization happens before installation. A little planning saves a lot of mess later.
Start by walking your space and making a simple map. Note every spot that needs a connection, including:
- Desks and workstations
- VoIP phones
- Wi-Fi access points
- Printers and copiers
- Security cameras
- Access control readers and door controllers
- Conference room equipment
Next, decide where your telecom room or network rack will live. Pick a spot that is central, cool, and easy to reach.
Then comes the part many people skip: plan for growth. Your business will likely add people and devices. Size your pathways and your outlet count for where you are headed, not just where you are today. It is much cheaper to add spare capacity now than to rip open ceilings later.
Not sure where to begin? Our article on how to plan network cabling installation walks through the planning process step by step.
Step 2: Choose the Right Cable Types
Not all cables are created equal. Picking the right type up front keeps your network fast and ready for the future.
| Cable Type | Best For | Good to Know |
|---|---|---|
| Cat5e | Basic, older setups | Works for light needs but is aging |
| Cat6 | Most modern offices | Solid balance of speed and cost |
| Cat6A | High-speed and PoE-heavy setups | Handles higher speeds and heat better |
| Fiber optic | Backbone links and long runs | Great for distance and heavy data |
For most offices, Cat6 or Cat6A is a smart pick for the runs to desks and devices. Fiber often shines for links between rooms or floors. You can learn more in our posts on choosing between Cat6 and Cat6A and choosing fiber cabling for your business network.
Also think about your devices. Cameras, phones, and access points often use Power over Ethernet (PoE). PoE sends power through the cable, and in big bundles that can create extra heat. Choosing the right cable and giving bundles room to breathe helps keep things safe and steady.
Step 3: Route Cables the Right Way
This is where organization really comes to life. How you run and support your cables matters just as much as which cables you pick.
Use Proper Pathways
Cables should travel on purpose-built supports, such as cable trays, J-hooks, or raceways. Please do not rest cables directly on ceiling tiles or ceiling grids, and do not tie them to pipes or other building systems. These shortcuts look quick, but they cause trouble later.
Be Gentle With Your Cables
Cables do not like to be stressed. Keep these tips in mind:
- Avoid tight bends. Follow the cable maker’s bend-radius limits.
- Do not pull too hard. Too much pulling tension can harm the cable inside.
- Skip the overtight bundles. Cinching cables too tightly can squeeze them out of shape.
BICSI, a respected group in this field, favors loosely fitted hook-and-loop straps over nylon zip ties for dressing cables. Hook-and-loop straps hold things neatly without crushing the cable. Plus, they are easy to remove and reuse when you need to make a change.
Keep Power and Data Apart
Data cables and electrical wiring should be kept separated as required by your electrical code, applicable cabling standards, and your local authority having jurisdiction (AHJ). Here is the important part: there is no single magic distance that works everywhere. Rules vary by installation and by location.
If a data cable and a power line must cross, crossing at a right angle can reduce interference. But that is a good habit, not a replacement for required separation. When in doubt, check local requirements or ask a professional.
Step 4: Label Everything (Yes, Everything)
If you take only one tip from this article, let it be this one: label your cables. Labeling is the single easiest way to turn a confusing mess into a clear system.
Here is a simple labeling approach:
- Pick a naming scheme. Keep it simple, like room number plus outlet number.
- Label both ends. The wall jack and the patch panel port should match.
- Label patch panels and racks. Mark each panel and port clearly.
- Label pathways where it helps. Tag trays and conduits so others know what is inside.
- Use durable labels. Choose printed labels that will not fade or peel.
The telecommunications infrastructure administration standard family, known as TIA-606, covers this kind of labeling and recordkeeping. You do not need to memorize it, but it is the idea behind good cable records.
A little label today saves a lot of guessing tomorrow. Future you will say thank you.
Step 5: Organize the Rack and Patch Panel
The network rack is the heart of your cabling system, and it is also where mess loves to hide. Keep it tidy with these habits:
- Use patch panels to terminate your permanent cable runs.
- Use short, color-coded patch cords to connect panels to switches.
- Install horizontal and vertical cable managers to guide cords neatly.
- Leave a bit of slack so cables are not stretched tight.
- Keep the rack uncluttered and leave room for airflow.
Color coding is a fun and useful trick. For example, you might use one color for phones, another for data, and another for cameras. A quick glance tells you what is what.
Step 6: Handle Firestopping, Grounding, and Support
These topics are not glamorous, but they matter. Treat them as part of the install, not as finishing touches.
- Firestopping. When cables pass through fire-rated walls or floors, approved firestop systems must seal the opening. This helps contain fire and smoke.
- Grounding and bonding. Proper grounding protects equipment and people.
- Pathway support. Cables must be securely supported along the whole route.
Requirements depend on your building, local code, and the AHJ. This is a great spot to bring in a licensed pro. A skilled contractor knows what your building needs and can keep you compliant. Our post on why to hire a commercial network cabling contractor explains how that help pays off.
Step 7: Test, Certify, and Document
You have run your cables, labeled them, and tidied the rack. Great work! Now it is time to make sure everything actually performs.
Here is a simple finishing checklist:
- Test every link. Use proper cable testing tools to check each run.
- Certify to the target category. Make sure each link meets the performance level you specified, such as Cat6 or Cat6A.
- Save the test results. Keep them on file in case issues pop up later.
- Create as-built records. Make a cable schedule or diagram showing where every cable goes.
- Share the documentation. Give copies to the right people, like your IT manager or office manager.
Documentation is a gift to your future self. When something breaks or you need to expand, accurate records make the job much faster. Learn more about keeping solid records in how to build structured cabling documentation that works.
Common Cable Organization Mistakes to Avoid
Even well-meaning teams slip up. Watch out for these common pitfalls:
- Skipping the planning stage and adding cables as needed.
- Leaving cables unlabeled or using labels that only one person understands.
- Using tight zip ties that squeeze cables.
- Resting cables on ceiling tiles or grids.
- Ignoring spare capacity for future growth.
- Forgetting to test and document the finished work.
If any of these sound familiar, do not feel bad. Plenty of offices have been there. Our article on 12 structured cabling mistakes that hurt your business shows how to spot and fix them.
Should You DIY or Call a Professional?
Tidying up a few desk cables? That is a great DIY job. But a full cabling project is a different story. It involves code rules, firestopping, testing, and detailed documentation.
A professional can bring real value here, especially for new buildouts, multi-floor offices, or sites with cameras and access control. If you are weighing your options, read DIY vs. professional cabling for offices to see which path makes sense.
For franchise operators with several locations, working with one partner also keeps every site consistent. For IT managers, it means one team handles the cabling, the network, and the documentation together.
At Ideal Solutions Provider, we have spent more than 24 years helping businesses build clean, reliable telecom systems. We handle everything from planning and installation to ongoing support, all through one point of contact. You can explore our structured cabling services to see how we can help.
Quick Recap: Your Cable Organization Checklist
Here is a short list you can save and share with your team:
- Plan your layout and allow room for growth.
- Choose the right cable type for each job.
- Use proper pathways and supports.
- Dress cables with loose hook-and-loop straps.
- Respect bend limits and avoid pulling too hard.
- Follow code for power and data separation.
- Label both ends of every cable.
- Keep your rack and patch panels tidy.
- Handle firestopping and grounding properly.
- Test, certify, and document the finished system.
Ready to Tame Your Cable Jungle?
Organizing your office cabling is one of the smartest upgrades you can make. It keeps your phones clear, your internet steady, and your cameras and door systems running smoothly. Better yet, it takes the guesswork out of every future change.
You do not have to do it alone. If you are ready for a cleaner, more reliable network, contact us today for a friendly consultation, or call us to chat with our team. We are happy to help you plan, install, and support a cabling system that makes your whole office run better. You can also follow our work on YouTube for helpful tips and project highlights.
FAQs
Q: How do I organize network cables in an office?
A: Start with a plan that maps every desk, phone, access point, and device, then run cables through proper trays or J-hooks to a central rack. Label both ends of every cable, dress them with loose hook-and-loop straps, and keep a written record of the layout. A little planning up front makes everything easier later.
Q: How far should Ethernet cables be kept from electrical wiring?
A: There is no single distance that applies everywhere. Separation rules depend on your electrical code, the cabling standards, and your local authority having jurisdiction. A right-angle crossing can help reduce interference, but it does not replace required separation, so check local rules or ask a pro.
Q: What is the best way to label office network cables and patch panels?
A: Use a simple, consistent naming scheme, like room number plus outlet number, and label both ends of each cable. Mark patch panel ports to match, and keep a cable schedule that lists every run. Durable printed labels hold up better than handwritten ones.
Q: Should an office use Cat6, Cat6A, or fiber-optic cabling?
A: Cat6 works well for many modern offices, while Cat6A is a great choice for higher speeds and PoE-heavy setups. Fiber is ideal for backbone links and longer runs between rooms or floors. The right mix depends on your devices, distances, and plans for growth.
Q: How do you test and document office cabling after installation?
A: Test every link with proper cabling tools and certify it to the performance category you specified, such as Cat6 or Cat6A. Save the results and create an as-built record or cable schedule showing where each cable goes. Good documentation makes future fixes and changes much faster.