
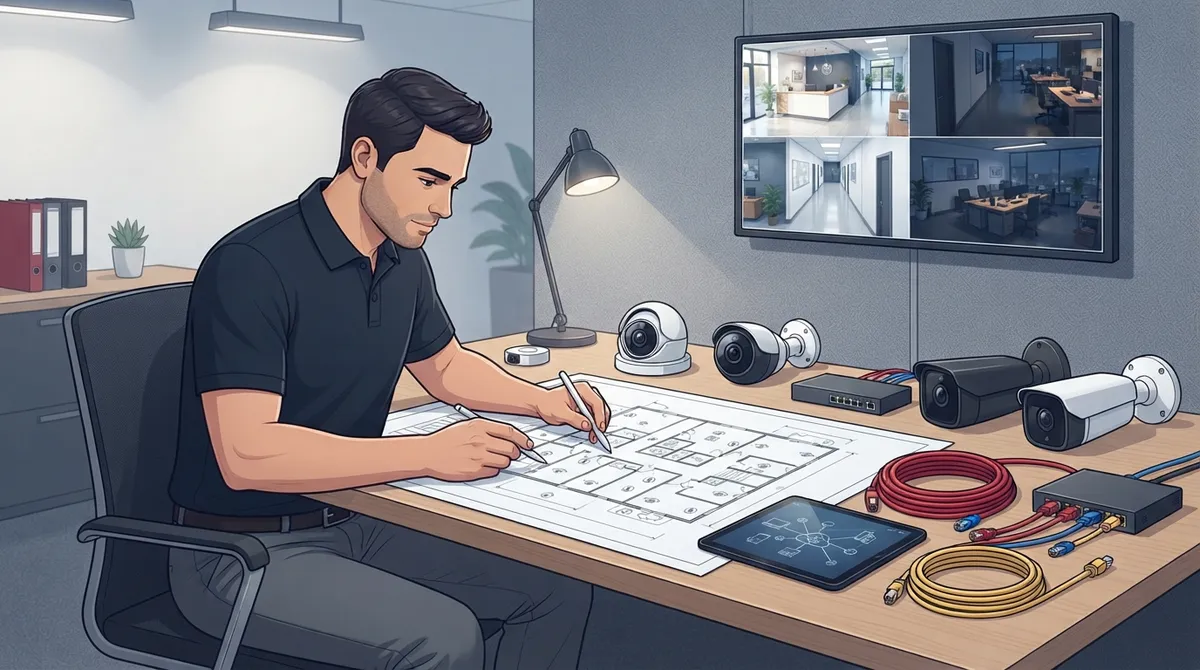
Key Takeaways
-
Start with a full site survey documenting entrances, exits, blind spots, and lighting issues before purchasing any equipment, as buying cameras without understanding your building's layout is the biggest installation mistake.
-
Use Power over Ethernet (PoE) cameras instead of Wi-Fi for commercial systems, as they're more reliable and tie into your existing network infrastructure better than wireless alternatives.
-
Place cameras on a dedicated surveillance VLAN separate from your point-of-sale and office systems to prevent a compromised camera from exposing your entire business network.
-
Plan cable pathways carefully respecting the 100-meter Ethernet limit, and label all cables as you install them to avoid expensive rework and maintenance headaches later.
-
Test your entire system at different times of day and lighting conditions, then document everything including camera locations, IP addresses, and storage settings before training staff on usage.
-
Verify legal compliance by checking privacy laws, posting required notices, setting clear footage access rules, and consulting with your legal advisor on retention periods before finalizing the installation.
Thinking about adding security cameras to your business, but not sure where to start? You’re not alone, and honestly, that’s a good sign. It means you’re the kind of business owner who plans ahead instead of scrambling after something goes wrong. Here’s the good news: commercial security camera installation isn’t as complicated as it sounds once you break it into clear steps.
At its core, a camera system is really a network project wearing a security hat. It needs the same careful planning as your structured cabling and internet setup. Whether you’re a small Tampa shop or a growing multi-location franchise, these 14 steps will help you get it right the first time. Let’s walk through exactly what a solid installation looks like, from the very first walkthrough to the final training session with your team.

1. Start With a Full Site Survey, Not Equipment Shopping
The biggest mistake business owners make is buying cameras before they know what they actually need. A proper installation always begins with a walk-through of your building. This means documenting entrances, exits, parking areas, loading docks, cash registers, stockrooms, hallways, and any spot where lighting is poor or something blocks the view.
Think of this like a doctor doing a checkup before writing a prescription. You need to understand the problem before you can fix it. Good installers, like the team at Ideal Solutions Provider, will walk your entire property with you and take notes on every blind spot.

2. Build a Camera Coverage Plan Based on Real Risks
Once you know your building’s weak spots, it’s time to match each risk to the right camera. A loading dock needs different coverage than a cash register or a server closet. This step matches camera type, lens, resolution, and mounting position to each specific area.
The goal isn’t just a wide, blurry picture of everything. You want clear, identifiable detail exactly where it matters most. A camera aimed too high or too wide often misses faces, license plates, or the details you’ll actually need later.
Common Areas That Need Coverage
- Main entrances and exit doors
- Parking lots and loading docks
- Cash-handling areas and registers
- Stockrooms and inventory storage
- Server rooms and restricted access points
- Long hallways and stairwells
3. Decide Between PoE Cameras and Wi-Fi Cameras
Most commercial systems today use Power over Ethernet, often called PoE. This lets one cable carry both power and data to the camera. It’s more reliable than Wi-Fi, especially in larger buildings where signal drops are common.
Wi-Fi cameras can work for very small setups, but they’re more prone to interference and dead zones. For any business with more than a handful of cameras, PoE is almost always the smarter choice. It ties nicely into the same network backbone that supports your phones and business broadband connection.
4. Plan Your Cable Pathways Carefully
This step is where structured cabling knowledge really pays off. Every cable run needs a clear path, whether that’s through ceilings, walls, or conduit. Exposed cabling in busy areas often needs protection to meet building and fire codes.
Label both ends of every cable as you go. This sounds like a small detail, but it saves hours of headaches later when troubleshooting or making changes. A messy, unlabeled cable closet is one of the top reasons camera systems become a nightmare to maintain.
5. Respect the 100-Meter Cable Limit
Standard Ethernet copper cable runs are generally limited to about 100 meters, or roughly 328 feet, including patch cables. This is a hard limit for Cat5e, Cat6, and Cat6a cabling used in most PoE deployments.
If a camera needs to sit farther away, like across a large warehouse or in a separate building, you’ll need fiber optic cabling, an extender, or an additional network cabinet. Planning this early avoids expensive rework down the road. Businesses exploring fiber optic cabling services often find this solves long-distance camera runs cleanly.
6. Choose Switches With Enough Power and Ports
Your PoE switch needs to handle every camera on the system, plus room to grow. A common best practice is keeping roughly 20% spare PoE power capacity for future cameras or higher-demand devices.
A managed switch with extra ports and power headroom is almost always worth the investment. It’s much cheaper to buy a slightly bigger switch now than to replace the whole thing in a year when you add three more cameras.
| System Size | Typical Camera Count | Switch Consideration |
|---|---|---|
| Small Office | 4-8 cameras | 8 or 16-port PoE switch with spare capacity |
| Retail Location | 8-16 cameras | 24-port managed PoE+ switch |
| Warehouse or Multi-Site | 16+ cameras | 48-port switch or multiple switches with fiber uplinks |
7. Calculate Bandwidth and Storage Needs
Cameras generate more network traffic than most people expect. One estimate suggests a 4-megapixel camera running at 15 frames per second can use approximately 8 to 12 Mbps, though this varies based on compression, activity, and settings.
Multiply that across every camera on your system, and you’ll see why bandwidth planning matters. This is also where your high-speed internet setup becomes important, especially if you’re using cloud storage or remote viewing.
8. Isolate Cameras on Their Own Network
Here’s a step that gets skipped far too often, and it shouldn’t be. Cameras should sit on a dedicated surveillance VLAN, separate from your point-of-sale systems, office computers, and phone network.
Why does this matter? If a camera gets compromised, you don’t want that opening a door to your entire business network. This kind of network segmentation is standard practice in modern business network setup and it genuinely protects your company from bigger headaches later.
9. Lock Down Remote Access and Cybersecurity
Once cameras are on the network, secure remote access is non-negotiable. This means unique strong passwords, multi-factor authentication where available, current firmware, and encrypted connections for anyone viewing footage remotely.
The National Institute of Standards and Technology publishes guidance on securing connected devices like cameras, and it’s worth a look if you want to understand the bigger picture. You can review NIST’s IoT cybersecurity guidelines for more detail on this topic.
10. Select Your Recording Platform
Now it’s time to decide how footage gets stored. Options include an on-premises NVR, a VMS server, or a cloud-managed service. Each has trade-offs around cost, accessibility, and maintenance.
Before commissioning the system, define your recording modes, retention periods, storage redundancy, user roles, and alert rules. Cloud-based options have become popular because they simplify remote viewing and reduce the hardware you need to maintain on-site.
Questions to Answer Before Choosing Storage
- How many days of footage do you legally or operationally need to keep?
- Who needs access to view or export footage?
- Do you need redundant backup storage in case of hardware failure?
- Will footage need to sync with time stamps across all cameras?
11. Test Everything Before You Call It Done
After cameras are mounted and wired, the real work of testing begins. Check live view, recording, playback, export functions, remote access, motion zones, and notifications. Test night performance and glare too, since lighting changes dramatically throughout the day.
A walk-through at different times of day catches problems that a single afternoon test might miss. A camera that looks perfect at noon might struggle at dusk or under bright headlights at night.
12. Confirm Interoperability With Standards Like ONVIF
If you’re mixing camera brands or connecting cameras to access control and alarm systems, interoperability matters. ONVIF is an industry standard that helps different security devices talk to each other properly.
ONVIF lists several profiles, including Profile S for basic IP video streaming and Profile G for recording and storage functions. You can learn more directly from ONVIF’s official profile documentation. Confirming compatibility upfront saves you from mismatched equipment that won’t play nicely together.
13. Document Everything and Train Your Team
A finished installation isn’t really finished until it’s documented. Record camera names, locations, IP addresses, switch ports, cable routes, firmware versions, and storage settings. This documentation becomes priceless when something needs troubleshooting six months from now.
Just as important, train your staff. Show them how to view live footage, search recordings, export clips, and report issues. A camera system is only as good as the people who know how to use it.
- Keep a written list of all camera locations and IP addresses
- Store login credentials securely, not on a sticky note
- Assign clear roles for who can view versus export footage
- Schedule regular firmware update checks
14. Check Privacy Laws and Notice Requirements
Before you finalize anything, make sure you’re following privacy and workplace laws. Avoid pointing cameras at private areas like restrooms or break rooms. Post required notices where local law demands it, and set clear rules for who can access footage.
Retention policies matter here too. Some businesses keep footage for 30 days as a baseline, while higher-liability environments like banks or healthcare facilities often keep it much longer. Talk with your legal or compliance advisor to get this right for your industry and location.
Why Working With One Telecom Partner Makes This Easier
Notice how many of these steps overlap with networking, cabling, and internet planning? That’s not a coincidence. Security cameras aren’t a standalone gadget anymore. They’re part of your whole business communications ecosystem, alongside your cloud-based phone system and internet service.
This is exactly why so many Tampa business owners choose to work with a single telecom partner instead of juggling separate vendors for cameras, internet, and cabling. When one company handles the structured cabling, the network design, and the camera installation, everything fits together the way it should. There’s no finger-pointing between vendors when something doesn’t work.
Ideal Solutions Provider has spent over 24 years helping businesses across Tampa Bay and nationwide get their telecom and security systems right the first time. With partnerships across 35+ vetted suppliers, they compare options for you instead of pushing a single brand. You can see examples of their work on YouTube or follow updates on Facebook and Instagram.
Bringing It All Together
Installing security cameras the right way takes planning, but it doesn’t have to be overwhelming. When you follow these steps in order, from the initial site survey to final staff training, you end up with a system that actually protects your business instead of just looking good on paper.
If you’d rather skip the guesswork and get expert guidance tailored to your building, reach out to our team today for a free consultation, or give us a call to talk through your specific needs. We’re here to make sure your camera system, your network, and your whole telecom setup work together the way they should.
FAQs
Q: What are the basic steps for installing security cameras in a commercial building?
A: It all starts with a site survey to spot your risk areas, then moves into coverage planning, cabling, network setup, recording configuration, testing, and staff training. Skipping steps, especially the survey, usually leads to blind spots you’ll regret later. Following the full process means your system actually works when you need it most.
Q: Should my business use PoE cameras or Wi-Fi cameras?
A: For most commercial setups, PoE cameras are the more reliable choice since one cable handles both power and data. Wi-Fi can work for very small installations, but it’s more prone to interference in larger buildings. If you’re planning more than a few cameras, PoE will save you headaches down the road.
Q: How far can an Ethernet cable run for a PoE security camera?
A: Standard copper Ethernet runs are generally limited to about 100 meters, or roughly 328 feet, including patch cables. If a camera needs to go farther, like across a warehouse, you’ll want fiber optic cabling or a network extender instead. Planning this early saves you from costly rework later.
Q: Should business security cameras be placed on a separate network?
A: Yes, absolutely! Cameras should sit on their own dedicated VLAN, separate from your point-of-sale, office computers, and phone systems. This way, if a camera ever gets compromised, it doesn’t open the door to your whole network. It’s a small step that makes a big difference in security.
Q: How long should a business keep security camera footage?
A: Many businesses use 30 days as a general baseline, but higher-liability environments like banks or healthcare facilities often need longer retention. It really depends on your industry, local laws, and insurance requirements. We always recommend checking with a legal or compliance advisor to nail down the right timeframe for your business.