
Key Takeaways
-
Document and label all cables, outlets, and ports systematically during the audit to drastically reduce future troubleshooting time and enable faster network changes.
-
Perform field certification testing on copper and fiber cables to verify actual performance, as cables can appear undamaged yet fail under load and cause network problems.
-
Prioritize audit findings by addressing safety/code issues first, then failed links, then undocumented connections, capacity gaps, and finally upgrades to prevent wasting budget on low-priority work.
-
Trace each cable from wall outlet to patch panel to identify what connects where and discover orphaned cables taking up unnecessary space in pathways and closets.
-
Confirm actual cable distances and verify they meet the 90-meter horizontal limit plus 10 meters for patch cords to prevent performance degradation from length-related issues.
-
Request a phased, costed action plan from your auditor that transforms audit findings into a realistic budget roadmap rather than just a list of problems.
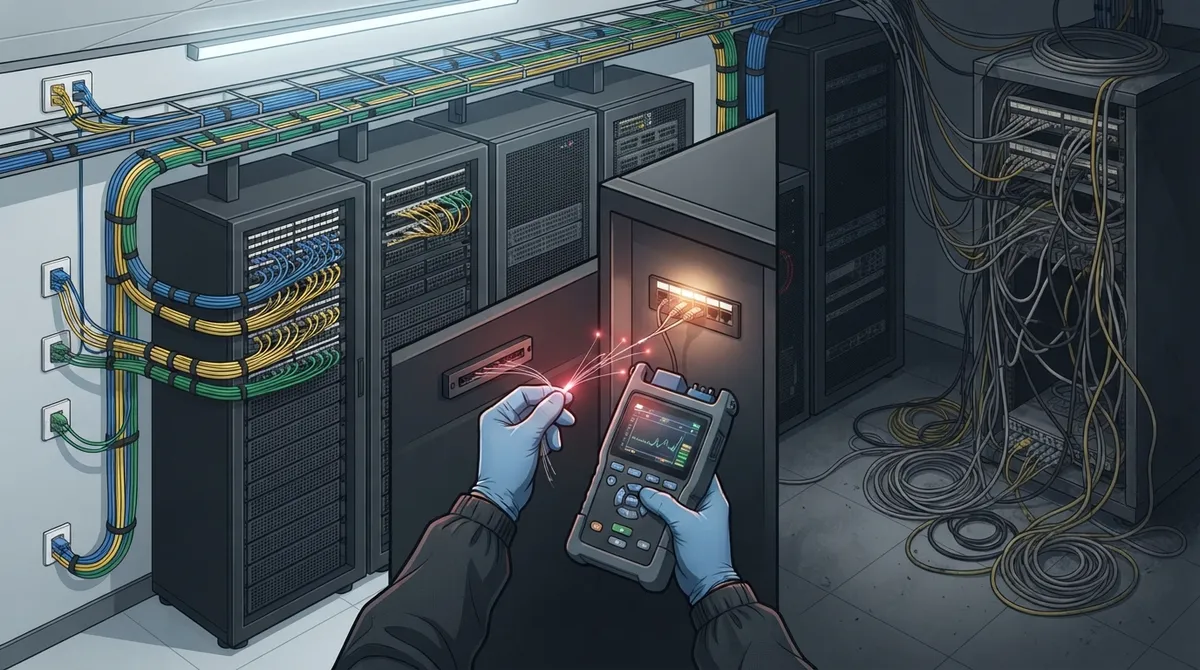
Picture this: your team is on a big client call, the audio cuts out, and someone mutters, “Is it the internet again?” You check the router, then the switch, then a tangle of cables behind a closet door that nobody has opened since 2019. Sound familiar? You are not alone, and the good news is that there is a clear way to get answers.
A cabling audit for an existing office is a step-by-step review of the physical wiring that carries your phones, internet, Wi-Fi, and cameras. It shows what you have, what still works, and what needs attention. Think of it like a home inspection for your network.
In this guide, we will walk you through how to run a cabling audit for your existing office, what to check, which tests matter, and how to turn your findings into a simple action plan. Whether you manage a small Tampa shop or a multi-location franchise, you can follow these steps with confidence.
What Is a Cabling Audit for an Existing Office?
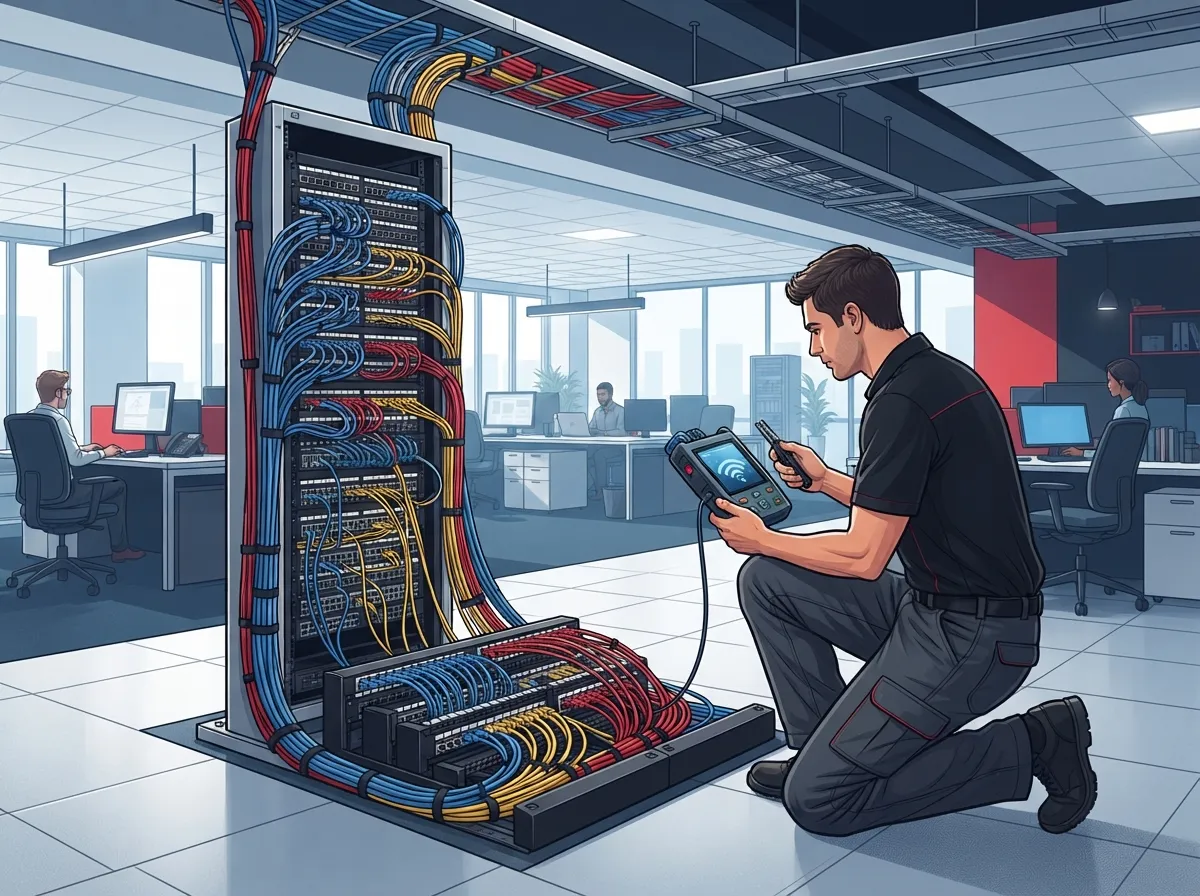
A cabling audit is a structured assessment of your passive communications infrastructure. That means the copper and fiber cables, wall outlets, patch panels, racks, telecom rooms, and pathways that connect everything together. The goal is simple: learn what is installed, check its condition, and decide what can stay, what needs repair, and what should be replaced.
Many offices grow in layers. A few drops get added when someone moves desks. A new camera gets wired in a hurry. Over the years, the result can look like what experts call ad-hoc wiring instead of structured cabling. An audit helps you sort out that mess.
A good audit usually covers:
- Copper cabling, fiber cabling, and wall outlets
- Patch panels, racks, and cable management
- Telecom closets, power, cooling, and rack space
- Pathways such as ceiling trays, conduits, and risers
- Labels, floor plans, and documentation

Why Your Office Needs a Cabling Audit
Cabling is easy to forget because it hides in walls and ceilings. But it supports almost everything your business does. If you want a refresher on the basics, our guide on what structured cabling is for your business network is a great place to start.
Here are the most common reasons businesses schedule an audit:
- Slow or unreliable network. Old or damaged cable can cause dropped connections and weak speeds.
- A planned upgrade. Moving to VoIP, adding Wi-Fi access points, or installing cameras can need more capacity.
- A new lease or office change. You want to know what you are inheriting or leaving behind.
- Poor records. Nobody knows which port goes where, and troubleshooting takes forever.
- Safety or code worries. Messy closets and unmanaged cable bundles can create risks.
If any of those sound familiar, you may also want to read 9 signs your Tampa business needs structured cabling now.
Step-by-Step: How to Run Your Cabling Audit
You do not need to be a network engineer to understand the process. Here is how a solid audit typically unfolds.
Step 1: Set Your Goals and Scope
Start by asking: what do we want to learn? Maybe you want to prepare for a cloud phone system. Maybe you are fixing Wi-Fi dead zones. Your goal shapes how deep the audit goes.
Write down the areas to cover, such as one floor, the whole building, or several locations. Also note any planned services, like new cloud video security cameras or door readers, since those add demand on your cabling.
Step 2: Gather Existing Records
Collect anything that already exists. This can include floor plans, old installation notes, patch panel charts, vendor invoices, and network diagrams. Do not worry if the paperwork is thin. Many offices have almost nothing, and that is exactly what the audit will fix.
Step 3: Walk the Site and Inspect
Now comes the hands-on part. Walk each area and look at outlets, cable runs, and telecom rooms. A technician will check for:
- Damaged jackets, kinks, or crushed cable
- Unlabeled or mislabeled ports
- Mixed cable types and unknown categories
- Loose or poorly made terminations
- Overfilled pathways and messy cable bundles
- Blocked, hot, or crowded telecom closets
Take photos as you go. They become very handy later when you compare notes or share findings with your team.
Step 4: Trace and Identify Cables
Next, trace each cable from the wall outlet to its patch panel port. This confirms what connects to what. It also reveals orphaned cables, which are old runs that go nowhere and just take up space.
Identify the cable type while you are at it. Printed markings on the jacket often show the category, such as CAT5e or CAT6. If you are weighing an upgrade, see our breakdown of the key differences between CAT5e and CAT6 cabling.
Step 5: Test Performance Where It Matters
Here is a key point many people miss: looking at a cable cannot tell you if it performs well. A cable can look perfect and still fail under load. That is why field testing matters when you need proof of performance or compliance.
For copper links, certification testing can check wire map, length, insertion loss, return loss, and crosstalk. For fiber, testing usually measures optical loss. The right test method depends on the link and your project needs. Keep the test results, because they become part of your record.
Not every cable needs full certification. Many audits test a sample, or focus on links tied to problem areas or planned upgrades. Your auditor can help match the testing to your budget and goals.
Step 6: Check Distances and Capacity
Distance is a quiet troublemaker. For horizontal copper cabling, the commonly cited limit is a 90-meter permanent link. Add up to 10 meters of patch and equipment cords, and you reach a 100-meter channel. The audit should confirm real lengths instead of guessing.
Also confirm that the cable category fits the application. A cable category on its own does not guarantee a certain network speed. Length, condition, and quality of installation all play a part.
Step 7: Review Telecom Rooms and Pathways
Do not skip the closet. Many problems start there. Check for open rack space, enough power, good airflow, and tidy cable management. Look at pathways too. If trays and conduits are already full, adding new cable later could be a headache.
Step 8: Build Your Documentation
Finally, turn everything into clear records. This is where the audit pays you back for years. Good documentation cuts troubleshooting time and makes future moves, adds, and changes much easier.
Standards to Know Before You Start
You do not need to memorize every standard, but it helps to know the names. They guide how cabling should be built, tested, and labeled. Applicable editions, local electrical and fire codes, and contract requirements should always be confirmed for your specific project.
| Standard | What It Covers |
|---|---|
| ANSI/TIA-568 family | Structured cabling performance and design |
| TIA-569 | Pathways and spaces, such as closets and trays |
| TIA-606 | Administration, labeling, and records |
| TIA-607 | Bonding and grounding |
One quick note: standards get updated. For example, the balanced twisted-pair standard ANSI/TIA-568.2-E was reported as released in October 2024. Always confirm the current edition with TIA or your project specs before citing it as current. You can also read a general overview of structured cabling to see how these pieces fit together.
What You Should Receive After the Audit
A good audit ends with useful deliverables, not just a verbal summary. Ask for these items:
- An updated cable and outlet inventory
- Port maps and labeling records
- Observations on closets and pathways
- Test results with pass or fail status where testing was done
- Photos or marked-up floor plans
- A list of risks and gaps
- A phased, costed recommendation
That last item is gold. It turns a pile of findings into a plan you can actually budget for.
How to Turn Findings Into an Action Plan
Once the audit is done, you may feel a bit overwhelmed by the list. Take a breath. The trick is to sort issues by priority. Here is a simple order that works well:
- Safety and code concerns first. Anything risky gets fixed right away.
- Failed links next. Cables that did not pass testing and cause real problems.
- Undocumented or mislabeled connections. Clean these up so troubleshooting gets faster.
- Capacity gaps. Full pathways, full panels, or too few drops.
- Damaged or outdated cabling. Replace what is past its useful life.
- Upgrades for new needs. Extra bandwidth, Wi-Fi access points, VoIP phones, cameras, and other PoE devices.
This approach keeps you from spending money in the wrong order. It also helps you phase work so your office stays up and running. If you are planning bigger changes, our guide on how to plan network cabling installation in Tampa Bay pairs nicely with your audit results.
Reuse, Repair, or Replace? A Quick Decision Guide
One of the biggest questions after an audit is whether you can keep your existing cable. Here is a simple way to think about it.
| Situation | Likely Action |
|---|---|
| Cable passes testing and fits planned needs | Reuse and document |
| Cable is fine but poorly labeled or terminated | Repair, re-terminate, and label |
| Cable fails testing or is physically damaged | Replace the run |
| Cable works but cannot support planned bandwidth | Upgrade, often to a higher category or fiber |
| Orphaned or unused cable | Remove where practical, following local requirements |
Remember, these are general guidelines. Your auditor should adjust them based on local codes, building rules, and your goals. For longer backbone runs between floors or buildings, choosing the right fiber cabling can make a big difference.
How Cabling Supports Your Phones, Wi-Fi, and Cameras
Your cabling audit is not just about wires for the sake of wires. It protects the services your team uses every day. VoIP calls need steady, clean connections. Wi-Fi access points depend on solid wired links back to the switch. Security cameras and door readers often rely on Power over Ethernet.
If you are moving to a cloud phone system, a healthy cable plant helps prevent choppy audio. Read more about how structured cabling supports VoIP and cameras to see how it all connects. And if you are exploring phone upgrades, cloud based phone systems are a popular next step once your wiring is in good shape.
Internet speed matters too. Even the best cabling cannot fix a weak connection from your provider. If you suspect both issues, our article on why your business internet may be so slow and how to fix it can help you sort out the cause. Your Internet Service Provider plays a part, but so does the wiring inside your walls.
DIY or Professional Audit?
Some basic checks, like looking at labels or counting open ports, are easy for a handy office manager. But certified testing, careful tracing, and code awareness usually call for trained technicians and the right equipment. Our comparison of DIY vs. professional cabling for Tampa offices breaks down when each makes sense.
Here is a quick way to decide:
- DIY works for: a simple visual walk-through and a rough outlet count.
- Go professional for: performance testing, compliance needs, fiber work, large buildings, and multi-location setups.
If you want a partner who can handle the whole thing, structured cabling services from a experienced provider keep everything under one roof, from inspection to installation.
Mistakes to Avoid During a Cabling Audit
Even smart teams trip up on a few common things. Watch out for these:
- Trusting looks alone. A clean-looking cable can still fail testing.
- Skipping the telecom closet. Heat, dust, and clutter hide in there.
- Ignoring labels. Missing labels cost hours during every future fix.
- Forgetting future needs. Plan for growth, not just today.
- Throwing away the results. Test records and maps are valuable. Store them safely.
For more cautionary tales, check out 12 structured cabling mistakes that hurt your business.
How Often Should You Audit Your Cabling?
There is no single rule that fits everyone. A good habit is to audit when something big changes, such as a move, a renovation, a new phone system, or a jump in bandwidth needs. Many businesses also revisit their records every few years to keep them accurate.
Multi-location owners and franchise operators often benefit from a repeatable process, so every site is documented the same way. That makes rollouts and support far smoother.
Ready to Get Clear Answers About Your Cabling?
A cabling audit for an existing office does not have to be scary. It simply gives you a clear picture of what you have, what works, and what to do next. With good records and a smart plan, your phones, internet, Wi-Fi, and cameras all run on a stronger foundation.
Ideal Solutions Provider has more than 24 years of experience helping businesses across Tampa Bay and nationwide with cabling, networking, and telecom needs. As a single point of contact, we can help you inspect, test, document, and upgrade without juggling multiple vendors. Ready to take the first step? Contact us for a friendly consultation, or call us today to talk about your office.
FAQs
Q: What does a cabling audit for an existing office include?
A: It usually includes a review of floor plans and records, an on-site inspection, cable tracing, and a check of outlets, patch panels, racks, and telecom closets. Where needed, it also includes performance testing and a report with a prioritized plan. Think of it as a full health check for your office wiring.
Q: How do I know whether my existing office cabling can be reused?
A: The best way is to inspect the cable and, where proof matters, run field tests. If the links pass testing and can support your planned services, you can often reuse them. If they fail, are damaged, or cannot handle new bandwidth needs, repair or replacement is the smarter move.
Q: What tests should be done during a copper or fiber cabling audit?
A: For copper, certification tests can check wire map, length, insertion loss, return loss, and crosstalk. For fiber, testing typically measures optical loss. The right method depends on the link and your project needs, so your auditor can pick what makes sense.
Q: How often should a business audit its network cabling?
A: There is no one-size-fits-all answer. Most businesses audit after major changes, like a move, renovation, or new phone or camera system, and revisit records every few years. If your network starts acting up, that is a great time to check sooner.