Key Takeaways
-
Choose Cat 6A for horizontal runs in high-density offices as it supports 10GBASE-T up to 100 meters and handles multi-gigabit Wi-Fi access points with higher-power PoE without exceeding distance limits.
-
Plan 2-4 Cat 6A cables per Wi-Fi access point location and confirm uplink speed and PoE power requirements before installation to avoid costly rework when upgrading wireless infrastructure.
-
Respect the 90-meter limit for permanent horizontal copper runs and 100-meter total channel limit including patch cords, as exceeding these distances causes performance failures even in dense environments.
-
Account for PoE heat buildup by using quality cable, keeping bundles reasonably sized, maintaining airflow in pathways, and verifying switch power budgets match total device power draw.
-
Document everything with clear labeling on both cable ends, certification results for each link, as-built drawings, and port schedules before handover to enable fast troubleshooting and future changes.
-
Start with a complete device inventory including three to five years of growth projections, then size rack space, pathway capacity, cooling systems, and telecom closets accordingly to prevent early obsolescence.
Picture this: your office just hired ten new people, added a dozen Wi-Fi access points, and installed a few cameras in the lobby. Suddenly, the network closet looks like a bowl of spaghetti, and nobody knows which cable goes where. Sound familiar? You are not alone, and the good news is that it is fixable with a little planning.
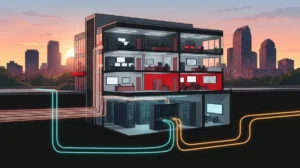
High density office cabling means planning structured cabling and pathways for many connected devices in a limited space. Think workstations, phones, Wi-Fi access points, cameras, conference-room systems, and building devices. The goal is simple: keep your network fast, tidy, and ready to grow.
In this friendly guide, we will walk you through how to plan, install, test, and document high density office cabling. Whether you run a small Tampa shop, manage IT for a growing company, or oversee several franchise locations, these steps will help you build a setup you can trust in 2026 and beyond.
What Is High Density Office Cabling?
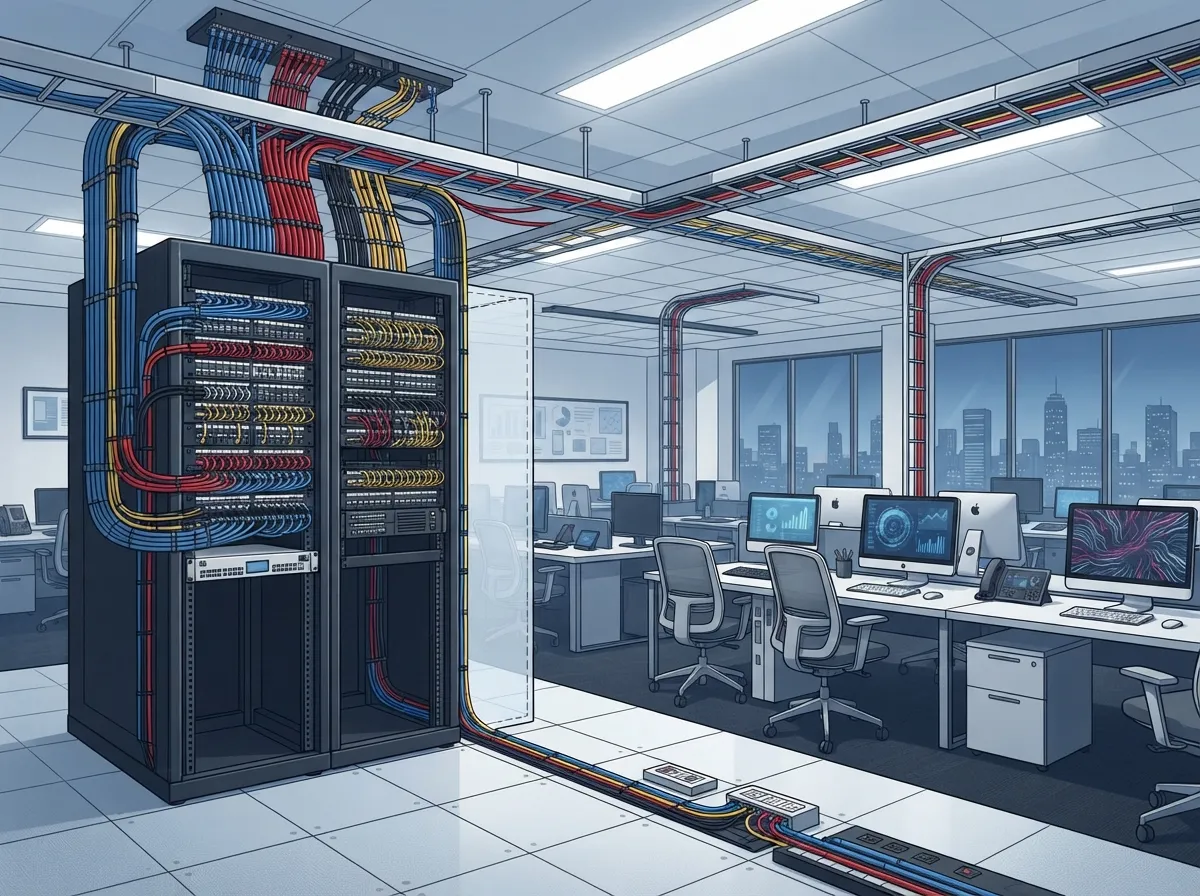
High density office cabling is the copper and fiber infrastructure that supports lots of endpoints in a tight footprint. It is not just about pulling more wire. It is about balancing speed, power, space, heat, and future growth.
A good design usually follows a hierarchical star layout. Horizontal cabling runs from a telecommunications room to each outlet or device. Backbone cabling connects telecom rooms and equipment rooms. This setup makes moves, adds, and changes much easier than random point-to-point wiring. You can read more about the basics of structured cabling if you want a deeper background.
Here is what usually counts as an endpoint in a dense office:
- Desktop computers and docking stations
- VoIP desk phones and conference phones
- Wi-Fi access points
- Security cameras and door controllers
- Printers, displays, and room scheduling panels
- Building devices like sensors and smart controls

Why Density Changes Everything
When you pack more devices into a small area, small mistakes get big fast. A cable that is slightly too long can fail testing. A crowded tray can trap heat. A messy patch panel can turn a five-minute fix into an hour of guesswork.
High density also raises the stakes for Power over Ethernet, or PoE. PoE lets one cable carry both data and power to devices like access points, phones, and cameras. It is wonderfully convenient. But higher-power PoE puts more demand on cable quality, bundle size, airflow, and switch power budgets.
That is why high density office cabling needs a plan, not just a pile of wire.
Step 1: Count Your Devices and Plan for Growth
Start with a simple device inventory. Walk the space and list every wired need today. Then add the extras you expect in the next three to five years.
- List current devices. Count desks, phones, printers, access points, cameras, and access control readers.
- Add room for growth. A common rule of thumb is to plan extra ports beyond your current count. Your own growth plans should guide the number.
- Map the floor plan. Mark where people sit, where meetings happen, and where devices will live.
- Note special needs. Think about reception desks, conference rooms, server areas, and shared spaces.
- Confirm device specs. Check the uplink speed and power draw of each key device.
This early count is the foundation of your whole design. Skipping it is like building a house without measuring the lot.
Step 2: Pick the Right Cable Category
Cable choice matters a lot in dense environments. Here is a quick comparison to help you decide.
| Cable Type | Typical Use | Strengths | Things to Watch |
|---|---|---|---|
| Cat 6 | General office runs | Handles 10 Gb/s over shorter distances | Not specified for 10GBASE-T across a full 100 m channel |
| Cat 6A | New high-performance runs | Supports 10GBASE-T up to 100 m; 500 MHz bandwidth | Thicker and stiffer, so plan pathway space |
| Multimode fiber | Shorter backbone links | High capacity inside buildings | Needs compatible optics |
| Single-mode fiber (OS2) | Long backbone links | Great distance and future capacity | Requires proper termination and testing |
For most new high density builds, Cat 6A is a smart pick for horizontal runs. It supports 10GBASE-T at up to 100 m, handles multi-gigabit access point uplinks, and works well with higher-power PoE. Fiber is often used for the backbone, where you need more capacity or longer distance.
If you want help comparing options, our guide on choosing between Cat6 and Cat6A for your office breaks it down in plain language. You can also explore how to choose fiber cabling for your business network for backbone planning.
Step 3: Respect the Length Limits
Copper Ethernet has distance rules, and they matter even more when everything is packed together. For balanced copper cabling, the common design limits are:
- 90 meters (295 feet) for the permanent horizontal link
- Up to 100 meters (328 feet) for the full channel, including patch cords
In a dense office, you may be tempted to stretch a run or use long patch cords to tidy things up. Try not to. Keep patch cords short and purposeful. Always validate your design against the current TIA standards and local codes.
For a deeper look at distance and layout, check out how far network cable can run.
Step 4: Plan Cabling Around Your Wi-Fi Design
Wireless is a big driver of density. Modern access points can need fast uplinks and real power. If you plan for Wi-Fi 6E or Wi-Fi 7, your cabling should match the access point you choose.
Cisco’s cabling guidance suggests considering two to four Cat 6A cables per access point in high-density or future-expansion scenarios. Treat that as a planning tip, not a rule. Your actual count depends on the wireless design and the hardware.
Here are a few smart ways to prepare:
- Run Cat 6A to each planned access point location
- Leave a service loop or spare pathway where it makes sense
- Check the AP’s required uplink speed and PoE level
- Plan switch ports and power budget to match
A well-planned wireless layout saves you from pulling new cable through ceilings later. For more on this, see how structured cabling and wireless work together.
Step 5: Account for PoE Power and Heat
PoE is wonderful, but it adds a layer of planning. IEEE 802.3bt Type 4 can provide up to 90 W from the power-sourcing equipment per port. The power that reaches the device is lower because of cable losses. Always confirm the standard and device specs for your project.
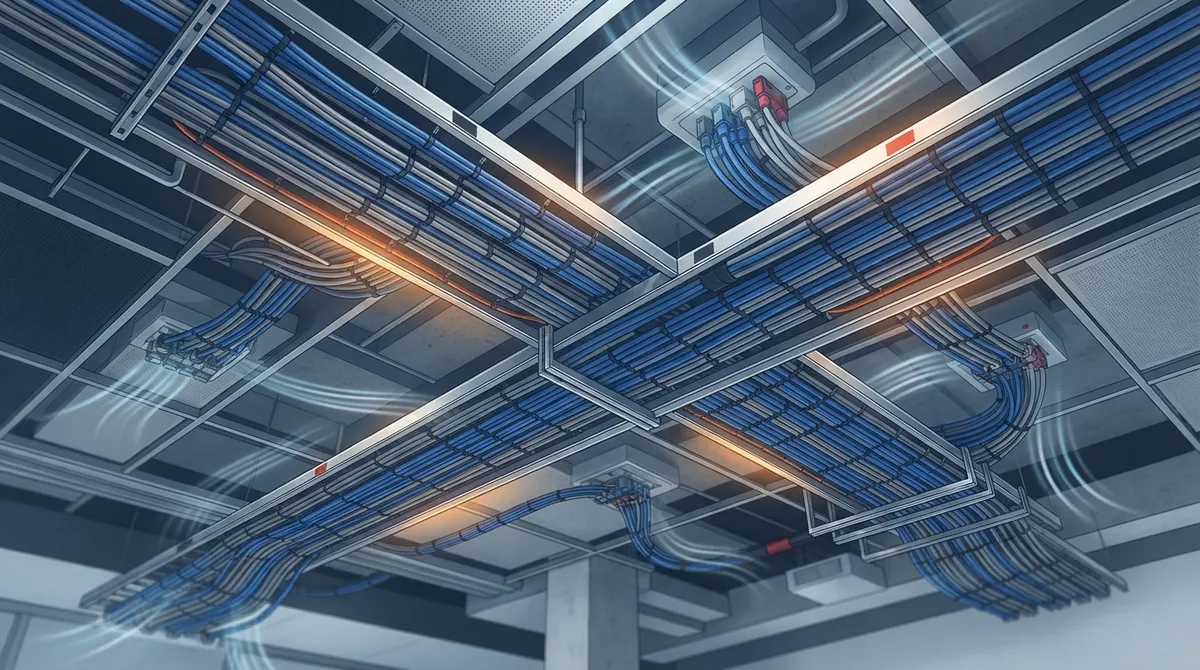
When many cables carry power in a tight bundle, heat can build up. That can hurt performance and reliability. Here are friendly tips to keep things cool:
- Use quality cable. Cat 6A rated for the job helps handle higher-power PoE.
- Keep bundles reasonable. Smaller groups let air move around the cables.
- Leave airflow in pathways. Do not overfill trays or conduit.
- Check the switch power budget. Make sure total PoE demand fits what the switch can deliver.
- Follow electrical and code requirements. Verify them for your location.
If your devices include cameras, you can learn more in our post on how structured cabling supports VoIP phones and security cameras.
Step 6: Design the Pathways and Telecom Closets
Here is the part many people forget. The cable itself is only half the story. Pathways and closets decide whether your system stays clean or turns chaotic.
Think about these items during planning:
- Rack and patch panel space: Leave room for growth, not just today’s count
- Tray and conduit fill: Avoid packing pathways to the brim
- Bend radius: Do not kink or sharply bend cable
- Separation from electrical: Keep data cable away from power lines as required
- Labeling: Mark both ends of every cable clearly
- Firestopping: Seal penetrations through rated walls and floors
- Cooling: Keep telecom closets at a safe temperature
- Accessible routes: Make sure technicians can reach what they need
Good cable management makes everything easier. Our guide on setting up cable management for business networks shares more practical ideas.
Step 7: Test, Label, and Document Everything
You would not accept a car without a test drive. Do not accept a cabling job without proper testing either. At handover, ask for the following:
| Deliverable | Why It Matters |
|---|---|
| Certification results for each link | Proves each cable meets the required performance level |
| Clear labeling | Speeds up troubleshooting and changes |
| As-built drawings | Shows where cables actually run |
| Port and cable schedule | Maps every outlet to a patch panel port and switch |
Good documentation is a gift to your future self. When something breaks at 4:55 on a Friday, you will be glad everything is labeled and recorded. For more on this, read how to build structured cabling documentation that works.
Common Mistakes to Avoid
Even smart teams trip on a few of these. Watch out for:
- Choosing a cable category based only on today’s needs
- Overfilling trays and conduits
- Ignoring PoE heat and power budgets
- Skipping labeling to save time
- Running cables too close to electrical lines
- Leaving no space in racks for growth
- Accepting a job without certification reports
Want a longer list? Our post on 12 structured cabling mistakes that hurt your business goes into more detail.
Who Benefits Most From a Dense Cabling Plan?
Almost every growing business can benefit, but here are a few who feel it most:
- Small business owners who want one clean setup instead of juggling vendors
- Mid-sized companies adding Wi-Fi, cameras, and access control at the same time
- IT managers who need clear documentation and easy changes
- Office managers who want fewer outages and quicker fixes
- Franchise operators who need a repeatable standard across many locations
If you are planning a new buildout, our article on how to plan network cabling installation in Tampa Bay offers a handy starting point.
DIY or Call a Pro?
Small, simple jobs might be fine to handle in-house. But high density projects have many moving parts: standards, testing, pathways, firestopping, and PoE planning. A mistake in any one of them can cost real time and money.
Working with an experienced partner also helps you coordinate cabling with your phones, internet, cameras, and access control. Ideal Solutions Provider has more than 24 years of experience helping businesses with structured cabling and the connected systems that rely on it. You can read our take on DIY versus professional cabling for Tampa offices to see which route fits you.
To see how this fits with the rest of your tech, you can also explore our structured cabling services and learn how a good plan supports your Internet Service Provider connection and wider network.
A Quick Planning Checklist
Before you start, run through this short list:
- Device inventory complete, with growth added
- Cable category chosen for each run type
- Lengths checked against the 90 m and 100 m limits
- Wi-Fi uplink and PoE needs confirmed
- Pathways, racks, and closet space sized for growth
- Cooling and airflow planned
- Labeling scheme agreed on
- Testing and documentation requirements written down
Print it out, share it with your team, and check items off as you go. It is a simple habit that prevents big headaches.
Ready to Build It Right?
High density office cabling does not have to feel overwhelming. With a clear device count, the right cable category, smart pathways, and solid testing, you can build a network that stays tidy and ready for whatever comes next. Plan a little more now, and you will thank yourself later.
If you would like friendly, expert help, contact our team for a free consultation, or call us to talk through your project. You can also follow our updates on YouTube for more helpful tips.
FAQs
Q: What does high density office cabling mean?
A: It means planning structured copper and fiber cabling for many connected devices in a small space, such as workstations, phones, Wi-Fi access points, and cameras. The goal is to keep speed, power, and organization strong while leaving room to grow.
Q: Should a new office use Cat 6 or Cat 6A cabling?
A: Cat 6A is a popular choice for new high-performance runs because it supports 10GBASE-T up to 100 m and works well with multi-gigabit Wi-Fi and higher-power PoE. Cat 6 can handle 10 Gb/s over shorter distances, so it may still fit smaller or budget-focused needs.
Q: What is the maximum Ethernet cable length for an office run?
A: For balanced copper Ethernet, the common design limit is 90 m (295 ft) for the permanent horizontal link and up to 100 m (328 ft) for the full channel including patch cords. Always confirm against current TIA standards and local codes.
Q: How many Ethernet cables should go to each Wi-Fi access point?
A: It depends on your wireless design and hardware. Cisco’s guidance suggests considering two to four Cat 6A cables per access point in high-density or future-expansion cases, but that is a planning tip rather than a rule.
Q: What should be included in a cabling installation handover?
A: Ask for certification results for each link, clear labeling, as-built drawings, and a port and cable schedule. These records make troubleshooting and future changes much faster and easier.